Ga door naar hoofdinhoud

LG VX4500 Disassembly

Gearchiveerde handleiding
Deze handleiding wordt enkel nog bijgehouden voor historische doeleinden. Gebruik de laatste versie van deze gids om uw reparatie uit te voeren.

Wat je nodig hebt

  1. LG VX4500 Disassembly, Battery: stap 1, afbeelding 1 van 1
    • Before removing the battery, ensure that the phone is turned off.

    • To remove the battery from your LG VX4500, turn the phone so that the back panel is showing.

  2. LG VX4500 Disassembly: stap 2, afbeelding 1 van 1
    • Pull back on the white release tab and lift up the the entire battery.

  3. LG VX4500 Disassembly: stap 3, afbeelding 1 van 1
    • The back panel should now be fully accessible.

  4. LG VX4500 Disassembly, LG VX4500 Disassembly: stap 4, afbeelding 1 van 2 LG VX4500 Disassembly, LG VX4500 Disassembly: stap 4, afbeelding 2 van 2
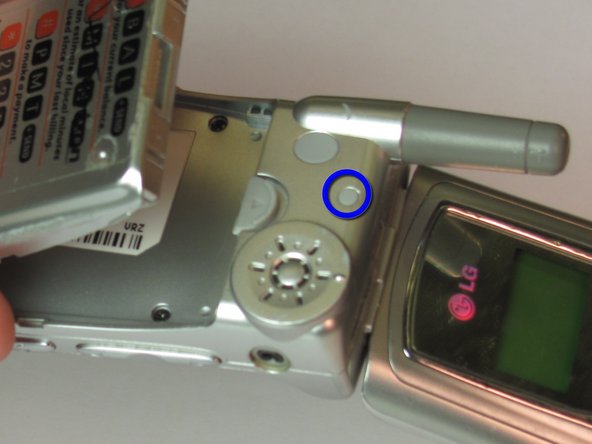
    • Using a paper clip, remove all 4 rubber screwcaps from the screw ports.

    • With a Phillips head screwdriver, remove all 4 screws from their ports.

    • Also remove the rubber screwcap in the upper part of the back panel along with the screw under it.

    • The fifth screw will be more difficult to get out because the plastic port has much higher sides.

  5. LG VX4500 Disassembly: stap 5, afbeelding 1 van 3 LG VX4500 Disassembly: stap 5, afbeelding 2 van 3 LG VX4500 Disassembly: stap 5, afbeelding 3 van 3
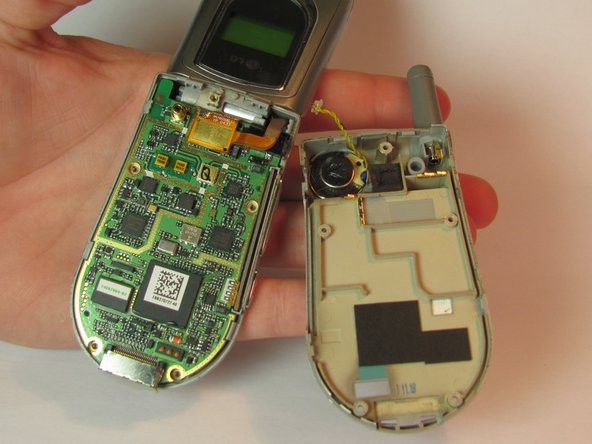
    • Run a plastic opening tool along the seam to seperate the keyboard cover and the back panel

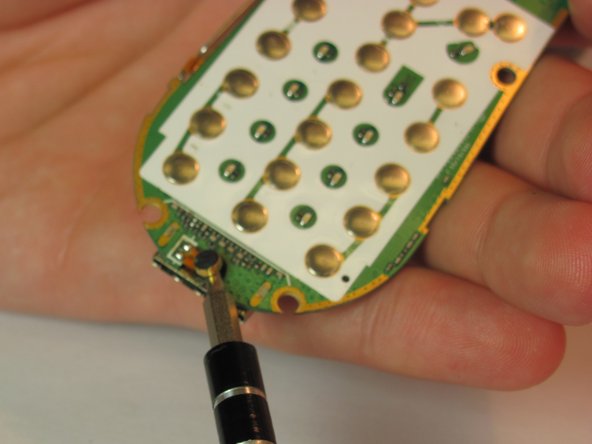
    • Remove the back panel, now the logic board, keyboard and microphone are exposed.

Conclusie

To reassemble your device, follow these instructions in reverse order.

iDeleted

Lid sinds: 07/07/10

2.101 Reputatie

39 handleidingen geschreven

0 opmerkingen

Voeg opmerking toe

Weergavestatistieken:

Afgelopen 24 uren: 0

Afgelopen 7 dagen: 1

Afgelopen 30 dagen: 1

Altijd: 4,410