Deze versie kan foutieve bewerkingen bevatten. Schakel over naar de recentste gecontroleerde momentopname.
Wat je nodig hebt
-
Deze stap is niet vertaald. Help het te vertalen
-
Pry open the back cover by using a fingernail or a plastic opening tool.
-
-
Deze stap is niet vertaald. Help het te vertalen
-
Remove the three Philips #00 screws from the bottom of the phone.
-
Two 5.5 mm screws
-
One 4 mm screw
-
-
-
Deze stap is niet vertaald. Help het te vertalen
-
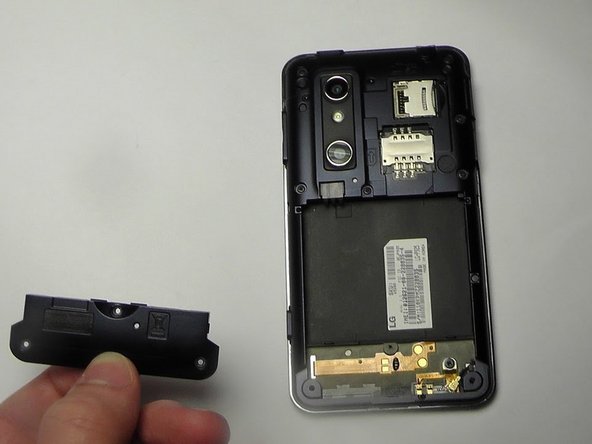
Use your finger or opening tool to wedge the speaker out starting at the small notch at the bottom of the phone.
-
-
Deze stap is niet vertaald. Help het te vertalen
-
Place the plastic opening tool under the bezel at either bottom corner of the HDMI cover.
-
USB Cover
-
HDMI Cover
-
-
Deze stap is niet vertaald. Help het te vertalen
-
Remove the six Phillips #00 screws within the mid-cover bezel.
-
-
Deze stap is niet vertaald. Help het te vertalen
-
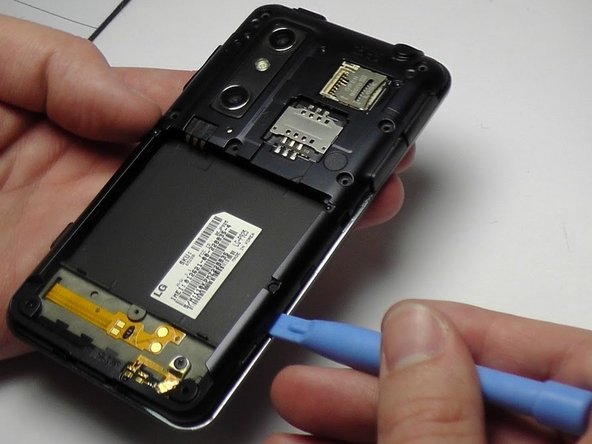
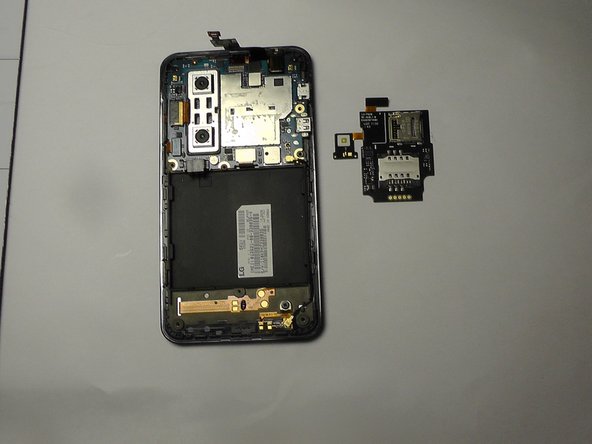
Utilize a spudger or plastic opening tool and gently disconnect the ribbon cable that is attached to the black micro-SIM card board.
-
-
Deze stap is niet vertaald. Help het te vertalen
-
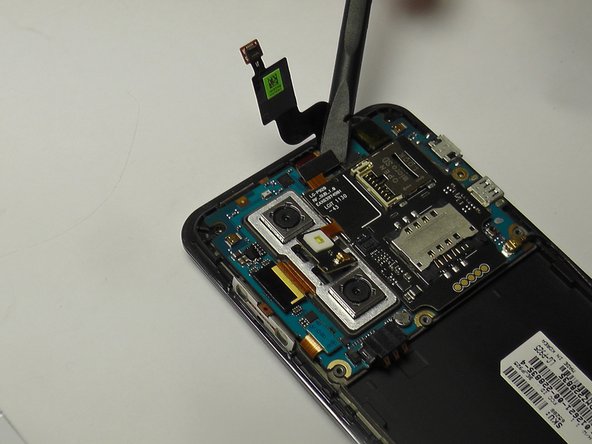
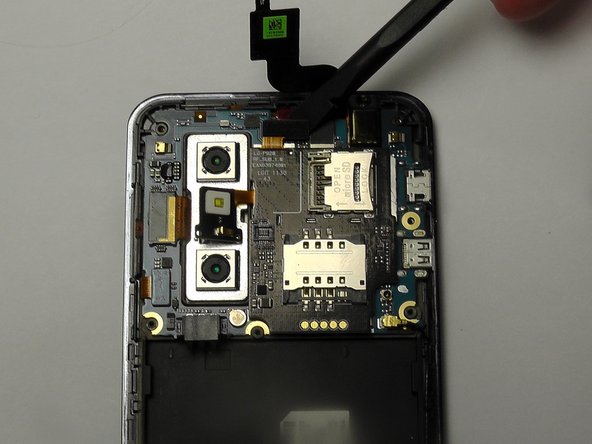
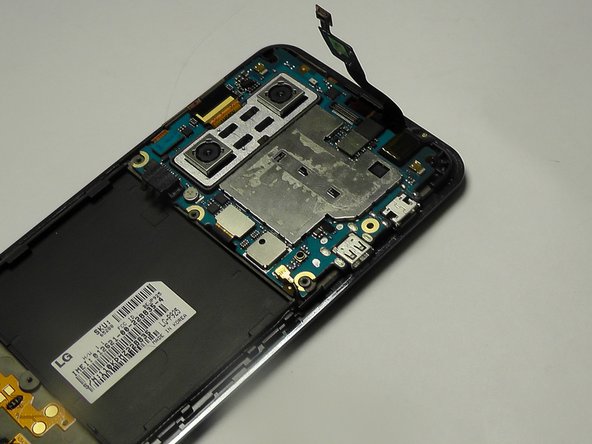
Carefully pry the board up to detach it from its place in the phone.
-
Make sure to pry off the small tab connected to the camera unit as well.
-


Annuleren: ik heb deze handleiding niet afgemaakt.
Één andere persoon heeft deze handleiding voltooid.
Team

USF Tampa, Team 1-6, Blackwell Winter 2015 Lid van USF Tampa, Team 1-6, Blackwell Winter 2015
USFT-BLACKWELL-W15S1G6
3 Leden
10 handleidingen geschreven