Inleiding
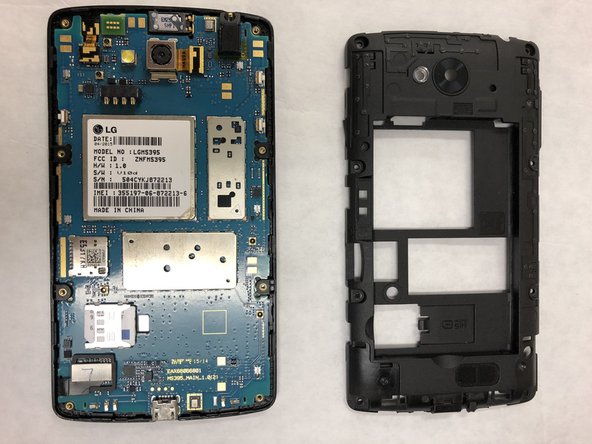
This guide will show how to replace a faulty or broken speaker on a LG Optimus F60. This process is not complicated and can take 8 minutes to complete.
Wat je nodig hebt
-
-
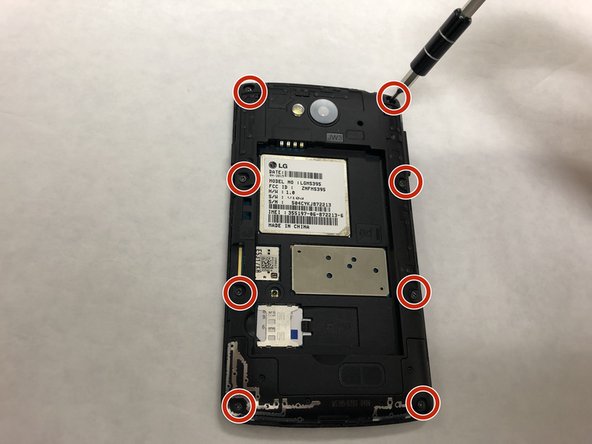
Hold the phone in your hand and position the small plastic opening tool or your finger under the lip of the phone by the USB port.
-
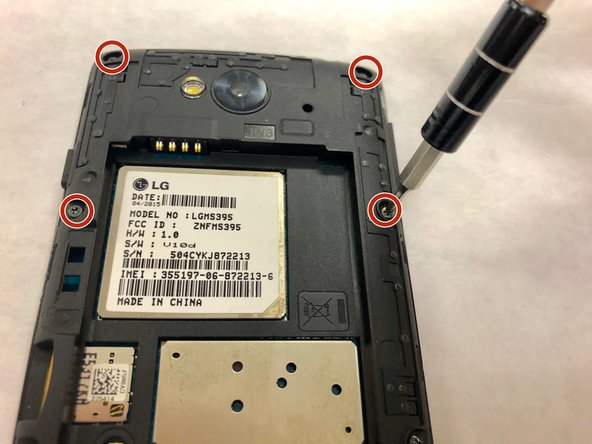
Pry or lift up on the indent with the opening tool.
-
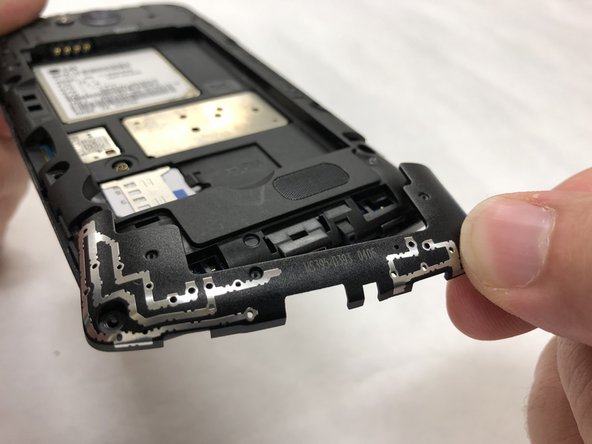
Remove the back panel.
-
-


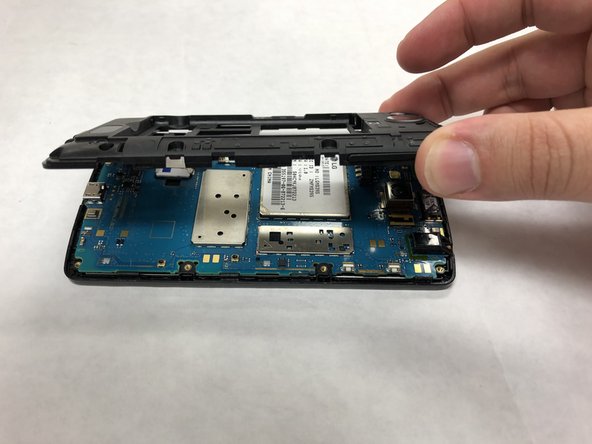


To reassemble your device, follow these instructions in reverse order.
To reassemble your device, follow these instructions in reverse order.
Annuleren: ik heb deze handleiding niet afgemaakt.
3 andere personen hebben deze handleiding voltooid.
Team

IUPUI, Team S2-G5, Henning Spring 2019 Lid van IUPUI, Team S2-G5, Henning Spring 2019
IUPUI-HENNING-S19S2G5
3 Leden
3 handleidingen geschreven