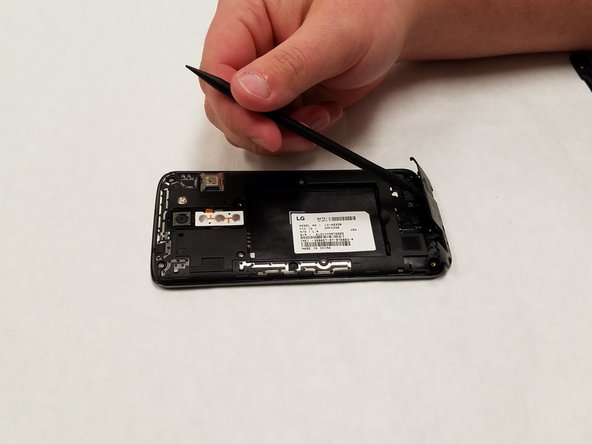
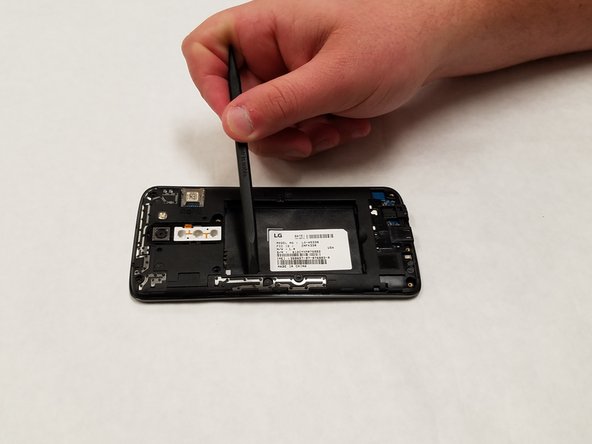
Ga door naar hoofdinhoud

LG K7 Screen Replacement

Wat je nodig hebt

  1. LG K7 Screen Replacement, Screen: stap 1, afbeelding 1 van 3 LG K7 Screen Replacement, Screen: stap 1, afbeelding 2 van 3 LG K7 Screen Replacement, Screen: stap 1, afbeelding 3 van 3
    • Place phone face-down and use your nail to pry the back off the back.

  2. LG K7 Screen Replacement: stap 2, afbeelding 1 van 2 LG K7 Screen Replacement: stap 2, afbeelding 2 van 2
    • Use a plastic spudger or your nail to lift the battery out of the device and put it aside.

    • The battery should come out with little effort. If it does not, do not force it.

  3. LG K7 Screen Replacement: stap 3, afbeelding 1 van 3 LG K7 Screen Replacement: stap 3, afbeelding 2 van 3 LG K7 Screen Replacement: stap 3, afbeelding 3 van 3
    • Use a Phillips #0 screwdriver to remove the single 3.5mm screw holding the power button and volume rocker in place and lift it out and put it to the side.

  4. LG K7 Screen Replacement: stap 4, afbeelding 1 van 3 LG K7 Screen Replacement: stap 4, afbeelding 2 van 3 LG K7 Screen Replacement: stap 4, afbeelding 3 van 3
    • Use a Phillips #0 screwdriver to unscrew the three 3.5mm screws in the bottom portion of the phone and put them to the side.

    • Use a spudger to pry the plastic bit off. Be warned, it will pop out and might fling itself when you attempt to pry it out.

  5. LG K7 Screen Replacement: stap 5, afbeelding 1 van 3 LG K7 Screen Replacement: stap 5, afbeelding 2 van 3 LG K7 Screen Replacement: stap 5, afbeelding 3 van 3
    • Use a spudger to pry the plastic bit off.

    • Warning, it will snap out and might fling itself when you attempt to pry it out.

  6. LG K7 Screen Replacement: stap 6, afbeelding 1 van 3 LG K7 Screen Replacement: stap 6, afbeelding 2 van 3 LG K7 Screen Replacement: stap 6, afbeelding 3 van 3
    • Use a Phillips #0 screwdriver to unscrew the five 3.5mm screws holding the housing into the device.

    • Use a spudger to pop it out of the back of the device exposing the motherboard.

  7. LG K7 Screen Replacement: stap 7, afbeelding 1 van 3 LG K7 Screen Replacement: stap 7, afbeelding 2 van 3 LG K7 Screen Replacement: stap 7, afbeelding 3 van 3
    • Use a plastic spudger to lift the motherboard out of the casing.

    • You must use a plastic tool for this step or you may risk damaging the motherboard.

  8. LG K7 Screen Replacement: stap 8, afbeelding 1 van 3 LG K7 Screen Replacement: stap 8, afbeelding 2 van 3 LG K7 Screen Replacement: stap 8, afbeelding 3 van 3
    • Turn the device over and locate the connector between the digitizer and the motherboard.

    • Use a plastic spudger to disconnect the connector.

  9. LG K7 Screen Replacement: stap 9, afbeelding 1 van 1
    • Turn the screen housing over and use a hair dryer to heat the screen.

    • This melts the adhesive between the screen and the housing, allowing you to separate the two.

    • Be sure to evenly heat the screen and take care not to burn yourself.

  10. LG K7 Screen Replacement: stap 10, afbeelding 1 van 1
    • Once the screen is heated, use a plastic spudger to attempt to peel the glass away from the housing.

    • This will take some time, so take care not to break the glass.

    • Once the spudger is under the glass, drag it around the edge and separate the glass and the housing.

  11. LG K7 Screen Replacement: stap 11, afbeelding 1 van 2 LG K7 Screen Replacement: stap 11, afbeelding 2 van 2
    • You have now successfully removed the screen and digitizer from the housing.

Conclusie

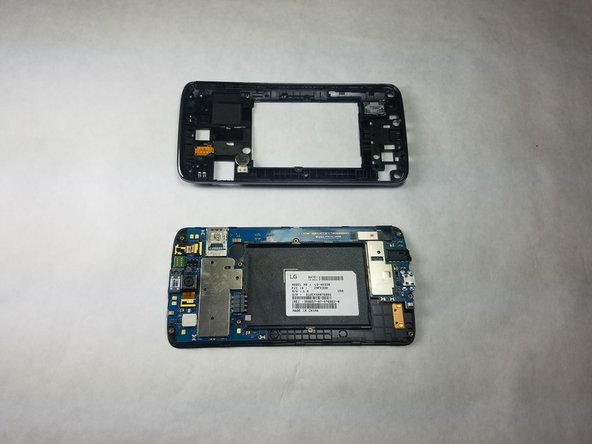
To reassemble your device, follow these instructions in reverse order.

8 andere personen hebben deze handleiding voltooid.

Christopher Chheng

Lid sinds: 11/01/18

559 Reputatie

2 handleidingen geschreven

Team

IUPUI, Team S3-G4, Harley Fall 2018 Lid van IUPUI, Team S3-G4, Harley Fall 2018

IUPUI-HARLEY-F18S3G4

3 Leden

4 handleidingen geschreven

0 opmerkingen

Voeg opmerking toe

Weergavestatistieken:

Afgelopen 24 uren: 0

Afgelopen 7 dagen: 1

Afgelopen 30 dagen: 9

Altijd: 1,717