Ga door naar hoofdinhoud

LG K40S Back Panel Replacement

Wat je nodig hebt

  1. LG K40S Back Panel Replacement, Precautions: stap 1, afbeelding 1 van 3 LG K40S Back Panel Replacement, Precautions: stap 1, afbeelding 2 van 3 LG K40S Back Panel Replacement, Precautions: stap 1, afbeelding 3 van 3
    • Power off your phone by holding the power key, pressing power off, then confirm.

    • Make sure that the battery of your phone is below 25% before opening to avoid battery fires should an accident happen.

  2. LG K40S Back Panel Replacement, Removing SIM & SD Card trays: stap 2, afbeelding 1 van 3 LG K40S Back Panel Replacement, Removing SIM & SD Card trays: stap 2, afbeelding 2 van 3 LG K40S Back Panel Replacement, Removing SIM & SD Card trays: stap 2, afbeelding 3 van 3
    • Use a SIM Eject tool (real one, bent paperclip or otherwise) to eject the 2 SIM & SD Card trays before removing them from the phone.

  3. LG K40S Back Panel Replacement, Removing back panel: stap 3, afbeelding 1 van 3 LG K40S Back Panel Replacement, Removing back panel: stap 3, afbeelding 2 van 3 LG K40S Back Panel Replacement, Removing back panel: stap 3, afbeelding 3 van 3
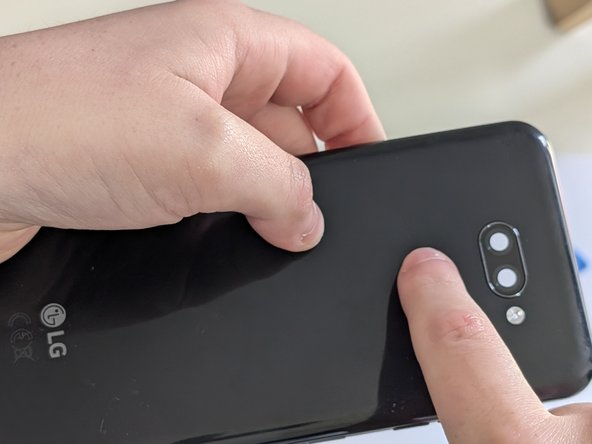
    • The back panel is made of plastic significantly reducing the chance of breakage compared to a glass back.

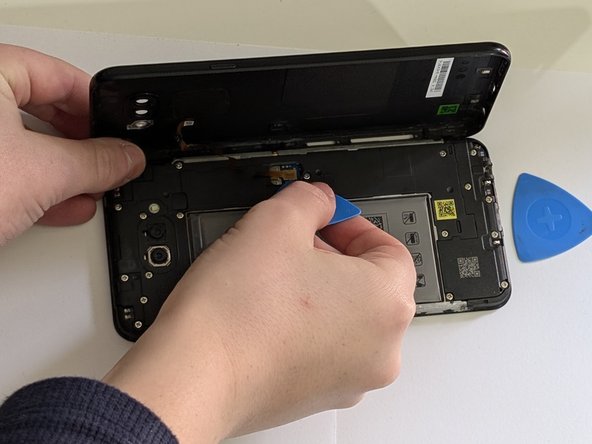
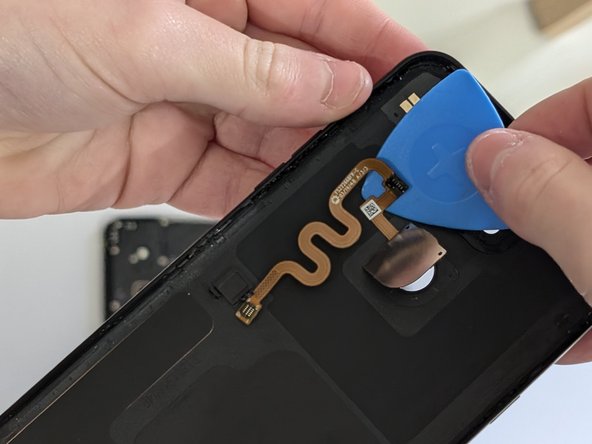
    • The back panel is held on with plastic clips and can be unclipped using plastic picks.

    • Be careful around the buttons so as to not damage the flex cables they reside on. The buttons on the back panel are seperate from the flex cable containing the buttons

    • Do not fully pull the back panel off straight away, you may rip the flex cable for the fingerprint scanner.

  4. LG K40S Back Panel Replacement, Disconnecting fingerprint scanner: stap 4, afbeelding 1 van 3 LG K40S Back Panel Replacement, Disconnecting fingerprint scanner: stap 4, afbeelding 2 van 3 LG K40S Back Panel Replacement, Disconnecting fingerprint scanner: stap 4, afbeelding 3 van 3
    • Open the back panel to the right as shown in image 1.

    • Disconnect the fingerprint scanner flex cable using a plastic pick or spudger

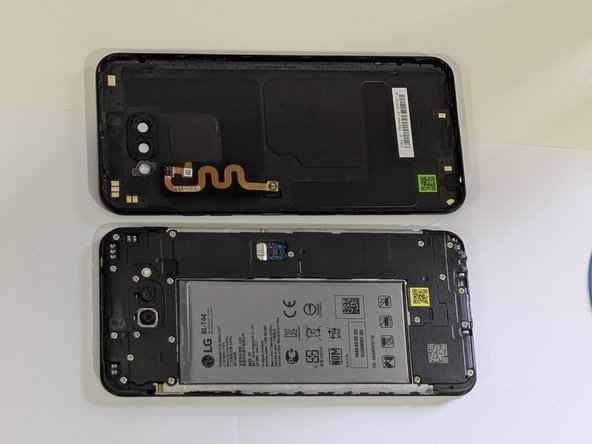
    • Pull the old back panel away from the phone.

  5. LG K40S Back Panel Replacement, Removing fingerprint scanner from old back panel: stap 5, afbeelding 1 van 3 LG K40S Back Panel Replacement, Removing fingerprint scanner from old back panel: stap 5, afbeelding 2 van 3 LG K40S Back Panel Replacement, Removing fingerprint scanner from old back panel: stap 5, afbeelding 3 van 3
    • This step can be skipped if you are also replacing the fingerprint scanner

    • Carefully remove the black tape covering the fingerprint scanner using your fingers or a plastic pick, being careful not to insert your pick too far if using one.

    • Carefully push the fingerprint scanner through the old back panel.

    • Use a plastic pick to carefully unadhere the flex cable from the old back panel.

    • Pull the fingerprint sensor away from the old back panel.

Conclusie

To reassemble your device, follow these instructions in reverse order making sure to reinstall the fingerprint scanner onto the new back panel.

JoshAtticus

Lid sinds: 04/08/23

275 Reputatie

2 handleidingen geschreven

0 opmerkingen

Voeg opmerking toe

Weergavestatistieken:

Afgelopen 24 uren: 0

Afgelopen 7 dagen: 6

Afgelopen 30 dagen: 15

Altijd: 105