Ga door naar hoofdinhoud

LG Dare Logic Board Replacement

Wat je nodig hebt

  1. LG Dare Logic Board Replacement, Battery: stap 1, afbeelding 1 van 2 LG Dare Logic Board Replacement, Battery: stap 1, afbeelding 2 van 2
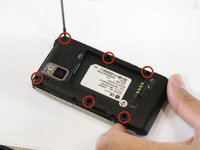
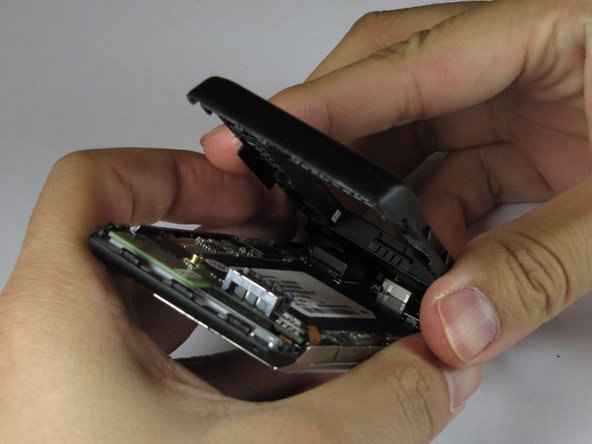
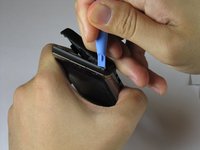
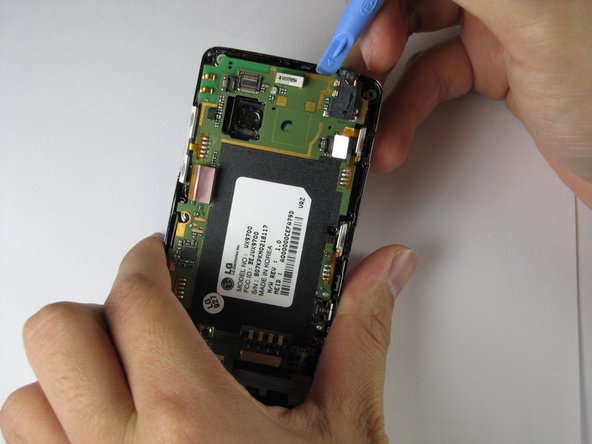
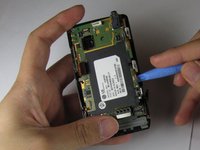
    • Remove the back cover by firmly pressing against the raised lip on the back panel. Slide the cover towards the top of the phone.

  2. LG Dare Logic Board Replacement: stap 2, afbeelding 1 van 3 LG Dare Logic Board Replacement: stap 2, afbeelding 2 van 3 LG Dare Logic Board Replacement: stap 2, afbeelding 3 van 3
    • Remove the battery by placing your fingernail or a opening tool in the recessed edge and lift the battery out.

  3. LG Dare Logic Board Replacement, Logic Board: stap 3, afbeelding 1 van 2 LG Dare Logic Board Replacement, Logic Board: stap 3, afbeelding 2 van 2
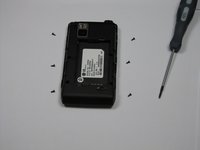
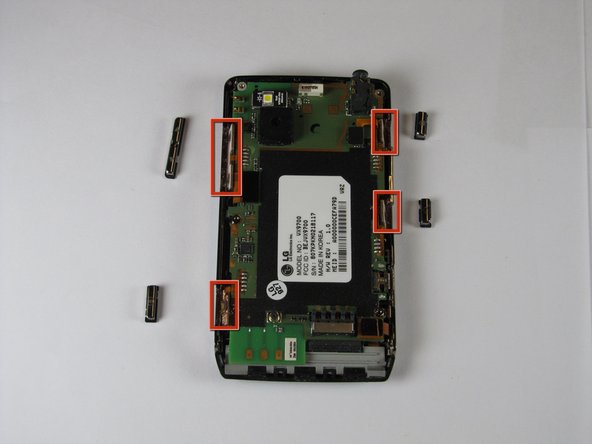
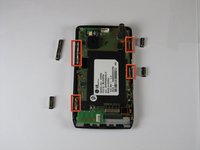
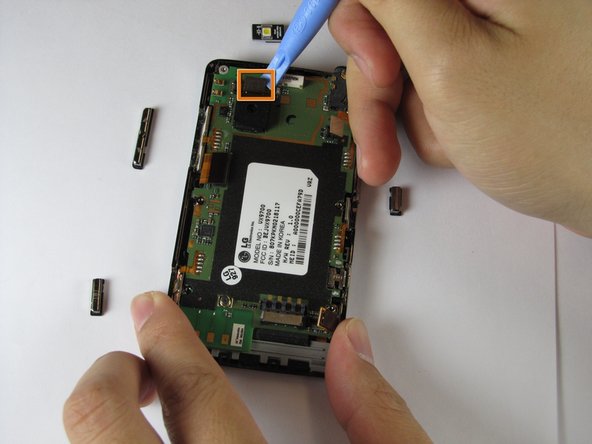
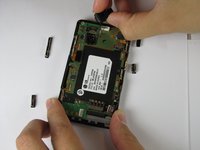
    • Use the #00 screwdriver to remove the six 4mm phillips screws located around the edges of the phone.

  4. LG Dare Logic Board Replacement: stap 4, afbeelding 1 van 3 LG Dare Logic Board Replacement: stap 4, afbeelding 2 van 3 LG Dare Logic Board Replacement: stap 4, afbeelding 3 van 3
    • Lift the back plastic cover off by moving the opening tool around the edges of the phone.

    • Wedging the opening tool in several places on the bottom of the phone will help release small tabs that hold the back to the front frame.

    • The side buttons may fall out when removing the back plastic.

  5. LG Dare Logic Board Replacement: stap 5, afbeelding 1 van 3 LG Dare Logic Board Replacement: stap 5, afbeelding 2 van 3 LG Dare Logic Board Replacement: stap 5, afbeelding 3 van 3
    • Pull off the back plastic panel.

    • Remove the buttons from the edge of the frame. The buttons are [lock], [volume control], [speaker], and [camera].

  6. LG Dare Logic Board Replacement: stap 6, afbeelding 1 van 1
    • Disconnect the three ribbon connectors from the motherboard.

  7. LG Dare Logic Board Replacement: stap 7, afbeelding 1 van 3 LG Dare Logic Board Replacement: stap 7, afbeelding 2 van 3 LG Dare Logic Board Replacement: stap 7, afbeelding 3 van 3
    • Remove the LED.

    • Remove the camera connector.

    • Remove the camera sensor from the logic board. Squeeze the sides of the camera sensor firmly and pull straight up.

  8. LG Dare Logic Board Replacement: stap 8, afbeelding 1 van 1
    • Open the USB port cover.

  9. LG Dare Logic Board Replacement: stap 9, afbeelding 1 van 3 LG Dare Logic Board Replacement: stap 9, afbeelding 2 van 3 LG Dare Logic Board Replacement: stap 9, afbeelding 3 van 3
    • Use the opening tool to lift up the green logic board in all areas and remove it.

    • The logic board may require some force to remove because it is taped to the plastic frame.

    • When removing the logic board, be careful not to tear any of the ribbon cables or side buttons.

Conclusie

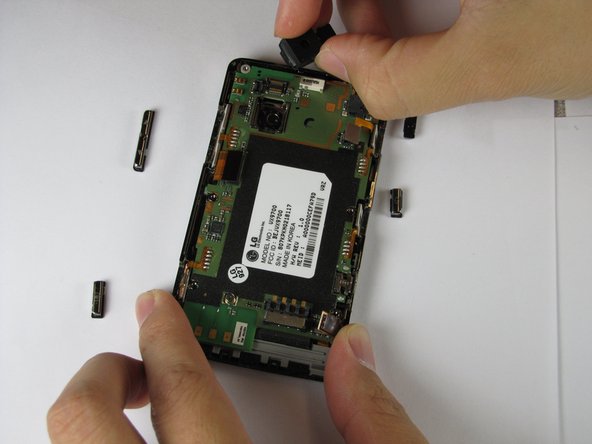
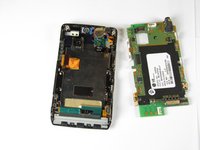
To re-assemble your device, follow these instructions in reverse order.

2 andere personen hebben deze handleiding voltooid.

Haoyan Huang

Lid sinds: 01/26/12

139 Reputatie

4 handleidingen geschreven

Team

Cal Poly, Team 9-4, Regan Winter 2012 Lid van Cal Poly, Team 9-4, Regan Winter 2012

CPSU-REGAN-W12S9G4

5 Leden

10 handleidingen geschreven

0 opmerkingen

Voeg opmerking toe

Weergavestatistieken:

Afgelopen 24 uren: 0

Afgelopen 7 dagen: 0

Afgelopen 30 dagen: 1

Altijd: 2,156