Introduction
This guide will explain how to remove both the outside and inside LCD screens. This is a fairly difficult guide for the LG CU515 SKU 64743 Device. Removing the LCD screens will require many tools and steps. However, this guide will take you through each step in detail so as to make the process as easy as possible.
What you need
-
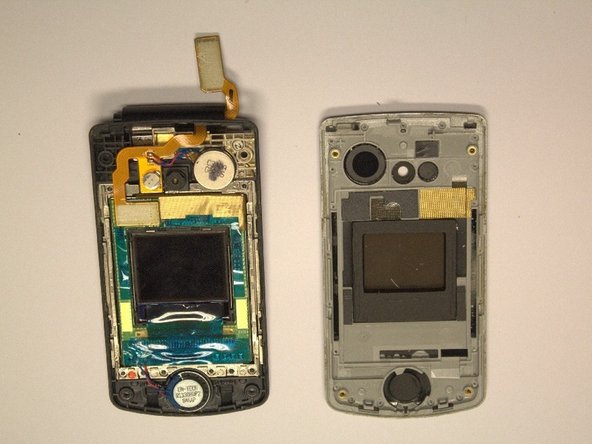
Step 1 Front Cover
Careful: steps 1-5 are sourced from a guide that's marked as in-progress.
-
Separate the top half of the clamshell from the bottom half by first locating the two hinges.
-
Carefully pull to one side and immediately up. The top part should pop out of the hinge. Next slide the opposite direction to pull out of the other hinge.
-
-
-
-
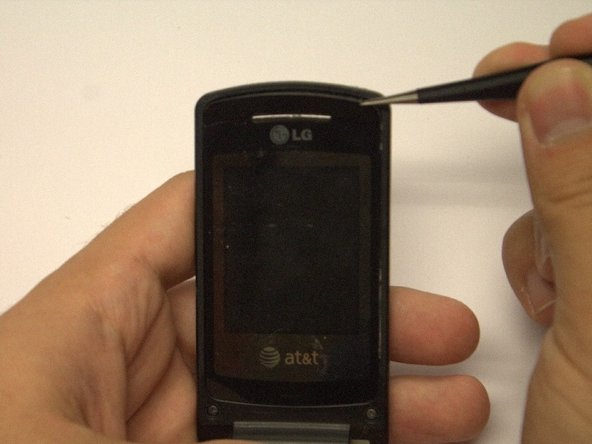
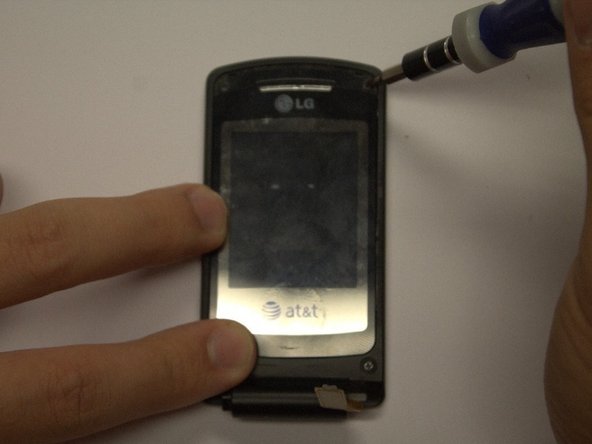
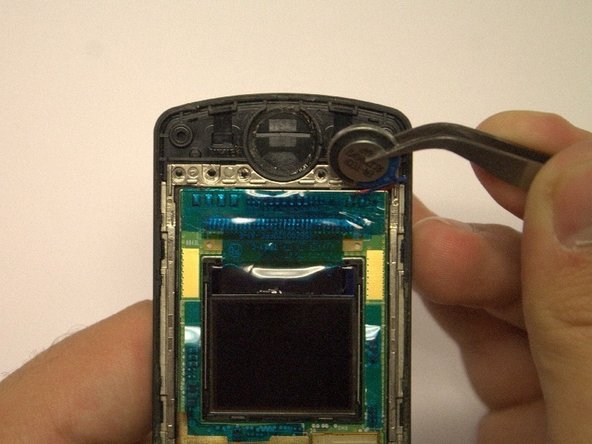
Carefully pry around the crevice of the entire plastic screen covering using a pry bar or some other type of sharp tool.
-
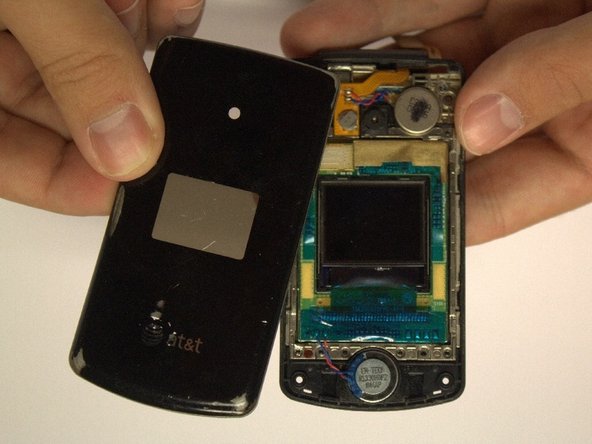
Once you have pried all the way around, using tweezers to pull the plastic screen completely off.
-
-
-
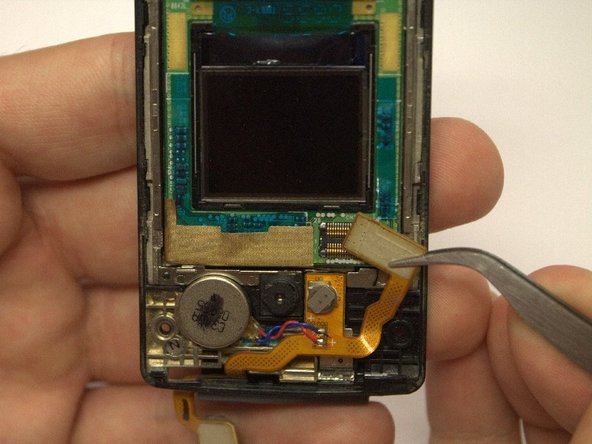
Locate the ribbon cable connection that attaches to the screen's circuit board.
-
Using the tweezers, carefully grab the corner of the rectangle and unplug the cable.
-


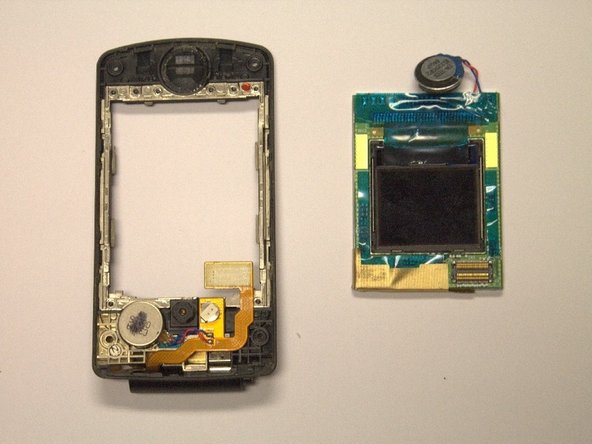
To reassemble your device, follow these instructions in reverse order.
To reassemble your device, follow these instructions in reverse order.