Ga door naar hoofdinhoud

LCD Screen Replacement

Wat je nodig hebt

  1. LCD Screen  Replacement, Battery Door: stap 1, afbeelding 1 van 1
    • Remove the M3 x 4mm screws from the bottom of your device as indicated by the picture. using the Philips Head J0 Screw Driver Bit .

  2. LCD Screen  Replacement: stap 2, afbeelding 1 van 1
    • Use your Philips Head Screwdriver to remove the M3 x 4mm screws from the left side of the device as indicated by the pictures.

  3. LCD Screen  Replacement: stap 3, afbeelding 1 van 1
    • Use your Philips Head Screwdriver to remove the M3 x 4mm screws from the right side of the device as indicated by the pictures.

  4. LCD Screen  Replacement: stap 4, afbeelding 1 van 2 LCD Screen  Replacement: stap 4, afbeelding 2 van 2
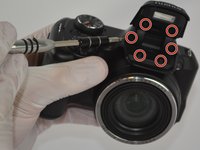
    • Use your Philips Head Screwdriver to remove the M3 x 4mm screws from the camera flash lid as indicated by the picture.

    • Remove the plastic cover from the flash lid by gentle pulling them apart or using the plastic opening tool.

  5. LCD Screen  Replacement: stap 5, afbeelding 1 van 1
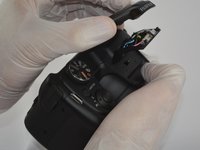
    • Fold the lid down in order to access and remove the final M3 x 4mm screw using your Philips Head Screwdriver.

  6. LCD Screen  Replacement: stap 6, afbeelding 1 van 3 LCD Screen  Replacement: stap 6, afbeelding 2 van 3 LCD Screen  Replacement: stap 6, afbeelding 3 van 3
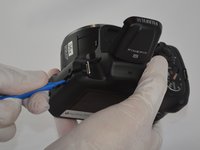
    • Use the plastic opening tool to pry the back and front casings of the camera apart.

    • Once pried apart use your hands to pull off the back plate of the camera.

    • You will need to apply a little bit of force to remove the back plate.

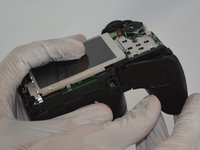
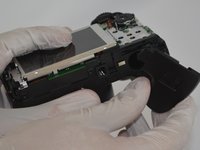
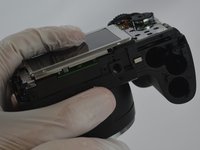
  7. LCD Screen  Replacement: stap 7, afbeelding 1 van 3 LCD Screen  Replacement: stap 7, afbeelding 2 van 3 LCD Screen  Replacement: stap 7, afbeelding 3 van 3
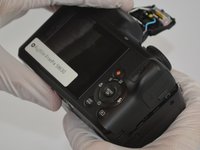
    • Once the back plate is removed twist the battery cover clockwise and it should easily dislodge.

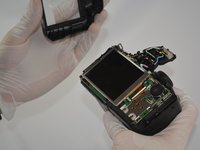
  8. LCD Screen  Replacement, LCD Screen: stap 8, afbeelding 1 van 3 LCD Screen  Replacement, LCD Screen: stap 8, afbeelding 2 van 3 LCD Screen  Replacement, LCD Screen: stap 8, afbeelding 3 van 3
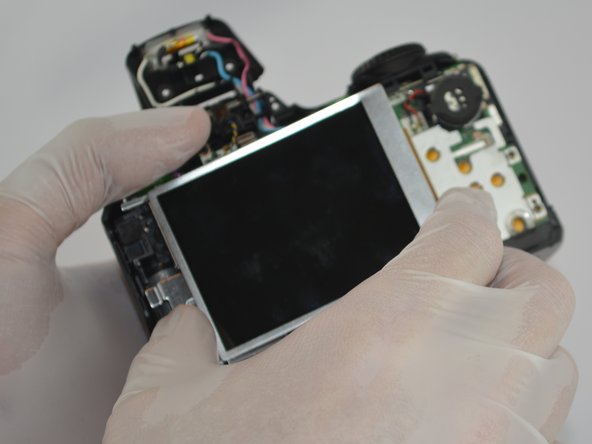
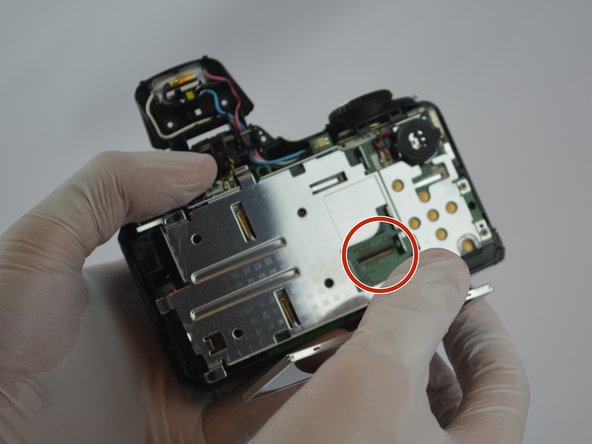
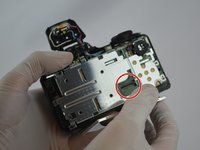
    • Gently pull the tab out of the motherboard and then the LCD screen should easily be removed.

Conclusie

To reassemble your device, follow these instructions in reverse order.

Één andere persoon heeft deze handleiding voltooid.

Colton Lancsarics

Lid sinds: 02/10/16

731 Reputatie

6 handleidingen geschreven

Team

USF Tampa, Team 3-2, Sullivan Spring 2016 Lid van USF Tampa, Team 3-2, Sullivan Spring 2016

USFT-SULLIVAN-S16S3G2

4 Leden

12 handleidingen geschreven

0 opmerkingen

Voeg opmerking toe

Weergavestatistieken:

Afgelopen 24 uren: 0

Afgelopen 7 dagen: 4

Afgelopen 30 dagen: 8

Altijd: 551