Ga door naar hoofdinhoud

Kyocera Hydro Vibe Headphone Jack Replacement

Wat je nodig hebt

  1. Kyocera Hydro Vibe Headphone Jack Replacement, Headphone Jack: stap 1, afbeelding 1 van 3 Kyocera Hydro Vibe Headphone Jack Replacement, Headphone Jack: stap 1, afbeelding 2 van 3 Kyocera Hydro Vibe Headphone Jack Replacement, Headphone Jack: stap 1, afbeelding 3 van 3
    • Pop the back plate off by using your hands or a spudger.

  2. Kyocera Hydro Vibe Headphone Jack Replacement: stap 2, afbeelding 1 van 3 Kyocera Hydro Vibe Headphone Jack Replacement: stap 2, afbeelding 2 van 3 Kyocera Hydro Vibe Headphone Jack Replacement: stap 2, afbeelding 3 van 3
    • Remove the trim from the phone by carefully prying it away using your hands.

  3. Kyocera Hydro Vibe Headphone Jack Replacement: stap 3, afbeelding 1 van 2 Kyocera Hydro Vibe Headphone Jack Replacement: stap 3, afbeelding 2 van 2
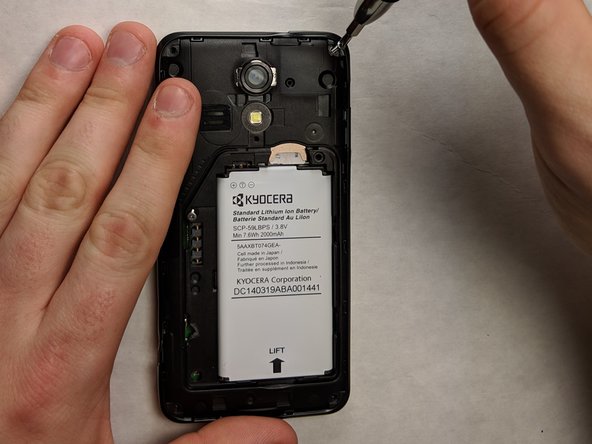
    • Remove six Phillips screws (screw length of 5.35 mm and screw head diameter of 2.95mm) on the back of the device using a Phillips #000 screwdriver.

  4. Kyocera Hydro Vibe Headphone Jack Replacement: stap 4, afbeelding 1 van 3 Kyocera Hydro Vibe Headphone Jack Replacement: stap 4, afbeelding 2 van 3 Kyocera Hydro Vibe Headphone Jack Replacement: stap 4, afbeelding 3 van 3
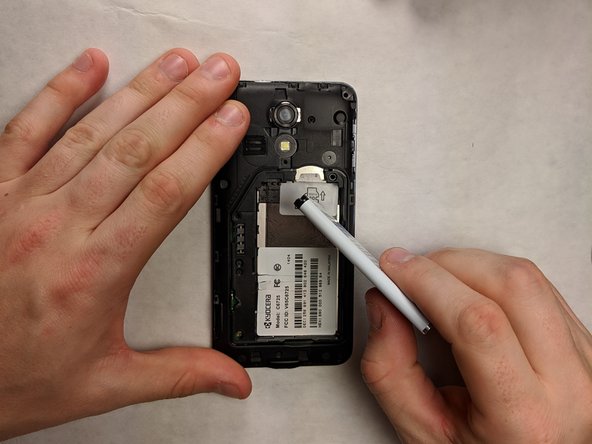
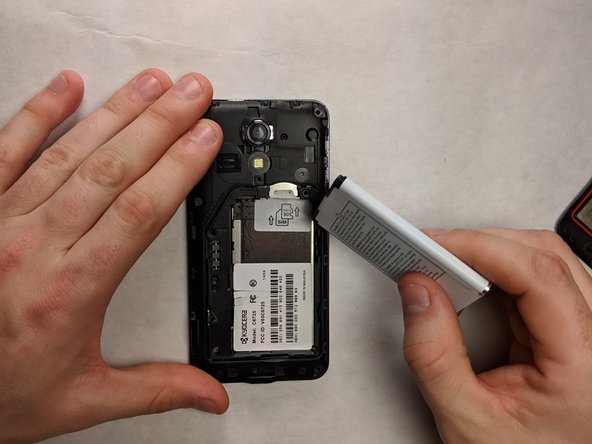
    • Remove the battery by popping it out of the phone by using your hands or the spudger to pry it up out of the case.

  5. Kyocera Hydro Vibe Headphone Jack Replacement: stap 5, afbeelding 1 van 2 Kyocera Hydro Vibe Headphone Jack Replacement: stap 5, afbeelding 2 van 2
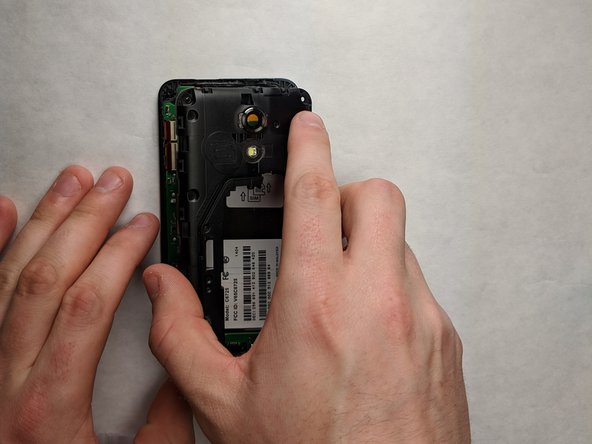
    • Remove the inner plate from the phone using the spudger or your fingers.

  6. Kyocera Hydro Vibe Headphone Jack Replacement: stap 6, afbeelding 1 van 3 Kyocera Hydro Vibe Headphone Jack Replacement: stap 6, afbeelding 2 van 3 Kyocera Hydro Vibe Headphone Jack Replacement: stap 6, afbeelding 3 van 3
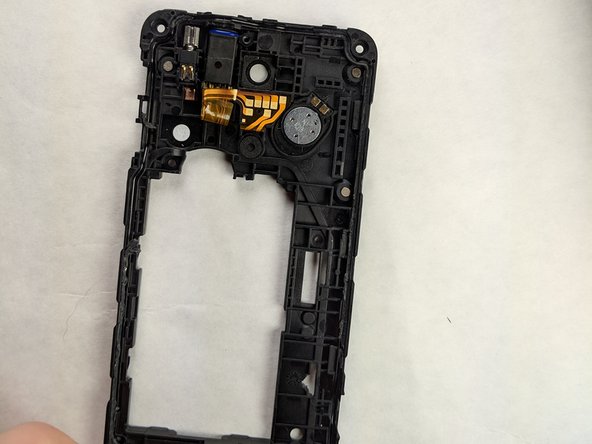
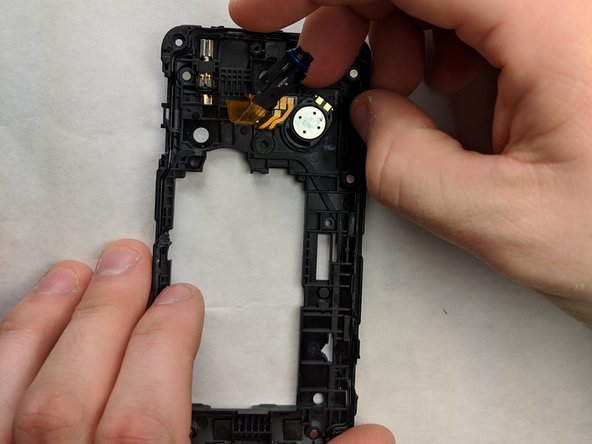
    • Remove the headphone jack using the spudger to push down on the jack to dislodge it from the phone.

    • Once the headphone jack is dislodged, you can disconnect the ribbon cable by carefully pulling it out.

Conclusie

To reassemble your device, follow these instructions in reverse order.

Één andere persoon heeft deze handleiding voltooid.

Katherine Pfeiffer

Lid sinds: 11/01/18

154 Reputatie

1 Handleiding geschreven

Team

IUPUI, Team S3-G6, Harley Fall 2018 Lid van IUPUI, Team S3-G6, Harley Fall 2018

IUPUI-HARLEY-F18S3G6

3 Leden

4 handleidingen geschreven

0 opmerkingen

Voeg opmerking toe

Weergavestatistieken:

Afgelopen 24 uren: 0

Afgelopen 7 dagen: 1

Afgelopen 30 dagen: 2

Altijd: 229