Ga door naar hoofdinhoud

Kailh Silent Brown Switch Lubrication

Wat je nodig hebt

  1. Kailh Silent Brown Switch Lubrication, Open switch: stap 1, afbeelding 1 van 2 Kailh Silent Brown Switch Lubrication, Open switch: stap 1, afbeelding 2 van 2
    • Use the kailh style opener.

    • Press firmly on both sides when lined up correctly.

    • Be careful to not pop off the protection cover, if it does pop off skip to step 10.
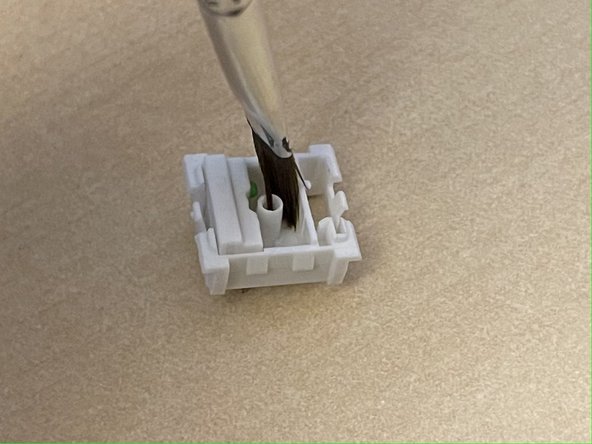
  2. Kailh Silent Brown Switch Lubrication, Prepare brush: stap 2, afbeelding 1 van 1
    • Dip brush in lube.

    • Use lid of the lube to take off most of the lube on the brush

  3. Kailh Silent Brown Switch Lubrication, Lube base: stap 3, afbeelding 1 van 2 Kailh Silent Brown Switch Lubrication, Lube base: stap 3, afbeelding 2 van 2
    • Take you brush and twirl it around in the base.

  4. Kailh Silent Brown Switch Lubrication, Lube the stems: stap 4, afbeelding 1 van 1
    • To preserve tactility only lube the back.

    • Lube in one or two strokes.

  5. Kailh Silent Brown Switch Lubrication, Lube cover: stap 5, afbeelding 1 van 1
    • Lube the rails on each side of the cover.

  6. Kailh Silent Brown Switch Lubrication, Lube springs: stap 6, afbeelding 1 van 1
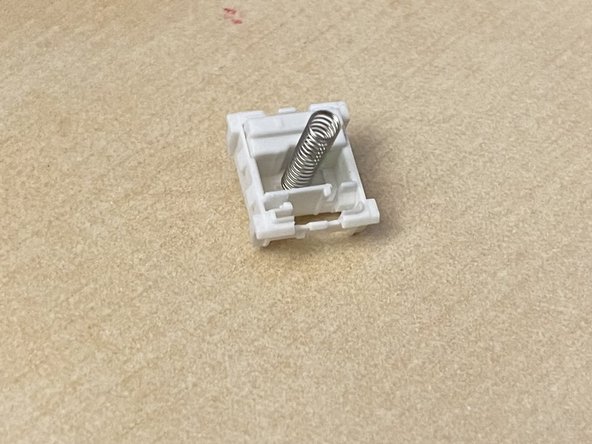
    • Put all the springs in a bag.

    • Add the liquid lube and mix it in with the springs

    • Then put them on a paper towel and separate them.

  7. Kailh Silent Brown Switch Lubrication, Put spring onto base: stap 7, afbeelding 1 van 2 Kailh Silent Brown Switch Lubrication, Put spring onto base: stap 7, afbeelding 2 van 2
    • Insert the spring onto the protrusion.

  8. Kailh Silent Brown Switch Lubrication, Put stem into  the cover: stap 8, afbeelding 1 van 1
    • Insert wisdom here.

  9. Kailh Silent Brown Switch Lubrication, assemble switch: stap 9, afbeelding 1 van 1
    • When putting it together face the bump of the stem towards the green push rod.

  10. Kailh Silent Brown Switch Lubrication, If protection cover comes off: stap 10, afbeelding 1 van 1
    • Use tweezers to put the green push rod into the position, and then put the protection cover over it.

Conclusie

To reassemble your device, follow these instructions in reverse order.

Één andere persoon heeft deze handleiding voltooid.

Ben raef

Lid sinds: 10/22/21

241 Reputatie

1 Handleiding geschreven

0 opmerkingen

Voeg opmerking toe

Weergavestatistieken:

Afgelopen 24 uren: 1

Afgelopen 7 dagen: 8

Afgelopen 30 dagen: 30

Altijd: 1,240