Ga door naar hoofdinhoud

KBD67 Lite R4 Keyboard Keys Replacement

Wat je nodig hebt

  1. KBD67 Lite R4 Keyboard Keys Replacement, Remove Keycaps: stap 1, afbeelding 1 van 3 KBD67 Lite R4 Keyboard Keys Replacement, Remove Keycaps: stap 1, afbeelding 2 van 3 KBD67 Lite R4 Keyboard Keys Replacement, Remove Keycaps: stap 1, afbeelding 3 van 3
    • Place keyboard on top of a flat table.

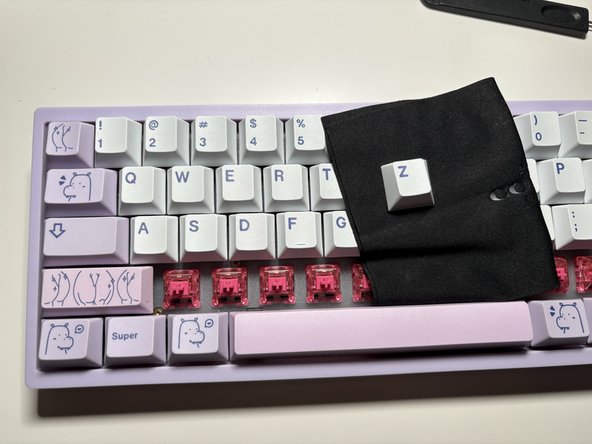
    • Remove keycaps manually or with a key cap puller, as demonstrated.

    • Organize tools to prevent loss.

  2. KBD67 Lite R4 Keyboard Keys Replacement, Remove switches from PCB: stap 2, afbeelding 1 van 3 KBD67 Lite R4 Keyboard Keys Replacement, Remove switches from PCB: stap 2, afbeelding 2 van 3 KBD67 Lite R4 Keyboard Keys Replacement, Remove switches from PCB: stap 2, afbeelding 3 van 3
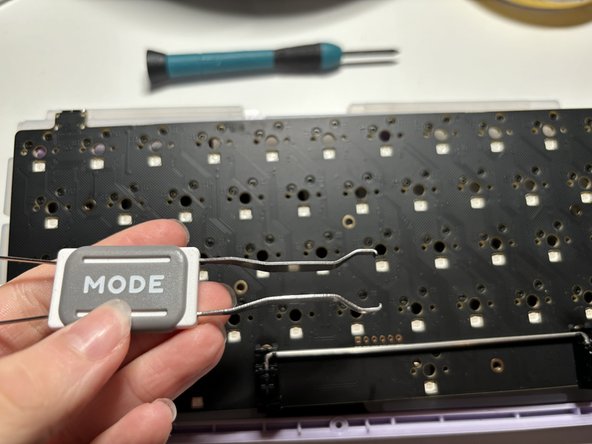
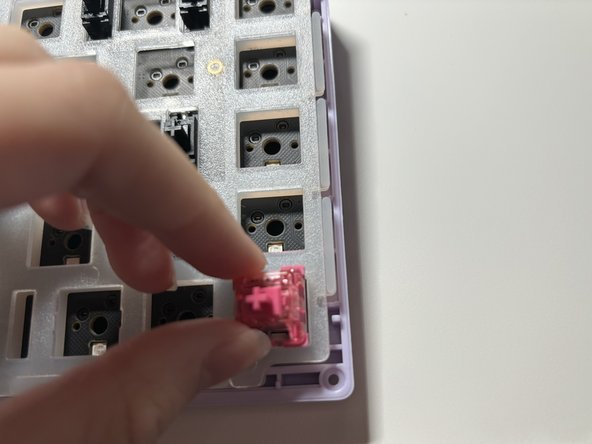
    • These images showcase the correct utilization of a key switch puller.

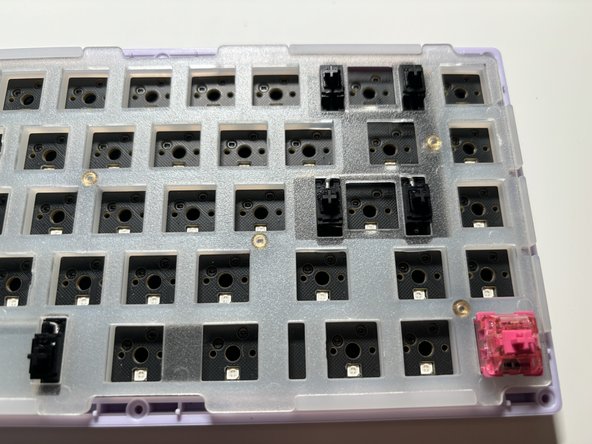
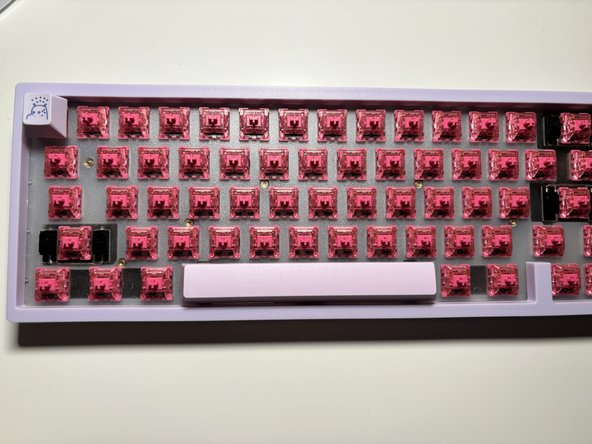
    • Remove switches either manually or with a key switch puller.

    • A switch puller is recommended as hand removal might be difficult.

  3. KBD67 Lite R4 Keyboard Keys Replacement, Remove case (unscrew from back): stap 3, afbeelding 1 van 3 KBD67 Lite R4 Keyboard Keys Replacement, Remove case (unscrew from back): stap 3, afbeelding 2 van 3 KBD67 Lite R4 Keyboard Keys Replacement, Remove case (unscrew from back): stap 3, afbeelding 3 van 3
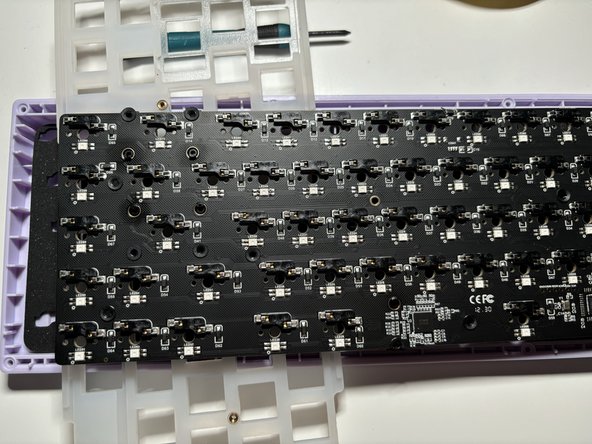
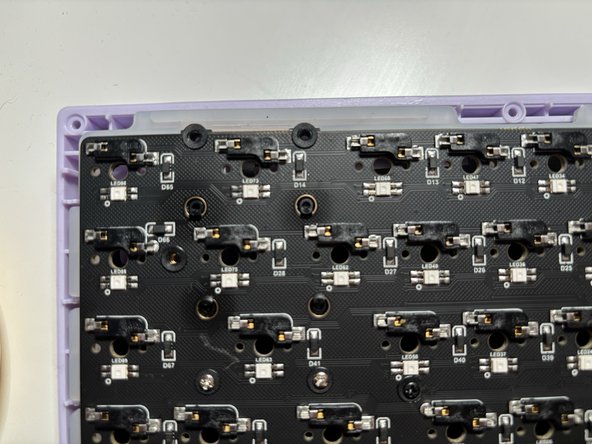
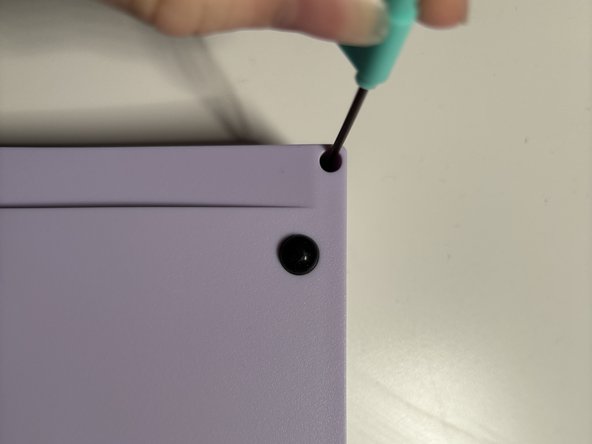
    • Use screwdriver to unscrew the eight screws on back of keyboard.

    • Make sure to secure screws for later use.

  4. KBD67 Lite R4 Keyboard Keys Replacement, Remove PCB from case: stap 4, afbeelding 1 van 3 KBD67 Lite R4 Keyboard Keys Replacement, Remove PCB from case: stap 4, afbeelding 2 van 3 KBD67 Lite R4 Keyboard Keys Replacement, Remove PCB from case: stap 4, afbeelding 3 van 3
    • Unscrew the PCB from case.

    • Avoid placing the PCB on static-prone surfaces to prevent it from shorting the switch sockets.

  5. KBD67 Lite R4 Keyboard Keys Replacement, Unscrew the stabilizers: stap 5, afbeelding 1 van 3 KBD67 Lite R4 Keyboard Keys Replacement, Unscrew the stabilizers: stap 5, afbeelding 2 van 3 KBD67 Lite R4 Keyboard Keys Replacement, Unscrew the stabilizers: stap 5, afbeelding 3 van 3
    • Unscrew the stabilizers from the back of the PCB.

    • Keep track of the noise-reducing foam stickers screwed between the PCB and keyboard switches.

  6. KBD67 Lite R4 Keyboard Keys Replacement, Pull Stabilizers out of PCB: stap 6, afbeelding 1 van 3 KBD67 Lite R4 Keyboard Keys Replacement, Pull Stabilizers out of PCB: stap 6, afbeelding 2 van 3 KBD67 Lite R4 Keyboard Keys Replacement, Pull Stabilizers out of PCB: stap 6, afbeelding 3 van 3
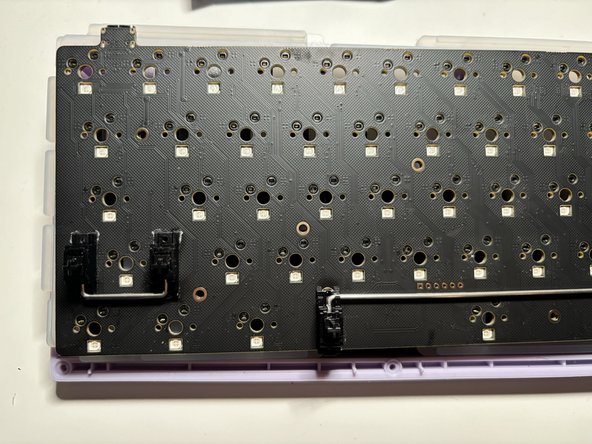
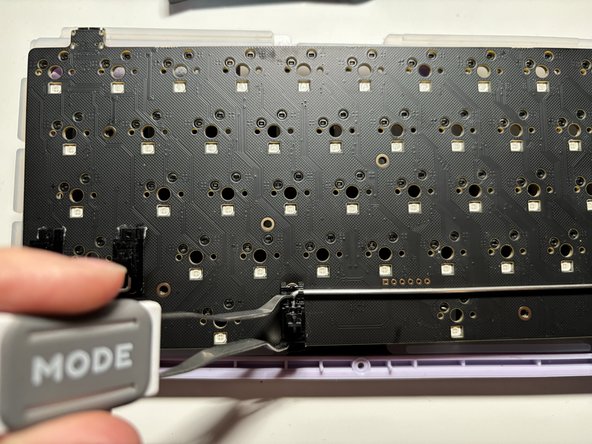
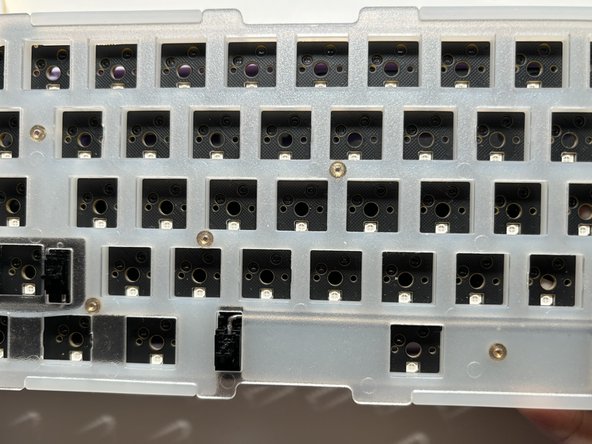
    • Use switch puller to take out stabilizers.

    • Once the stabilizers are unscrewed from the back, they can be removed from the PCB.

    • This completes the disassembly of the keyboard. Place the PCB in a static-free area.

  7. KBD67 Lite R4 Keyboard Keys Replacement, Place PCB on foam and plastic cover: stap 7, afbeelding 1 van 3 KBD67 Lite R4 Keyboard Keys Replacement, Place PCB on foam and plastic cover: stap 7, afbeelding 2 van 3 KBD67 Lite R4 Keyboard Keys Replacement, Place PCB on foam and plastic cover: stap 7, afbeelding 3 van 3
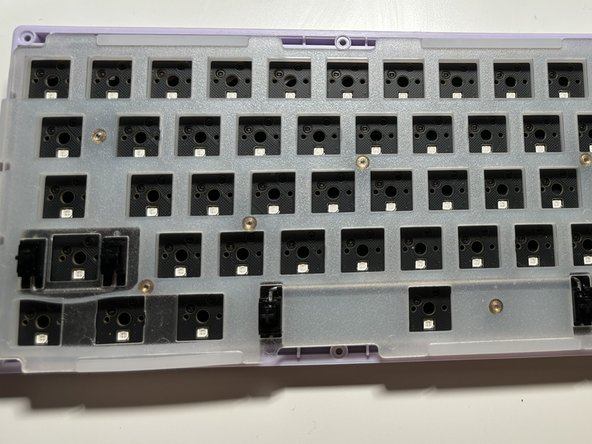
    • Place the plastic and foam cover on the bottom of the keyboard case.

    • The PCB sits on top of the foam cover.

  8. KBD67 Lite R4 Keyboard Keys Replacement, Put stabilizers back onto PCB: stap 8, afbeelding 1 van 3 KBD67 Lite R4 Keyboard Keys Replacement, Put stabilizers back onto PCB: stap 8, afbeelding 2 van 3 KBD67 Lite R4 Keyboard Keys Replacement, Put stabilizers back onto PCB: stap 8, afbeelding 3 van 3
    • Ensure noise-reducing foam stickers are in position before attaching the stabilizers.

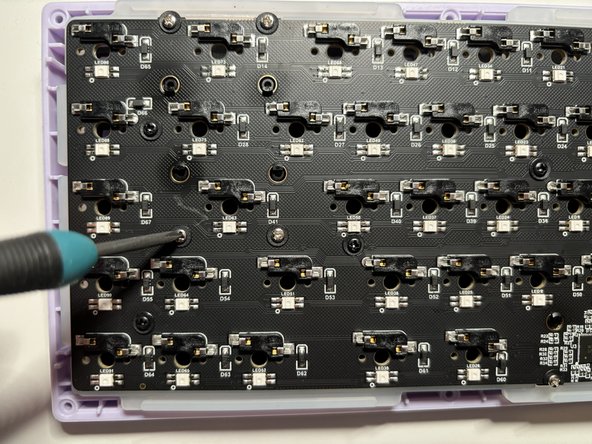
    • Install stabilizers onto the PCB.

    • Screw where applicable.

  9. KBD67 Lite R4 Keyboard Keys Replacement, Replace switches into hot swap PCB: stap 9, afbeelding 1 van 3 KBD67 Lite R4 Keyboard Keys Replacement, Replace switches into hot swap PCB: stap 9, afbeelding 2 van 3 KBD67 Lite R4 Keyboard Keys Replacement, Replace switches into hot swap PCB: stap 9, afbeelding 3 van 3
    Gereedschap gebruikt in deze stap:
    Microfiber Cleaning Cloths
    $3.99
    Koop
    • Do not bend the switch pins.

    • Optional: You can clean the switches with a microfiber cloth.

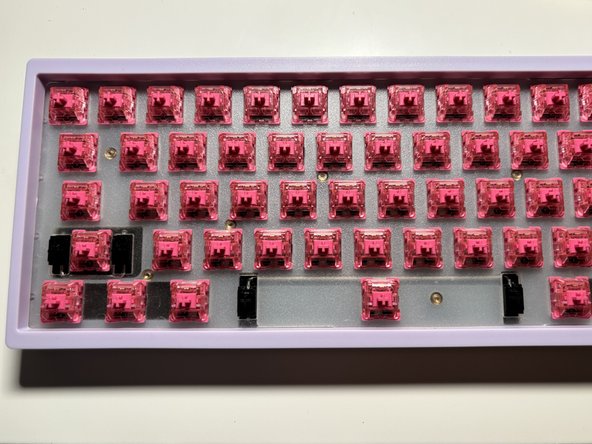
    • Align the key switch pins with the corresponding holes on the PCB.

  10. KBD67 Lite R4 Keyboard Keys Replacement, Put PCB back into the case: stap 10, afbeelding 1 van 3 KBD67 Lite R4 Keyboard Keys Replacement, Put PCB back into the case: stap 10, afbeelding 2 van 3 KBD67 Lite R4 Keyboard Keys Replacement, Put PCB back into the case: stap 10, afbeelding 3 van 3
    • Use the eight screws saved from the third step.

    • Screw where applicable.

  11. KBD67 Lite R4 Keyboard Keys Replacement, Choose keycaps for Switches: stap 11, afbeelding 1 van 3 KBD67 Lite R4 Keyboard Keys Replacement, Choose keycaps for Switches: stap 11, afbeelding 2 van 3 KBD67 Lite R4 Keyboard Keys Replacement, Choose keycaps for Switches: stap 11, afbeelding 3 van 3
    • Choose keycaps to place onto switches.

    • Optional: If you would like, clean the keycaps with a microfiber cloth or a bristled toothbrush before reattaching them.

  12. KBD67 Lite R4 Keyboard Keys Replacement, Test the switches and PCB: stap 12, afbeelding 1 van 2 KBD67 Lite R4 Keyboard Keys Replacement, Test the switches and PCB: stap 12, afbeelding 2 van 2
    • Plug the keyboard into a device of your choice and test its functions using appropriate software.

Conclusie

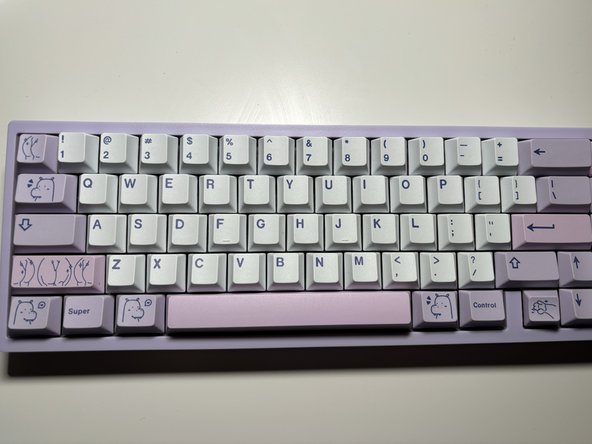
To reassemble your device, follow these instructions in reverse order.

Nathan Vieux

Lid sinds: 12/04/23

205 Reputatie

1 Handleiding geschreven

0 opmerkingen

Voeg opmerking toe

Weergavestatistieken:

Afgelopen 24 uren: 0

Afgelopen 7 dagen: 3

Afgelopen 30 dagen: 10

Altijd: 70