Inleiding
Warning only attempt this as a last resort if you need to.
Thank you to all those that commented / contributed to this and the other Jura guides
Wat je nodig hebt
-
-
FRONT
-
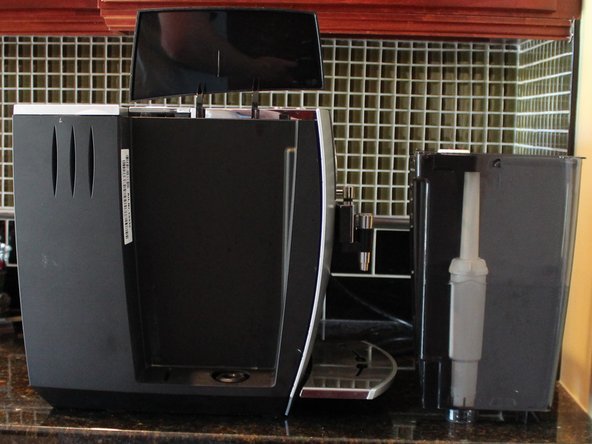
I thought I would start with lots of photos so you can see if you, in fact, have the same model, the J5, or, if you are trying to repair a similar one, what the differences are.
-
As I said in the introduction, I have divided the device into the following six sections: Top, Bottom, Front, Back, Left and Right.
-
-
-
Beginning the Disassembly
-
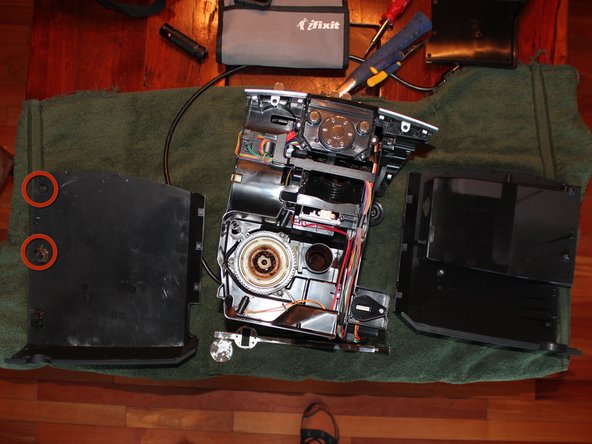
I recommend performing this on top of an old towel, or something similar, to protect the coffee maker as well as the work surface and because some ground coffee tends to fall out of various crevices in the machine.
-
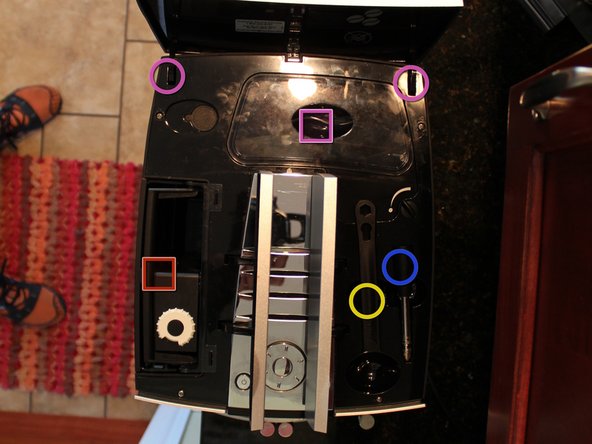
Remove: all four tray pieces (marked with red squares in the first photo), and the frothing attachment(s) (marked with a green circle in the first photo; you may have a second frothing attachment in the top storage area (blue circle, photo 2)).
-
Remove: the water container (marked with a red square), the coffee scoop (yellow circle), and the coffee bean aroma preservation cover (pink square), all the unground beans from the hopper (you can gently dump them out after you have removed everything else by turning the machine over).
-
You can (optionally) remove the top back cover by gently wiggling each of the hinge points (marked with pink circles) up while it is open. Gentle pressure from side to side may release the hinges. Also loosen the captive screw on the bean area and then you can remove that grate by gently squeezing together the two hinge points.
-
[You can click on the photos to see them enlarged. Alternatively, 1. choose the orange cog wheel in the photo and choose 'Full Screen', or, 2. use Ctrl and + (incl =) in your browser to enlarge the whole page. Use Ctrl - to shrink.]
-
-
-
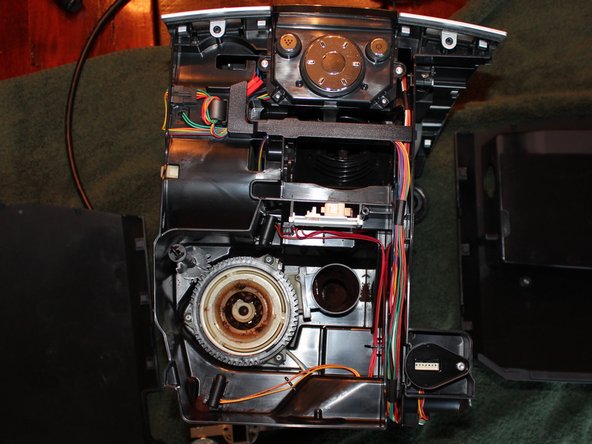
Five screws labeled with the red circles need to be removed before the top can be taken off. One under each of the left and right top hinged covers, two under the top back cover and of the two under the ground coffee top door, the one nearest the water tank (the other one holds the chrome plastic to the top).
-
The original black screws were very hard to get out but I had luck with the needle nose pliers in my trusty Leatherman Charge model multi-tool. I tried with several alternative needle nose pliers.
-
There are specific Jura tools available from internet auction sites, tools that accept the slightly oval shaped heads of the recessed 'blind' screws.
-
I threw those screws away and replaced them with simple Phillips-head ones - that is why they appear silver in the photo while yours are probably black. I am pretty sure the manufacture does not want us to peek inside :o)
-
Note: when putting the top back on you need to align the position of the bean grinder adjustment knob with the linkage below. It should line up easily unless you accidentally moved it (marked with a green circle).
-
Taking a close-up photo of the mechanism, in 'macro' mode, is recommended. If you find the photo is too dark, set the flash to 'On', and place a finger over 3/4 of the flash light when you take the photo - since full flash would be far too intense for a close shot.
-
-
-
You can do this step before or after you remove the top.
-
Careful, it is easily broken! (I re-attached mine tastefully with tape, having broken the attachment points. ;o) )
-
Take a piece of tape, preferably painters tape, and make a small tape T-handle on the rear Jura badge. A small piece of rubber might work or you might be able to get it off with just clean fingers and skin friction.
-
Carefully push in and twist it to the left ~1/10 of a turn. Then, when you feel that it has come loose, pull it gently out to remove it. It is held in place by little lugs and pressure tangs.
-
After the rear Jura badge has been removed, behind it you will find two T15 Torx screws marked with red circles in the second picture. They must be removed.
-
You can then gently wiggle free the vertical plastic chrome piece that is on the rear - pull out and set that aside.
-
-
-
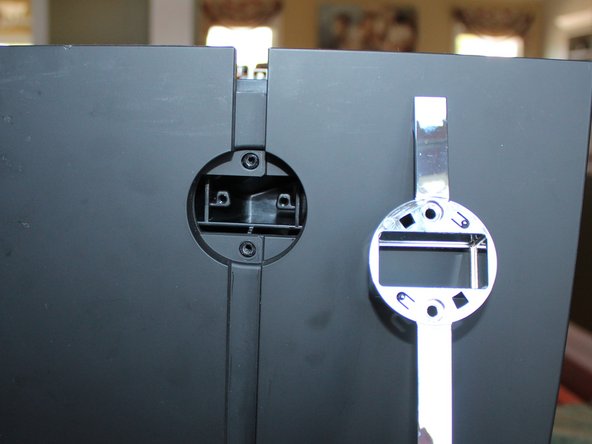
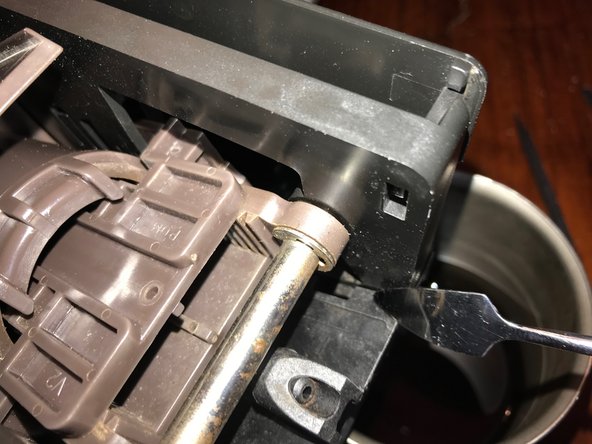
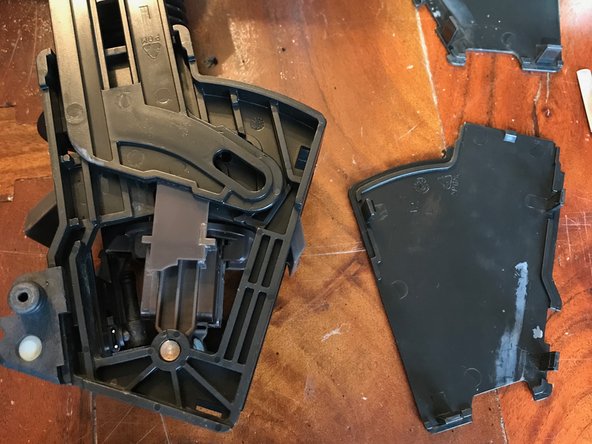
The T15 screw marked in red is the last screw you need to remove before the left and right side covers can be removed
-
Slide the right black (or white) side piece ~5 mm towards the back to remove it. (The right side needs to be removed before the left; you will see an overlap of the sides at the rear centre.)
-
Then slide the left side back to remove it. The left side is slightly trickier to get on and off as you have to work around the water container inlet.
-
In the second picture I marked with red circles two of the many tabs that hold the sides in place. I broke and reattached a few of mine. I had no guide and I really wanted it apart so basically I got it apart the wrong way and then figured out the right way :o)
-
-
-
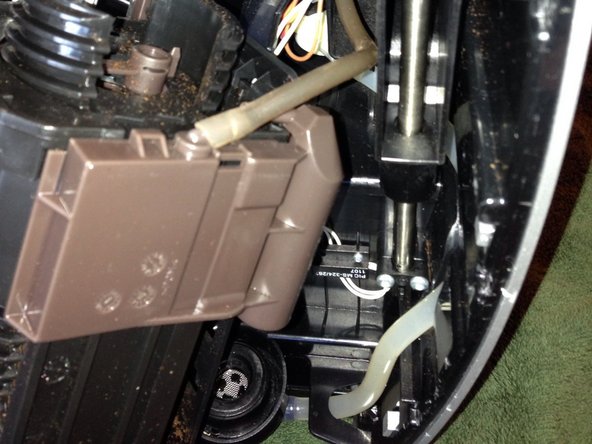
Right side internals
-
The pink circle marks the EM shield for the flux capacitor, which is behind that plastic black piece.
-
;o)
-
-
-
-
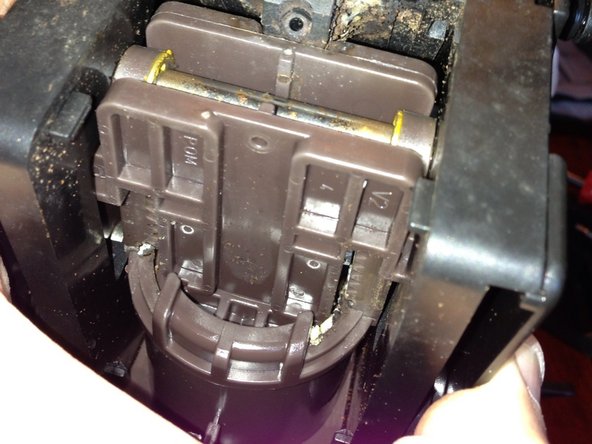
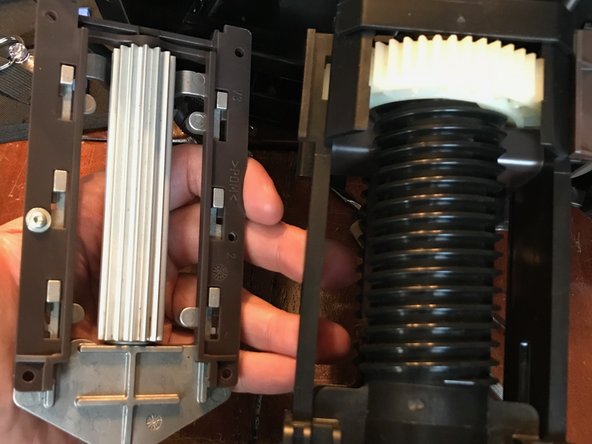
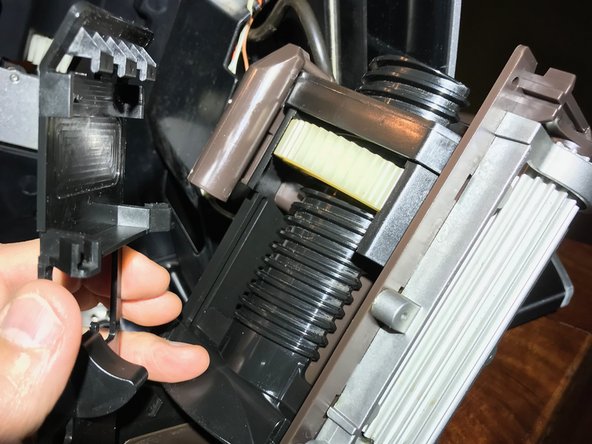
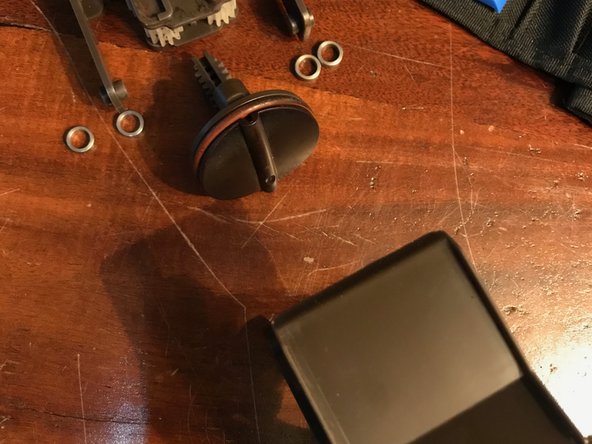
"Tamping Assembly"
-
I call the black plastic diagonal assembly with the brown top the "tamping assembly". It receives the ground coffee, forms the puck, holds the puck while the water/steam goes through it, and then drops it in the waste tray (I presume).
-
Note If you choose to remove the tamping assembly you should carefully note where the brown portion is on the larger centre plastic screw. Maybe take a picture, or count exactly how many threads are above the brown portion.
-
When you reassemble, this it needs to be in the exact orientation it was in when you took it apart or it might break the machine. I realised it was a timing mechanism after having taken it apart and misaligned it. Luckily I had pictures to help get it back to the starting position.
-
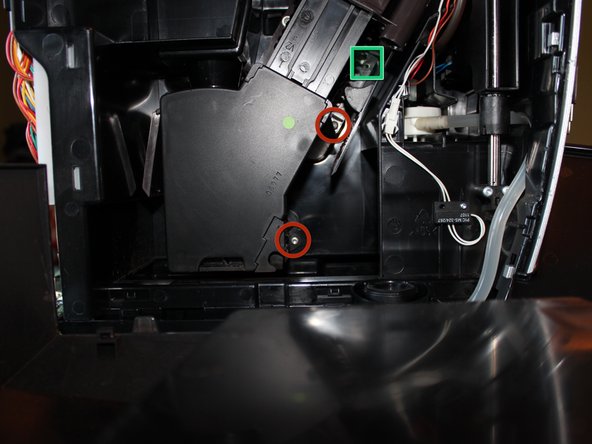
Remove the three T15 screws marked with the red circles. Top two are fine thread and bottom course thread. Note the screw marked with a blue sqaure does not need to be removed to remove the tamping assembly.
-
Also note the unused screw hole marked with a green square. You might need a long handled screw driver or an extension bit.
-
-
-
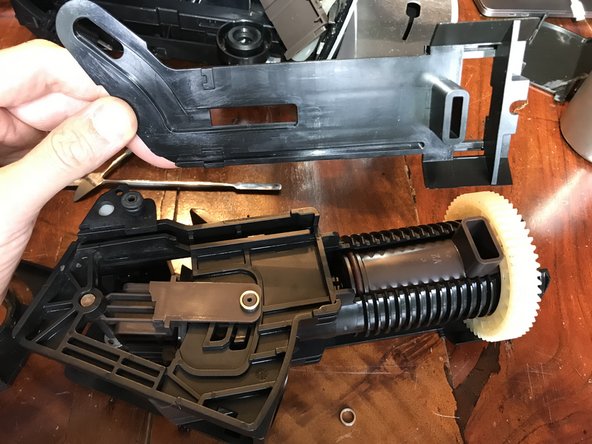
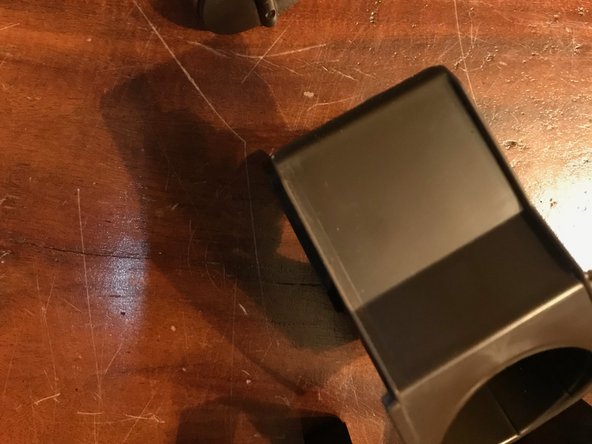
Tamping Assembly Removed - 1
-
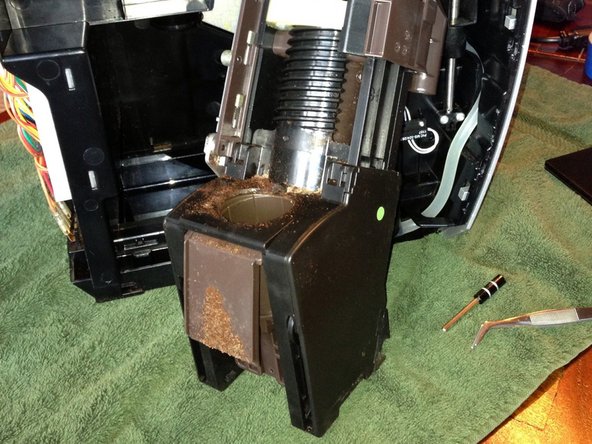
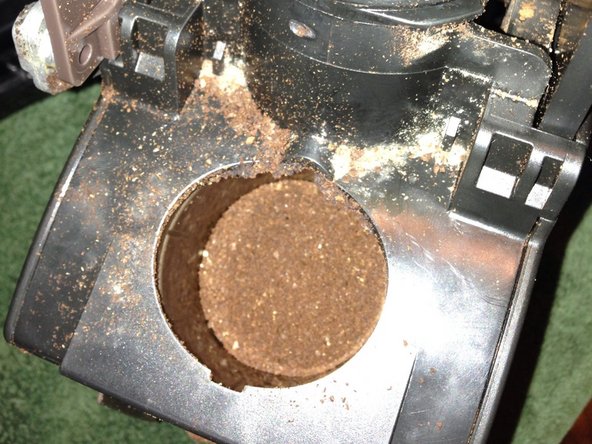
The reason for such a large quantity of grounds around the inside of my machine is that I accidentally put too much ground coffee into the ground coffee port. So I took the machine apart to clean those out, and because it was displaying an error during the cleaning cycle.
-
The error was caused by the excess grounds and cleaning it solved the problem.
-
-
-
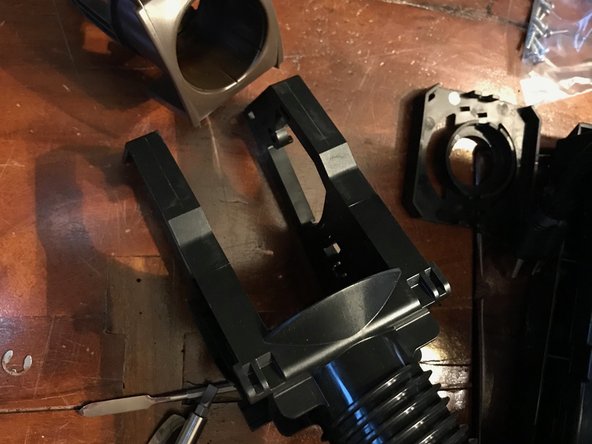
Tamper Assembly Removed - Bottom
-
You can see some growth (mold?!) on the bottom of the tamper in these photo and a little elsewhere.
-
I think this is because if I don't empty out the grounds often enough and have a little mold growth there.
-
I would love to solve this mold growth problem but can't think of an easy solution? (UV light?,) I tried leaving a small amount of a dilute bleach solution in the ground collector but that stank and did not work. White vinegar, perhaps..? So now I just try to empty the grounds and rinse at least once a day.
-
So that is it...!? This is as far as I have disassembled, fixed and cleaned this beloved family member. I will try to read comments and improve it and add to it if I do more. Hopefully you found this useful - thanks for reading it!
-
If you want to disassemble more follow this guide.
-
-
-
To remove everything prior to the Brewgroup follow this tear down.
-
This guide begins after tear down step 15
-
CAREFUL as you remove the brewgroup as it is still connected via the hose till you do step 3.
-
In the tear down I referred to this as the tamper assembly but another great contributor wrote a guide on this specifically and referred to it as "Brewgroup" so...
-
My J5 is different enough from the one in the other brewgroup guide so I made this guide.
-
-
-
CAREFUL as you remove the brewgroup as it is still connected via the hose till you do step 3.
-
this step is mostly for reassembly. You need to align the brewgroup so that the knob circled in BLUE slips into the RED circle before you put the screws in.
-
-
-
2 clips near the top shown in second photo, circled in RED
-
CAREFUL as you remove the brewgroup as it is still connected via the hose till you do the this step.
-
The brewgroup is removed from the left of the machine as you face the front, hence the steps labeled left, Front and right.
-
-
-
you might notice in some of the photos the first time I put it back together I forgot this piece luckily I remembered after I had the brew group back in:)
-
3 upper clips snap onto piece above the large white horizontal gear and two clips below as well.
-
-
-
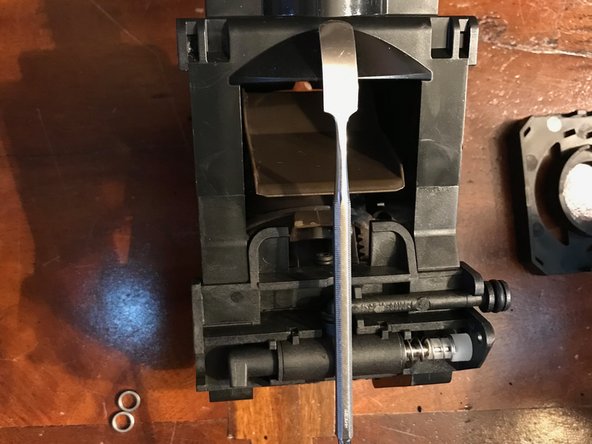
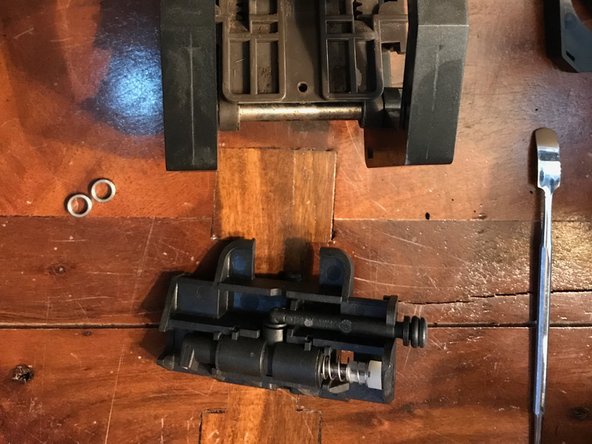
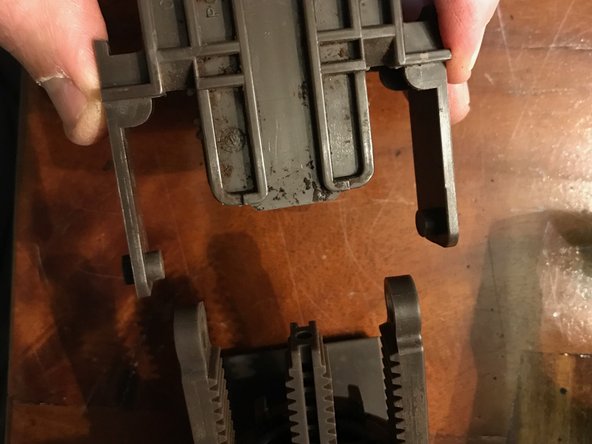
removing the plate shown behind the metal poker
-
there are four tabs circled in RED on the already removed plates
-
Next step shows where to release them
-
-
-
Two are easy to see and get to with your finger
-
the other two a little more hidden but not too bad
-
Refer to the previous step showing the plate already removed to get an idea of where they are too.
-
I try to point to them in the pictures with the metal poker.
-
-
-
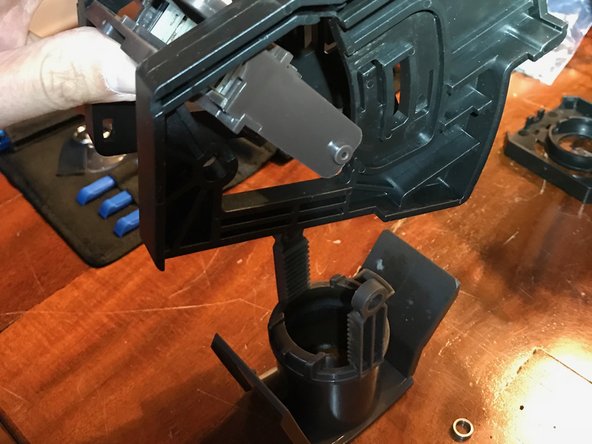
Just lifts off, if memory serves me?
-
the part shown under the green rectangle
-
-
-
Bearing makes an L shaped path on these left and right plates
-
lift the hose out of the way before you remove the plate
-
they just come off no clips
-
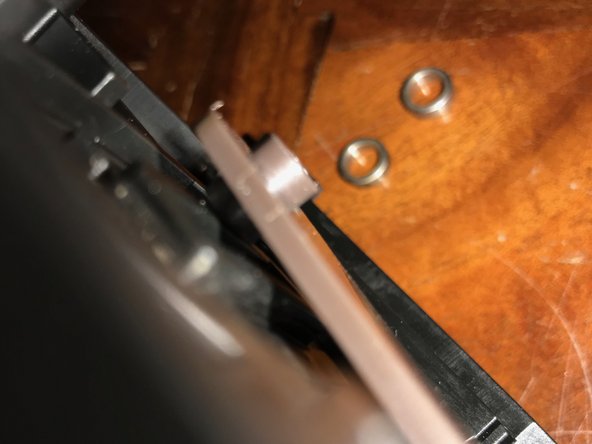
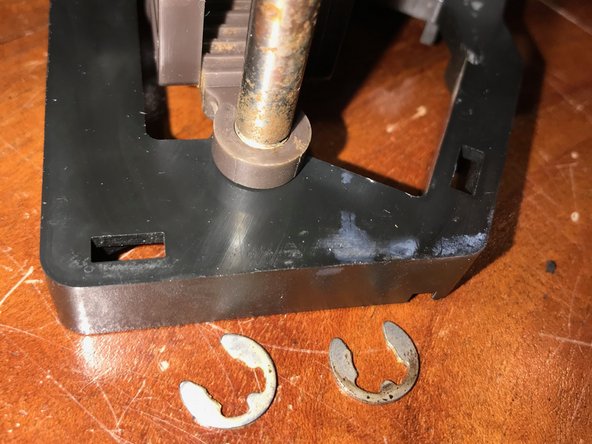
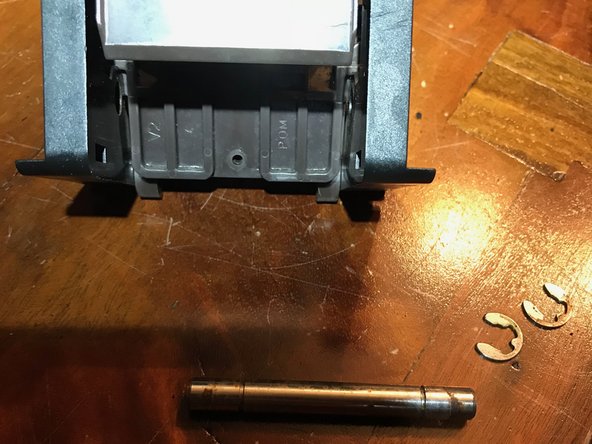
CAREFUL there are four small metal bearing parts that can just fall off
-
I clarify where they go in the next step
-
-
-
These can fall out at any point during assembly / disassembly, so good luck.
-
-
-
The 3rd photo shows the orientation of the upper hose in relation to the lower alignment knob mentioned in step 2
-
-
-
Just slides off
-
I think this is similar to the Drainage valve referred to in this other guide
-
except that this appears to be a different model?
-
-
-
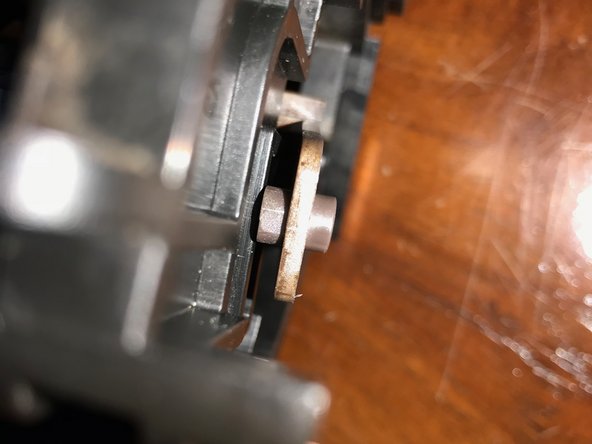
remove with a small flat screw driver reattach with needle nose pliers
-
-
-
CRUCIAL STEP: I messed this up the first time I reassembled this nearly broke the gearing and generated an error 8
-
Error 8: I think is failure of the brewgroup to home.
-
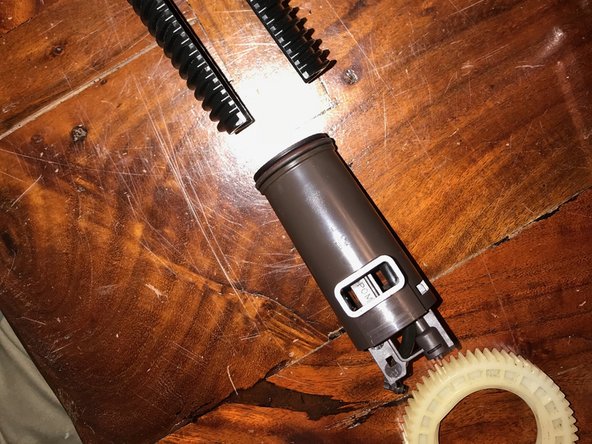
Place lower portion with the white gears at the top of motion inside the cylinder
-
then slide in upper portion with the red o-ring then slide both together to the bottom
-
I put a little vegetable oil with my finger on the inner cylinder wall other wise it was super dry and hard to move.
-
-
-
So you can test it is working before putting it all back together
-
As shown in the photo just lay the top back in place
-
Water container partially full and in place
-
CAREFUL keep anything away from bean grinder!! Block coffee bean full sensor with something.
-


To reassemble your device, follow these instructions in reverse order.
To reassemble your device, follow these instructions in reverse order.
Annuleren: ik heb deze handleiding niet afgemaakt.
Één andere persoon heeft deze handleiding voltooid.

Team

Repair is War on Entropy Lid van Repair is War on Entropy
Community
24 Leden
1.097 handleidingen geschreven
7 opmerkingen
I noticed there are some extra connection points on this model brew group of Jura. For example, the one in the center shown in your first picture. Since there is nothing connected to it, I am afraid water/coffee will come out from there and create leak. Did you notice anything like this? Thanks!
There ist the lower connection to the drainage valve for the incoming hot water. There is also the upper connection that leads to the hose for the finished coffee. All possible other connections remain u, maybe they are used in other models.
VauWeh -
Yes, I saw the one in the center on top before. Some models use it to connect to the coffee spout. This is the reason I think it will leak coffee from there. Also I’ve never seen this “side coffee box” on top before in any other models. There are two ports on it, J5 only use one. The other one is also open for leak. I refurbished the same model and wondered about these two open ports when I do it. Now I found leaking coffee from bottom of the machine. I will open it up to run it. Then I will know exactly where the coffee comes from…
Great post. I am repairing a E8 type 735 and it also has this brown side box with a coffee tube. Seems that it will just leak? Does anyone know the function of this system? Something to do with the PEP technology?