Inleiding
Make sure the device is powered off before you start following the instructions. If you have a physical disability with your hand, wrist, or arm consider having a different individual help you because the tasks require steady hands. Be sure to work on a flat surface and to not lose any of the small parts because they are very small and can be lost easily.
Wat je nodig hebt
-
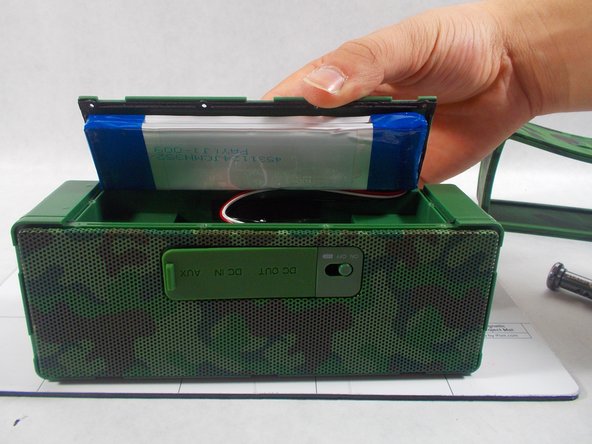
Stap 1 Battery
Voorzichtig: stappen 1-4 komen van een handleiding die in bewerking is.
-
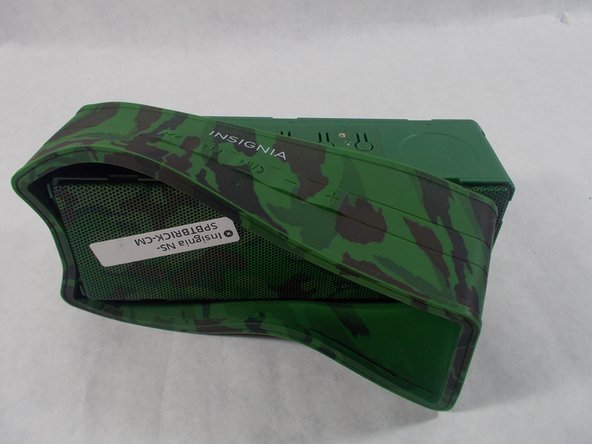
Remove the rubber sleeve.
-
-
-
-
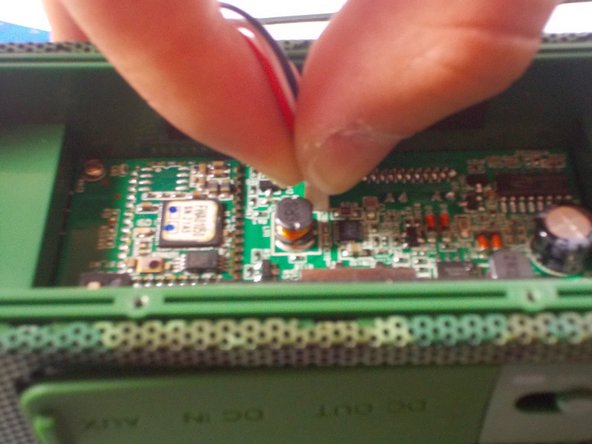
Once the battery and back cover have been successfully removed, use the soldering iron. Place the soldering iron on the solders until properly heated.
-
-
-
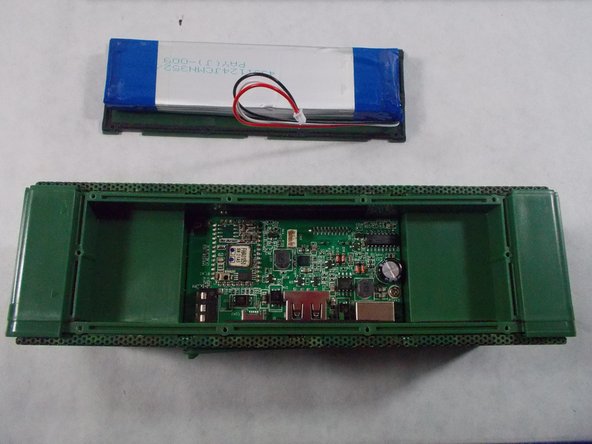
Once the metal is heated, it will be easy to remove the piece. Be careful not to alter the circuit board in any way with the heat. Use tweezers to remove the old part. Be careful not to touch the piece with your hands because the piece will be very hot.
-


To reassemble your device, follow these instructions in reverse order.
To reassemble your device, follow these instructions in reverse order.
Team

UMass Dartmouth, Team S5-G2, Botvin Spring 2017 Lid van UMass Dartmouth, Team S5-G2, Botvin Spring 2017
UMASSD-BOTVIN-S17S5G2
2 Leden
6 handleidingen geschreven