Ga door naar hoofdinhoud

Insignia NS-SPBTBRICK-CM Auxiliary Port Replacement

Wat je nodig hebt

  1. Voorzichtig: stappen 1-4 komen van een handleiding die in bewerking is.

    Insignia NS-SPBTBRICK-CM Auxiliary Port Replacement, Battery: stap 1, afbeelding 1 van 1
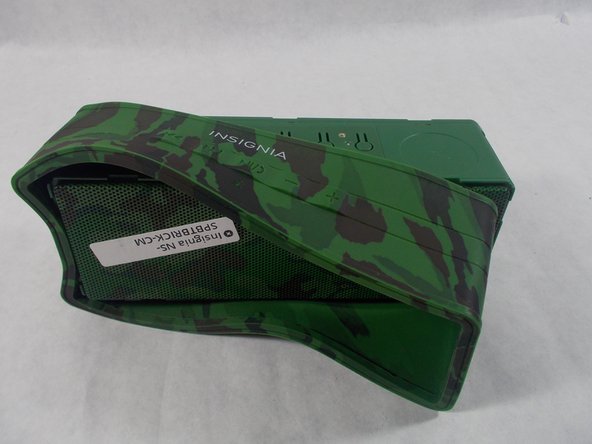
    • Remove the rubber sleeve.

  2. Insignia NS-SPBTBRICK-CM Auxiliary Port Replacement: stap 2, afbeelding 1 van 1
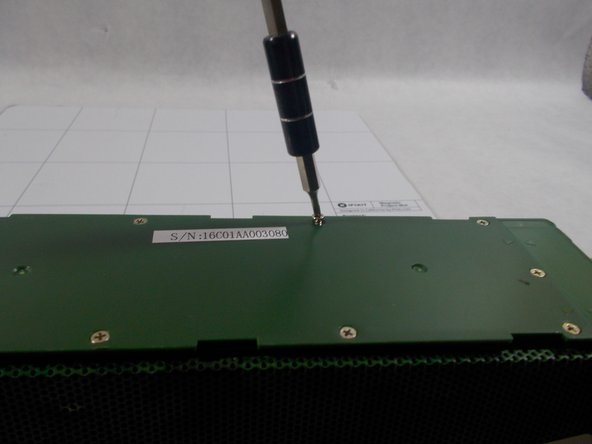
    • Use the specified screwdriver to unscrew the ten screws on the back cover.

  3. Insignia NS-SPBTBRICK-CM Auxiliary Port Replacement: stap 3, afbeelding 1 van 2 Insignia NS-SPBTBRICK-CM Auxiliary Port Replacement: stap 3, afbeelding 2 van 2
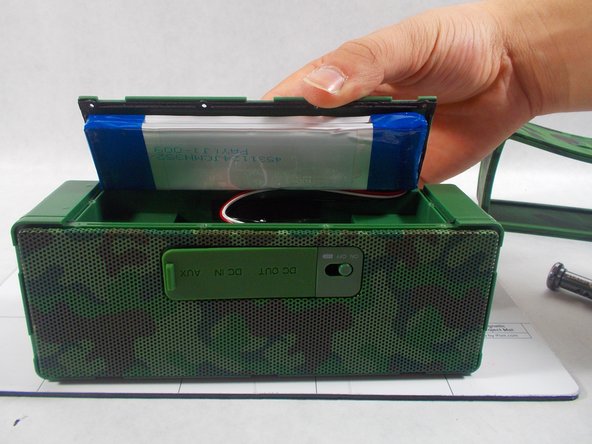
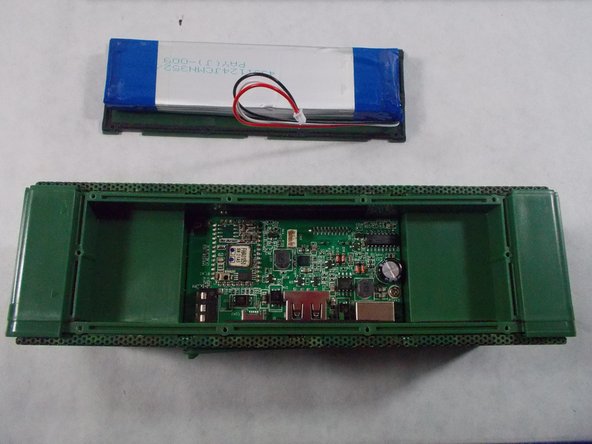
    • Remove the back cover. Be careful to not lose any of the screws because they are extremely small and can be easily lost.

  4. Insignia NS-SPBTBRICK-CM Auxiliary Port Replacement: stap 4, afbeelding 1 van 3 Insignia NS-SPBTBRICK-CM Auxiliary Port Replacement: stap 4, afbeelding 2 van 3 Insignia NS-SPBTBRICK-CM Auxiliary Port Replacement: stap 4, afbeelding 3 van 3
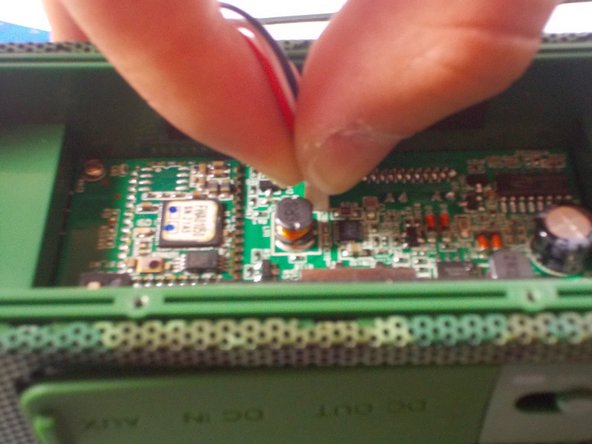
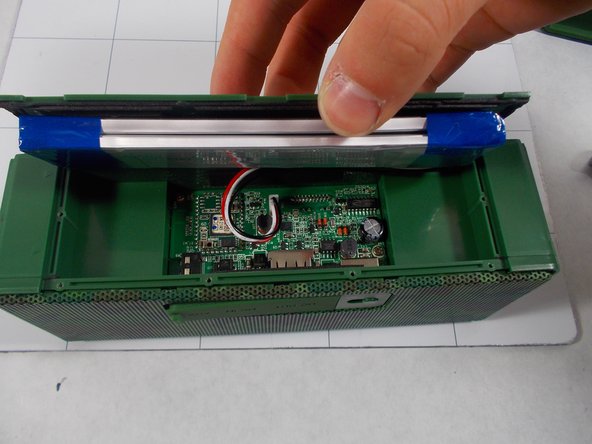
    • The battery will be attached to the back cover with sticky tape. Unplug the wires connecting the battery to the speaker.

  5. Insignia NS-SPBTBRICK-CM Auxiliary Port Replacement, Auxiliary Port: stap 5, afbeelding 1 van 1
    • Once the battery and back cover have been successfully removed, use the sauter by placing the soldering iron on one side of the auxiliary port button.

  6. Gereedschap gebruikt in deze stap:
    Tweezers
    $4.99
    Koop
    • Once the metal is heated, use a pair of tweezers to grab the part and pull it off of the circuit board. Be careful not to alter the circuit board in any way with the heat. Also, be careful when removing the part because the metal will be very hot.

  7. Insignia NS-SPBTBRICK-CM Auxiliary Port Replacement: stap 7, afbeelding 1 van 1
    • Once the switch has been removed from the circuit board, place the new switch in the same spot as the old one.

  8. Insignia NS-SPBTBRICK-CM Auxiliary Port Replacement: stap 8, afbeelding 1 van 1
    • Use the sauter to melt the new switch onto where the old switch was located.

  9. Insignia NS-SPBTBRICK-CM Auxiliary Port Replacement: stap 9, afbeelding 1 van 3 Insignia NS-SPBTBRICK-CM Auxiliary Port Replacement: stap 9, afbeelding 2 van 3 Insignia NS-SPBTBRICK-CM Auxiliary Port Replacement: stap 9, afbeelding 3 van 3
    • After the new piece is properly melted into place, put the battery and back cover onto the device and screw the cover back on using the specified screwdriver and the ten screws.

  10. Insignia NS-SPBTBRICK-CM Auxiliary Port Replacement: stap 10, afbeelding 1 van 2 Insignia NS-SPBTBRICK-CM Auxiliary Port Replacement: stap 10, afbeelding 2 van 2
    • Place the rubber sleeve back on the device. Be sure to line up the sleeve with the proper functions for a correct fit.

Conclusie

To reassemble your device, follow these instructions in reverse order.

Erin Steele

Lid sinds: 03/08/17

649 Reputatie

5 handleidingen geschreven

Team

UMass Dartmouth, Team S5-G2, Botvin Spring 2017 Lid van UMass Dartmouth, Team S5-G2, Botvin Spring 2017

UMASSD-BOTVIN-S17S5G2

2 Leden

6 handleidingen geschreven

0 opmerkingen

Voeg opmerking toe

Weergavestatistieken:

Afgelopen 24 uren: 0

Afgelopen 7 dagen: 0

Afgelopen 30 dagen: 3

Altijd: 165