Deze versie kan foutieve bewerkingen bevatten. Schakel over naar de recentste gecontroleerde momentopname.
Wat je nodig hebt
-
Deze stap is niet vertaald. Help het te vertalen
-
Set the clock radio on the work space so the bottom of the device is showing.
-
-
Deze stap is niet vertaald. Help het te vertalen
-
Use a metal spudger to peel back the adhesive sticker on the bottom of the clock.
-
-
Deze stap is niet vertaald. Help het te vertalen
-
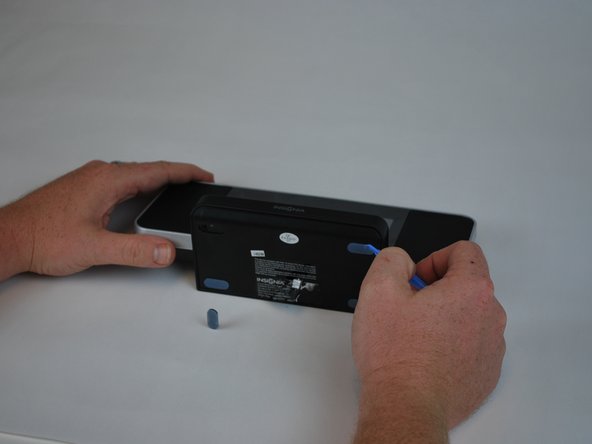
Using a plastic opening tool, peel off the adhesive gel stoppers.
-
-
Deze stap is niet vertaald. Help het te vertalen
-
Use a Phillips screwdriver to remove the six 11 mm screws on the bottom of the device.
-
-
Deze stap is niet vertaald. Help het te vertalen
-
Remove the bottom cover from the device to reveal the motherboard.
-
-
Deze stap is niet vertaald. Help het te vertalen
-
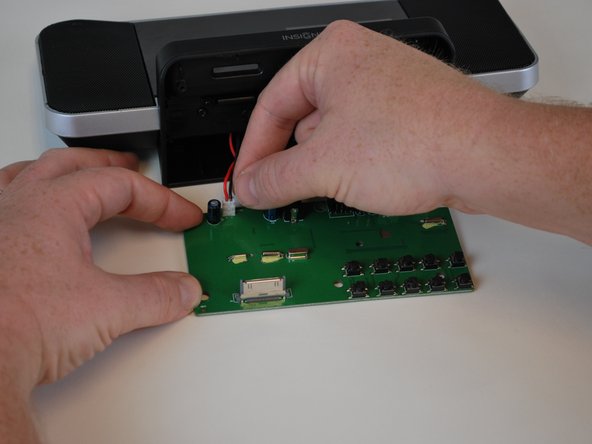
Use a Phillips screwdriver to remove the 9.5 mm screw located near the center of the motherboard.
-
-
-
Deze stap is niet vertaald. Help het te vertalen
-
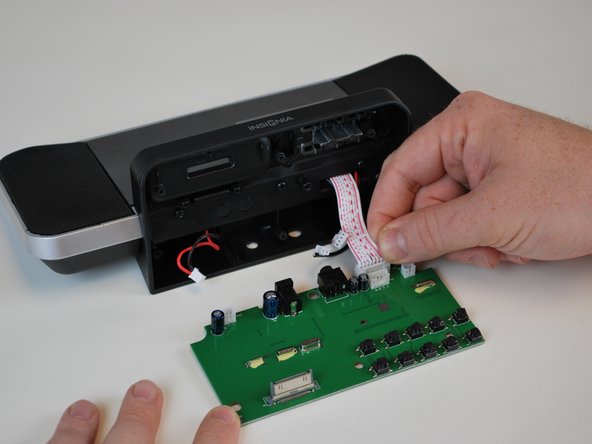
Disconnect the four cables connecting the motherboard to the device.
-
-
Deze stap is niet vertaald. Help het te vertalen
-
Remove the three screws located along the center of the base.
-
-
Deze stap is niet vertaald. Help het te vertalen
-
Using a metal spudger, remove the plastic face plate from the display.
-
-
Deze stap is niet vertaald. Help het te vertalen
-
With a phillips screwdriver, remove the six screws shown pictured to the left.
-
-
Deze stap is niet vertaald. Help het te vertalen
-
Using the metal spudger, pry the speaker grilles from the display.
-
-
Deze stap is niet vertaald. Help het te vertalen
-
Using the phillips screwdriver, remove the four screws pictured to the left.
-
-
Deze stap is niet vertaald. Help het te vertalen
-
You can see that there are several points where connections to the speaker are soldered.
-


Team

USF Tampa, Team 9-3, Leahy Winter 2015 Lid van USF Tampa, Team 9-3, Leahy Winter 2015
USFT-LEAHY-W15S9G3
4 Leden
6 handleidingen geschreven