Deze versie kan foutieve bewerkingen bevatten. Schakel over naar de recentste gecontroleerde momentopname.
Wat je nodig hebt
-
Deze stap is niet vertaald. Help het te vertalen
-
Flip the device over so the bottom is facing up.
-
You will know it is the bottom because there will be six silver screws visible.
-
-
Deze stap is niet vertaald. Help het te vertalen
-
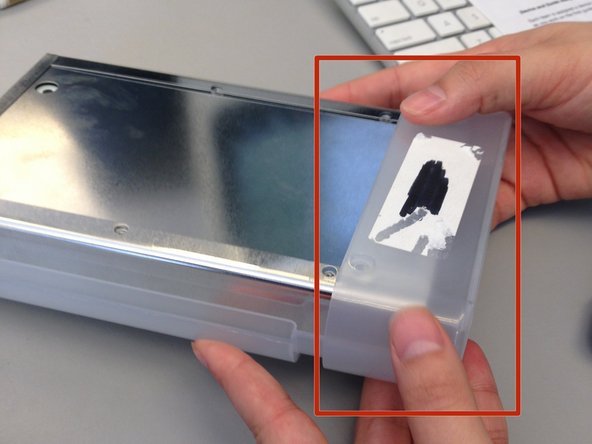
Remove the USB converter device by gently pulling it out.
-
-
Deze stap is niet vertaald. Help het te vertalen
-
Remove the six silver screws using a small Phillips head screwdriver.
-
-
Deze stap is niet vertaald. Help het te vertalen
-
Slide the bottom plastic panel of the shell down so it is free of the end cap and the top panel.
-
Lift panel free of device.
-
-
Deze stap is niet vertaald. Help het te vertalen
-
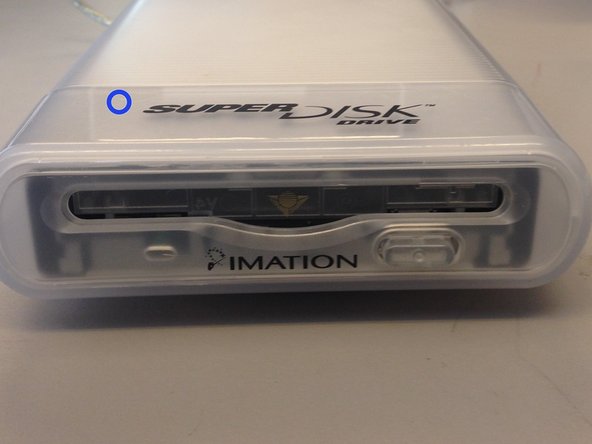
Remove the plastic end cap by sliding it forward, freeing from the rest of the device.
-
You can identify the end cap by noting the label "SuperDisk Drive" above where you would insert a floppy disk.
-
-
-
Deze stap is niet vertaald. Help het te vertalen
-
Flip the disk drive over so the the plug on the daughter board is visible.
-
-
Deze stap is niet vertaald. Help het te vertalen
-
Using an iPod opener put pressure on the white plug and pull backwards until the daughter board unplugs from the main unit.
-
-
Deze stap is niet vertaald. Help het te vertalen
-
Gently pull on the daughter board until it separates from the device.
-
-
Deze stap is niet vertaald. Help het te vertalen
-
Place a plastic spudger in between the disk drive and its metal casing. Use the spudger as a lever the until the metal casing detaches from the disk drive.
-
-
Deze stap is niet vertaald. Help het te vertalen
-
lift the disk drive completely out of the metal casing and set it aside.
-


Annuleren: ik heb deze handleiding niet afgemaakt.
Één andere persoon heeft deze handleiding voltooid.
Team

Ohio State, Team 1-2, Buehl Spring 2014 Lid van Ohio State, Team 1-2, Buehl Spring 2014
OSU-BUEHL-S14S1G2
4 Leden
14 handleidingen geschreven
Één opmerking
Does anyone know if the MAC USB version works on modern PCs?