Inleiding
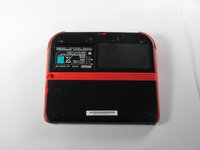
This guide will teach you how to replace a broken or damaged charging port in your Nintendo 2DS
Wat je nodig hebt
Video overzicht
-
-
-
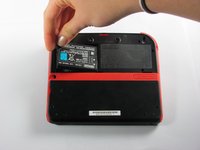
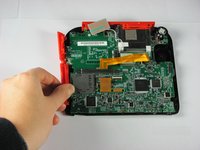
Hold the side panels of the device's case with your fingers and pull outward to remove them.
-
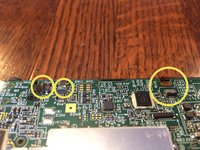
There are three ribbon cables which have already been unplugged in this picture, disconnect these before disassembling the device further.
-
-
-
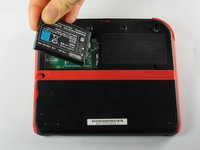
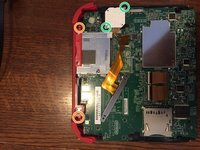
Remove the 12 brass-colored Phillips screws securing the main board.
-
-
-
There are two additional screws located on the top rail. Remove these to fully remove the buttons and top rail.
-
There are two screws holding down the joystick base that must be removed. (Be careful of the ribbon cable—it stays connected!)
-
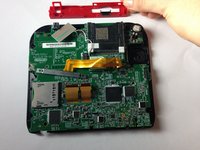
Hold the top panel with your fingers and pull away from the device to remove it.
-
-
-
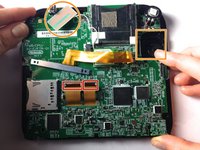
Detach the 2 ribbon cables by lifting the black flip connectors that hold them.
-
Lift out the rectangular board seated in the face and lift out the white square which is the joystick motor (takes a little effort). Both stay attached to the motherboard.
-
On some models, you'll need to remove three more tiny ribbon cables at the bottom of the screen. They are secured by flip up connectors. BE GENTLE!
-
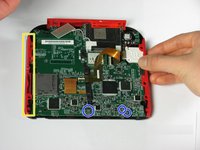
Holding the motherboard on either side, lift to remove it.
-


To reassemble your device, follow these instructions in reverse order, starting at step 10
To reassemble your device, follow these instructions in reverse order, starting at step 10
Annuleren: ik heb deze handleiding niet afgemaakt.
4 andere personen hebben deze handleiding voltooid.