Deze versie kan foutieve bewerkingen bevatten. Schakel over naar de recentste gecontroleerde momentopname.
Wat je nodig hebt
-
Deze stap is niet vertaald. Help het te vertalen
-
Check for any screws that may have become loose over time in your door hinges.
-
-
Deze stap is niet vertaald. Help het te vertalen
-
If you found any loose screws on the door hinge, use your screwdriver to tighten them.
-
-
Deze stap is niet vertaald. Help het te vertalen
-
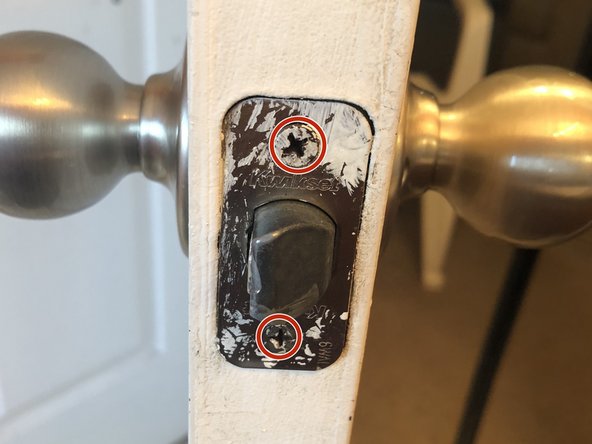
Examine the faceplate, checking for any loose screws like you did with your door hinges.
-
-
Deze stap is niet vertaald. Help het te vertalen
-
Use your screwdriver to tighten any loose screws found on the face plate.
-
-
-
Deze stap is niet vertaald. Help het te vertalen
-
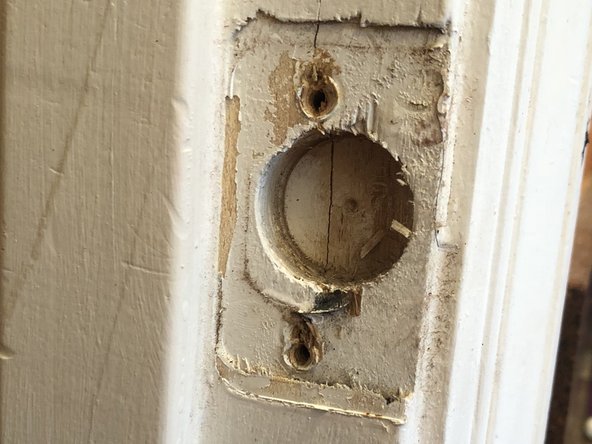
This is your strike plate. Take a look to see if it has shifted, and in what direction it shifted.
-
In the photo provided you can tell my plate has been shifted downwards.
-
-
Deze stap is niet vertaald. Help het te vertalen
-
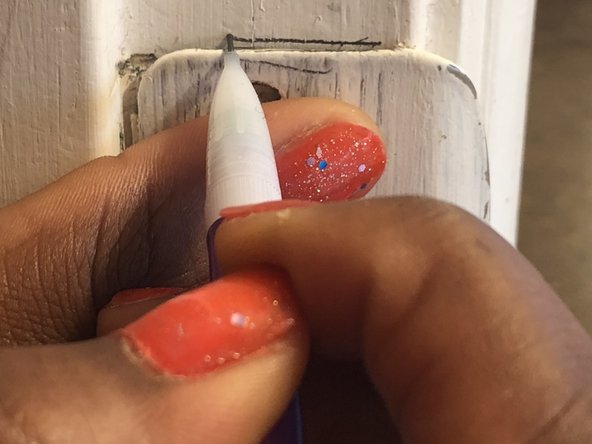
Make a line on the wall where you will be moving your strike plate. Use something that you will be able to remove, such as a pencil.
-
-
Deze stap is niet vertaald. Help het te vertalen
-
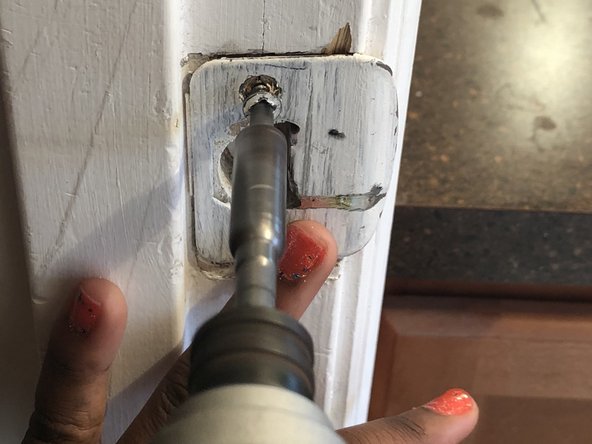
Take as many toothpicks you will need to fill up the holes that were created for the previous screw holes, and dip them into the Elmer's glue.
-
-
Deze stap is niet vertaald. Help het te vertalen
-
Place the toothpicks into the openings. By doing this, you are preventing your new screws from falling back into the old spot causing the door to be re-positioned again.
-


Annuleren: ik heb deze handleiding niet afgemaakt.
5 andere personen hebben deze handleiding voltooid.

Team

USF Sarasota-Manatee, Team S1-G1, Stewart Spring 2018 Lid van USF Sarasota-Manatee, Team S1-G1, Stewart Spring 2018
USFSM-STEWART-S18S1G1
15 Leden
25 handleidingen geschreven