Ga door naar hoofdinhoud

Deze versie kan foutieve bewerkingen bevatten. Schakel over naar de recentste gecontroleerde momentopname.

Wat je nodig hebt

  1. Deze stap is niet vertaald. Help het te vertalen

    • I'm starting this guide with the front frame and LCD display, to do this you must complete all the steps on the Nexus 5 Teardown guide Nexus 5 Teardown

    • In this video you can see the damage; the screen has lost touch sensitivity in the areas that are blank in this drawing program.

  2. Deze stap is niet vertaald. Help het te vertalen

    : stap 2, afbeelding 1 van 2 : stap 2, afbeelding 2 van 2
    Gereedschap gebruikt in deze stap:
    Heat Gun
    $24.99
    Koop
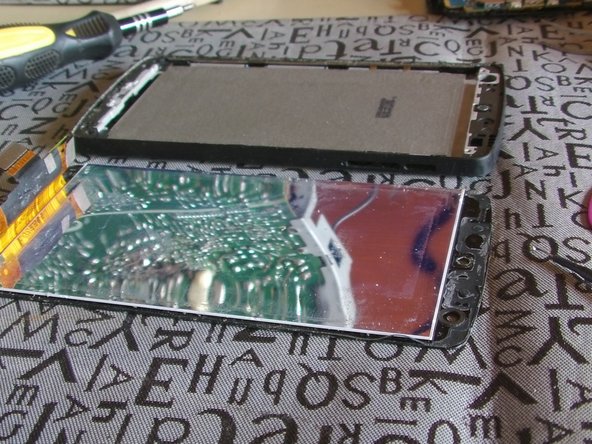
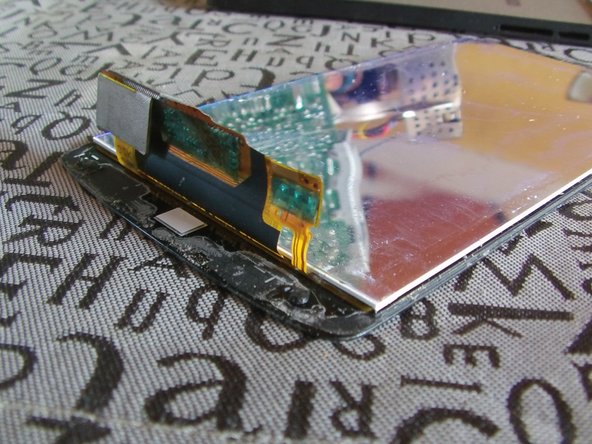
    • Flex what needs to be unstick

    • The flex is strongly stuck on the frame, to remove it warm with a Heat Gun.

  3. Deze stap is niet vertaald. Help het te vertalen

    : stap 3, afbeelding 1 van 2 : stap 3, afbeelding 2 van 2
    • I used a multimeter with temperature measurement; it's not exact but it works.

    • Heating the edges.

  4. Deze stap is niet vertaald. Help het te vertalen

    : stap 4, afbeelding 1 van 3 : stap 4, afbeelding 2 van 3 : stap 4, afbeelding 3 van 3
    • Be careful with the flex!

    • If you are installing a new LCD screen you must put it on the frame and follow all the steps in reverse order.

    • With a guitar pick you can separate the screen slowly.

  5. Deze stap is niet vertaald. Help het te vertalen

    : stap 5, afbeelding 1 van 3 : stap 5, afbeelding 2 van 3 : stap 5, afbeelding 3 van 3
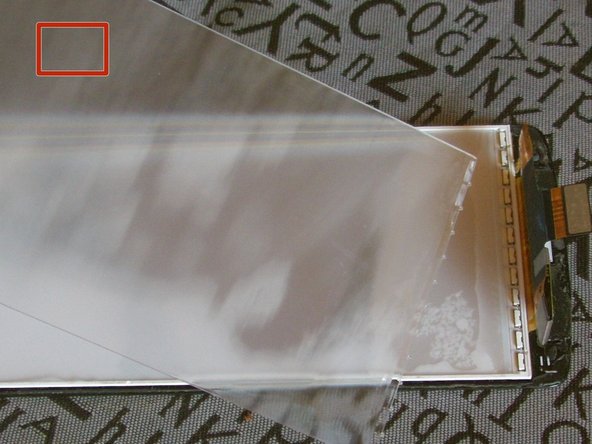
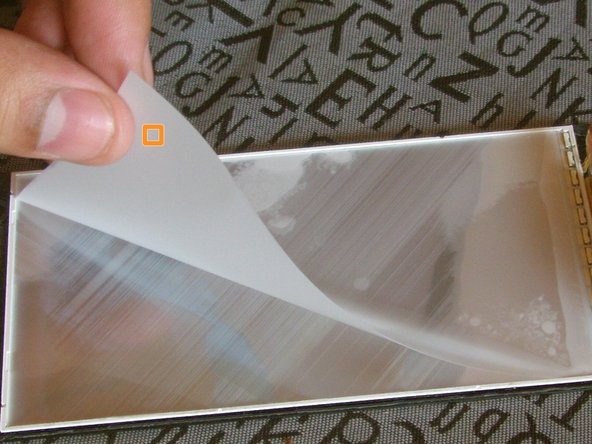
    • I used a hair dryer with cold air to help to separate the layers.

    • The first layer we need remove.

    • The second layer still on the frame of the screen.

    • The wet layers are on the screen

  6. Deze stap is niet vertaald. Help het te vertalen

    : stap 6, afbeelding 1 van 3 : stap 6, afbeelding 2 van 3 : stap 6, afbeelding 3 van 3
    • use the guitar pick to separate the layers

    • 2nd layer

    • 3rd layer

  7. Deze stap is niet vertaald. Help het te vertalen

    : stap 7, afbeelding 1 van 3 : stap 7, afbeelding 2 van 3 : stap 7, afbeelding 3 van 3
    • 3rd layer - don't separate.

    • 4th layer - don't separate.

    • 5th layer don't remove.

    • You can dry and clean all the layers (i use electrical contact cleaner).

  8. Deze stap is niet vertaald. Help het te vertalen

    : stap 8, afbeelding 1 van 1
    • I cleaned all the layers perfectly with electronic contact cleaner.

    • Once you have cleaned and dried the layers you must reassemble in reverse order.

  9. Deze stap is niet vertaald. Help het te vertalen

    • I'm very scared disassembling the layers of the screen, i thought it wouldn't work but despite everything worked.

    • I did this because i can't use the phone, the screen are marked by itself.

    • This screen is bad but it works almost perfectly as you can see on the video.

    • I must replace the LCD screen, but if you haven't money to replace and you want use which you have, this guide is perfect for you.

Eindstreep

19 andere personen hebben deze handleiding voltooid.

Eneider Colina

Lid sinds: 09/20/13

2.362 Reputatie

9 handleidingen geschreven

Team

Comunidad para traductores de español Lid van Comunidad para traductores de español

Community

23 Leden

200 handleidingen geschreven

2 opmerkingen

Hello, I dropped my Nexus 5 today and the front glass got broken; the LCD and the touch are working perfectly. Is it possible to only replace the front glass? Thanks

Mohamed Annous - Antwoord

Hello there. My Lg Nexus5-D821 phone just went blackout, that is had a dark screen when it was charging.nothing is showing on the screen even if you try to switch it on its failing to show anything on the screen. Someone looking at it is failing to diagnose its problem. He tested the battery on another phone is charging. What should I do to fix it. Kindly assist.

Beatrice - Antwoord

Voeg opmerking toe

Weergavestatistieken:

Afgelopen 24 uren: 0

Afgelopen 7 dagen: 2

Afgelopen 30 dagen: 7

Altijd: 67,655