Deze versie kan foutieve bewerkingen bevatten. Schakel over naar de recentste gecontroleerde momentopname.
Wat je nodig hebt
-
Deze stap is niet vertaald. Help het te vertalen
-
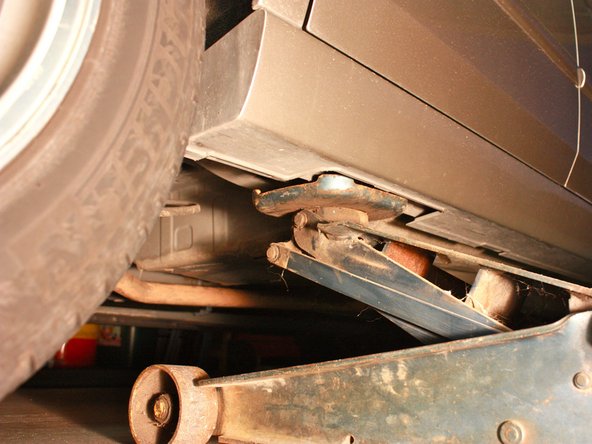
Place the hydraulic floor jack under the vehicle until the saddle is directly under the crossmember.
-
-
Deze stap is niet vertaald. Help het te vertalen
-
Push downward on the jack's lever to lift the saddle upward so that it contacts the crossmember. Continue pushing downward on the lever to lift the car upward.
-
-
Deze stap is niet vertaald. Help het te vertalen
-
Place the jack stand under the jack mounting point.
-
-
Deze stap is niet vertaald. Help het te vertalen
-
Raise the jack stand until it contacts the jack mounting point.
-
-
-
Deze stap is niet vertaald. Help het te vertalen
-
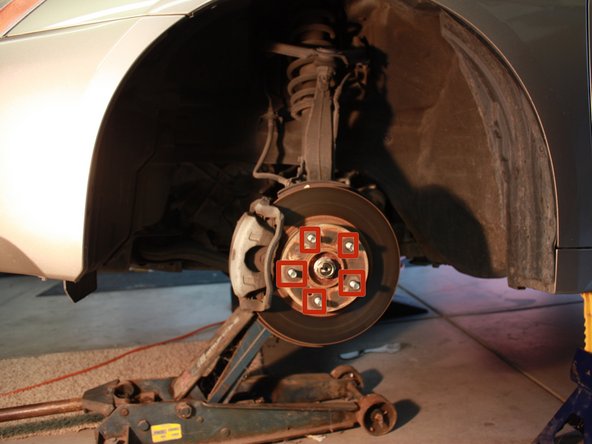
Once the car is raised, remove the lug nuts with the ratchet attached to a 3/4'' socket.
-
-
Deze stap is niet vertaald. Help het te vertalen
-
Remove the tire off the wheel studs and place it aside.
-
The wheel studs are the metal bolts sticking out of the wheel hub in the center.
-
-
Deze stap is niet vertaald. Help het te vertalen
-
On the same side of the vehicle, go to the rear tire.
-
Using a ratchet attached to a 3/4" socket, loosen wheel lug nuts. Do not remove them.
-
-
Deze stap is niet vertaald. Help het te vertalen
-
Place the floor jack under the frame in front of the rear tire.
-
Raise the jack until the tire is off the ground.
-
-
Deze stap is niet vertaald. Help het te vertalen
-
Remove the lug nuts by loosening them with your hands.
-
-
Deze stap is niet vertaald. Help het te vertalen
-
Remove the rear tire. Roll and place the tire onto the wheel studs on the front wheel.
-
Tighten the lug nuts using your hand until they are tight.
-
Roll the previous front tire to the rear and repeat the tightening process
-
-
Deze stap is niet vertaald. Help het te vertalen
-
Using a torque wrench, tighten the lug nuts on each wheel to the car manufacturer's recommended torque specification found in the user's manual.
-
-
Deze stap is niet vertaald. Help het te vertalen
-
Using an air compressor and the air pressure gauge, fill the front and rear tires to appropriate amount.
-


Annuleren: ik heb deze handleiding niet afgemaakt.
6 andere personen hebben deze handleiding voltooid.
Team

Cal Poly, Team 24-27, Regan Fall 2012 Lid van Cal Poly, Team 24-27, Regan Fall 2012
CPSU-REGAN-F12S24G27
4 Leden
22 handleidingen geschreven
Één opmerking
Really useful and valuable content, Thank you.
<a href="https://highwaypakistan.com/">highway trading comapny</a>