Inleiding
This guide should be used to fully replace damaged patches on a quilt, vintage or otherwise. The title specifies that the quilt is vintage since it's likely that vintage or heirloom quilts will be more fragile, older, and more likely to have damage but this technique could be used to replace a patch on any quilt.
Before beginning, know that the stitching demonstrated in this guide might not match your quilt's exactly because this guide will show how to sew a new piece of fabric over an existing, damaged square instead of quilting in a new patch. If that's not something you'd like for your quilt, then this guide might not be the one you want to consult.
Make sure you have the fabric you want to use prior to beginning. The fabric doesn't have to match your quilt, you can use whatever fabric you have that you love or want to incorporate as your own personal touch into your quilt.
Wat je nodig hebt
-
-
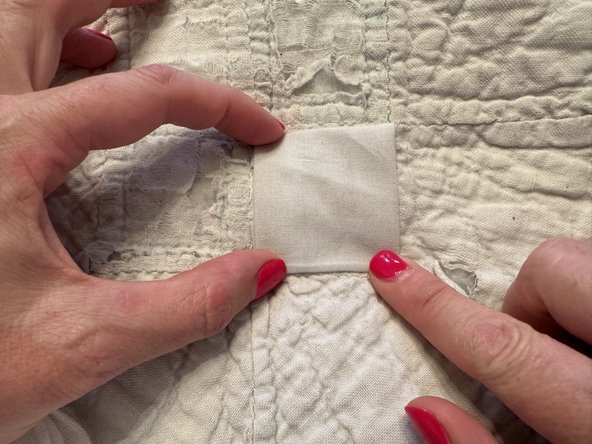
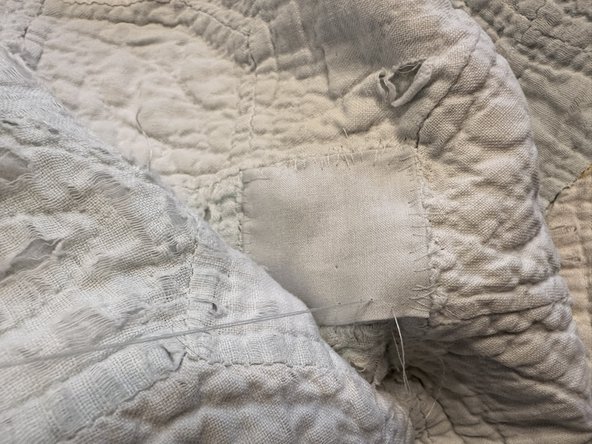
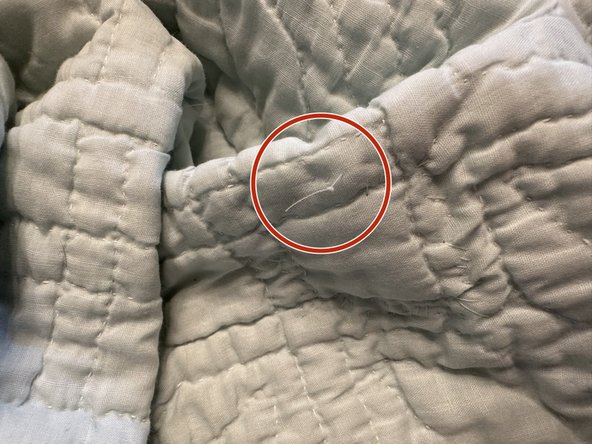
Begin by identifying the damaged patch to be replaced.
-
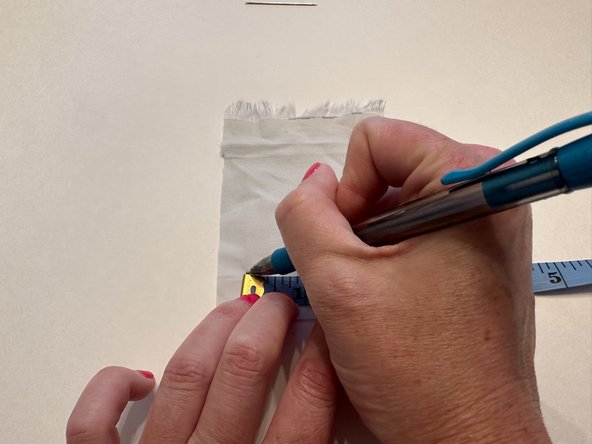
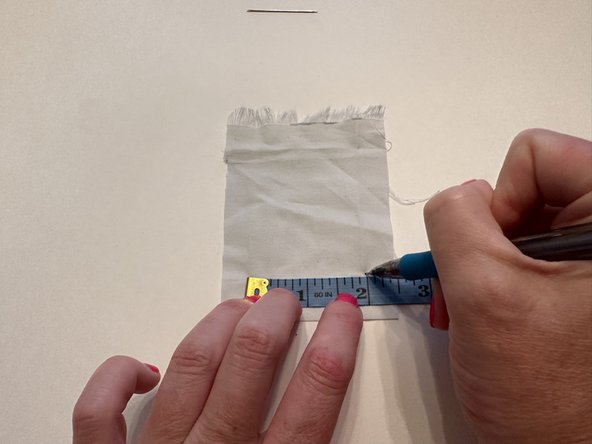
Measure the area to be replaced, in this case, a square.
-
-
-
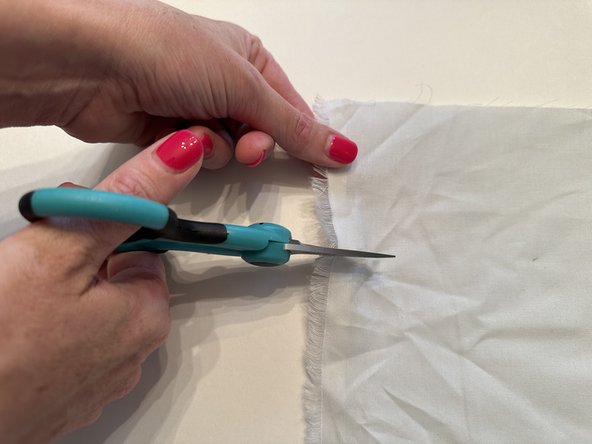
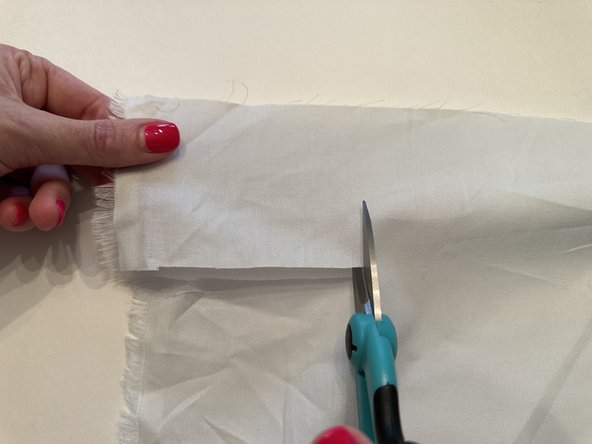
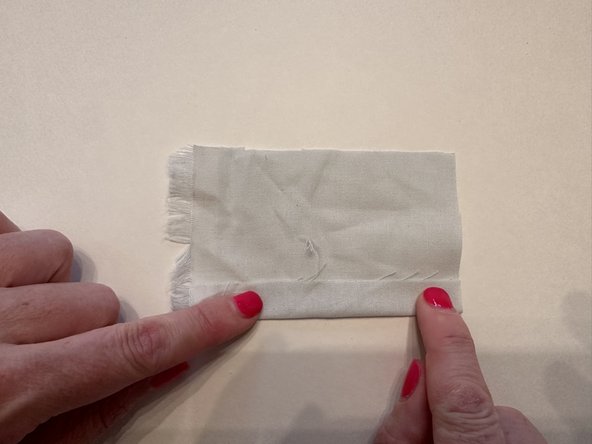
Lay down the fabric that will be used for the replacement patch.
-
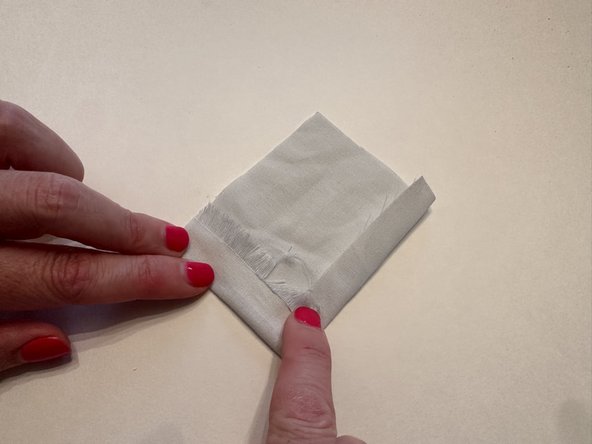
Measure the shape for the new patch on the replacement fabric. Be sure to measure the new patch a little larger than the existing patch so the edges can be folded under and there's less room for error.
-
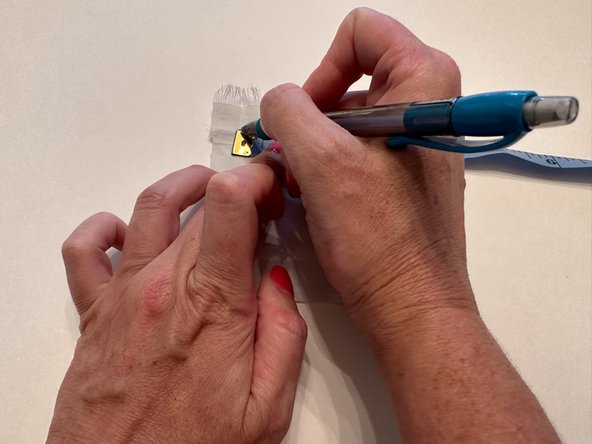
Place dots with a pencil to notate where the new patch's corners are as guides to be cut between.
-
-
-
-
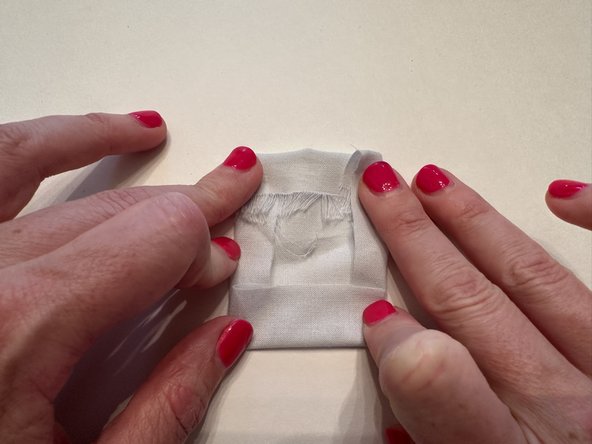
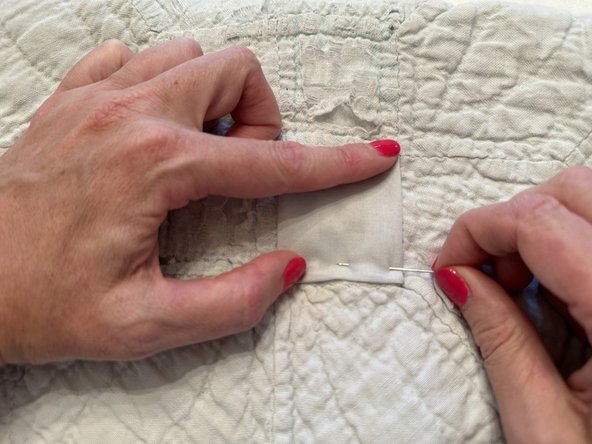
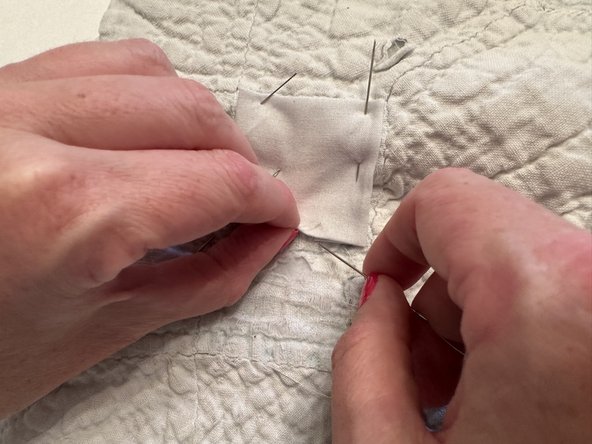
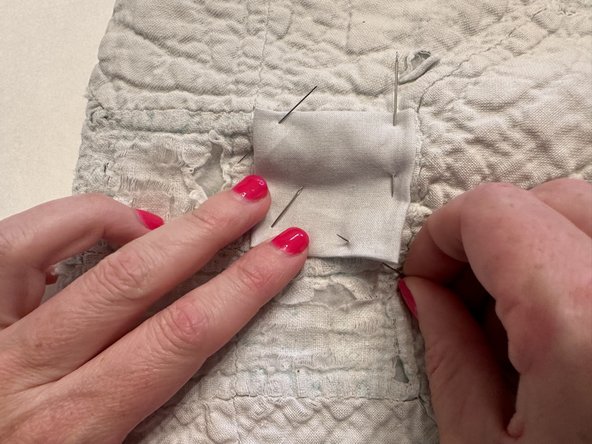
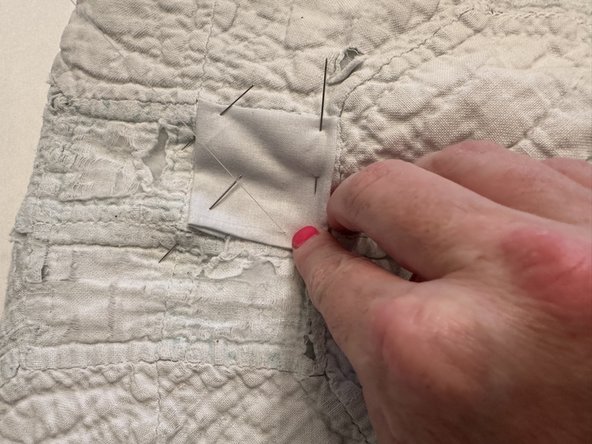
Pin the new patch to the quilt so when you start sewing it stays in place.
-
On one corner of the new patch, take a straight pin or additional sewing needle and go down through the new patch out the back side of the quilt.
-
Then take pin back up through the back side of the quilt and through the top side of the quilt. The pin should be holding new patch to the quilt now at that spot.
-
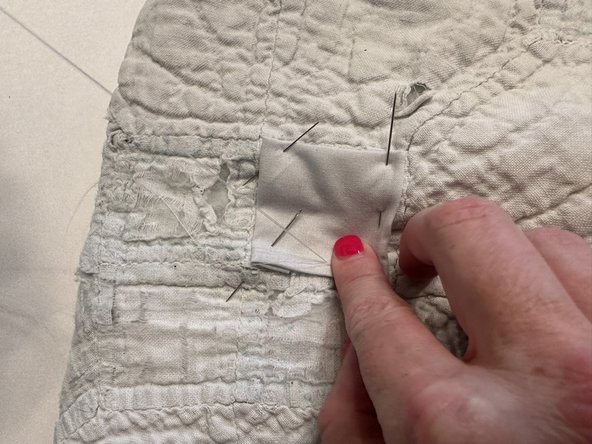
Repeat the above steps with three additional pins on three corners of the new patch.
-
-
-
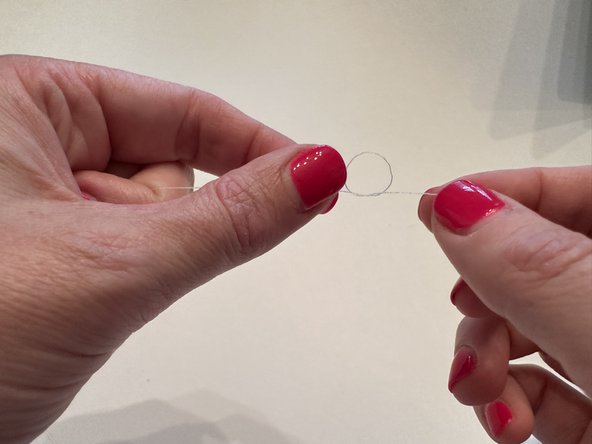
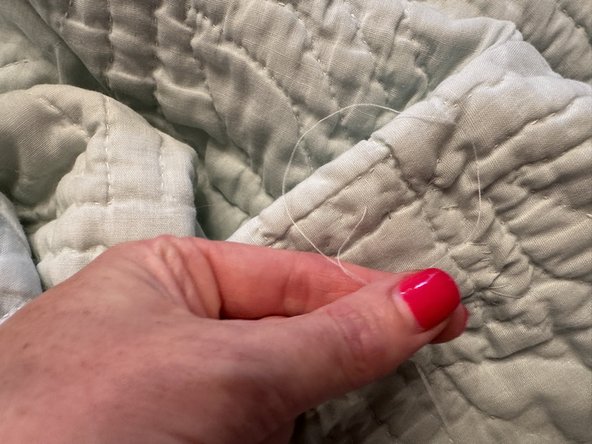
Take the end of the thread and tie a knot.
-
Tie three or four additional knots over the first knot to make it a little larger and ensure it won't slip through your fabric. You want to make sure the thread will stop when sewing.
-
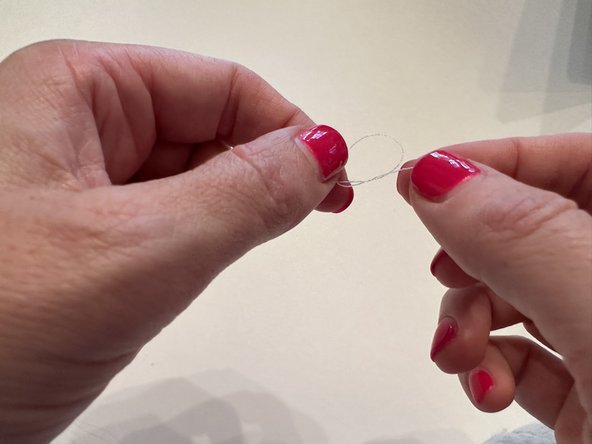
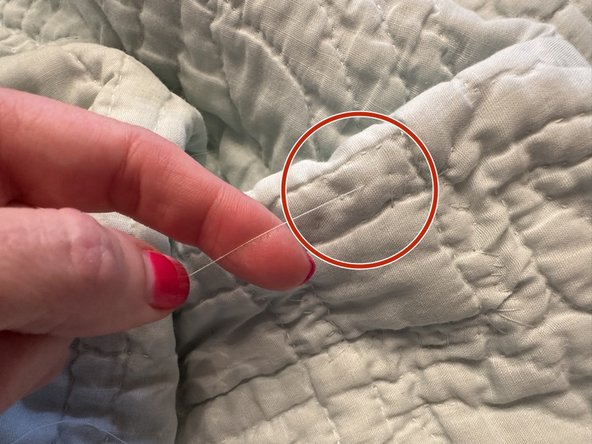
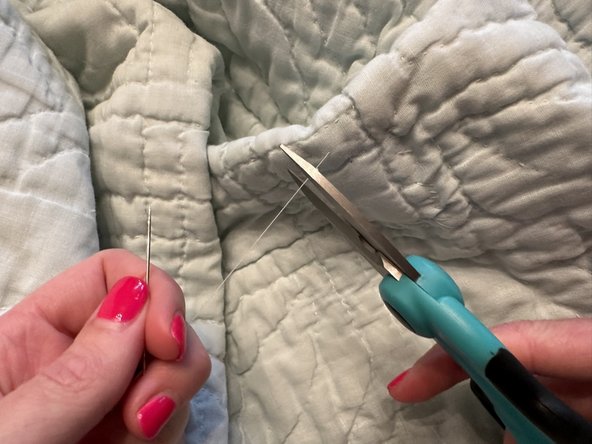
Try to make the knot as close to the end of the thread as possible but if there's a lot of extra on the end, it can be snipped off with the scissors.
-
-
-
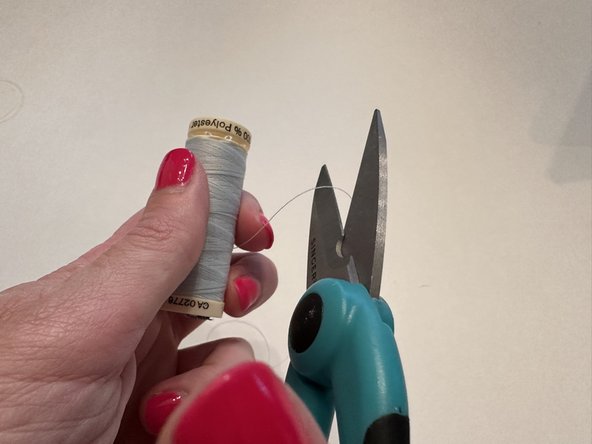
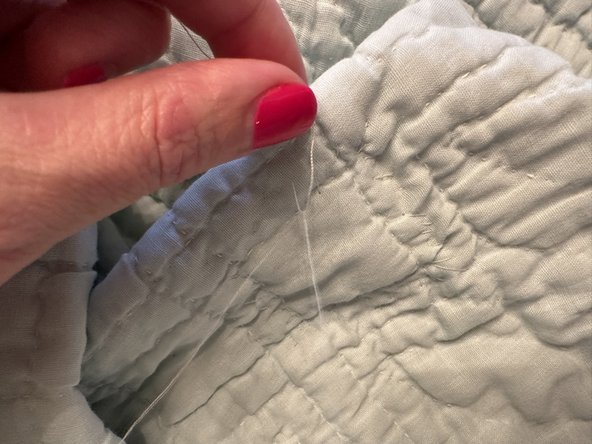
Pull a good amount of thread off the spool. In this example, about 1.5 feet of thread was pulled, which is substantially more than was needed. Depending on the size of the patch, you may need more or less thread.
-
Take the end of the thread without the knot in it and put it through the eye of the needle.
-
-
-
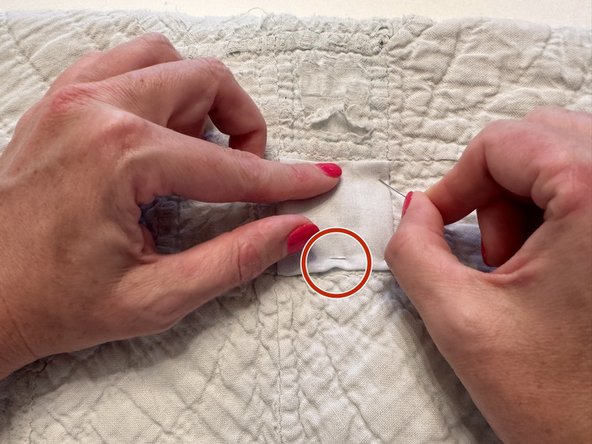
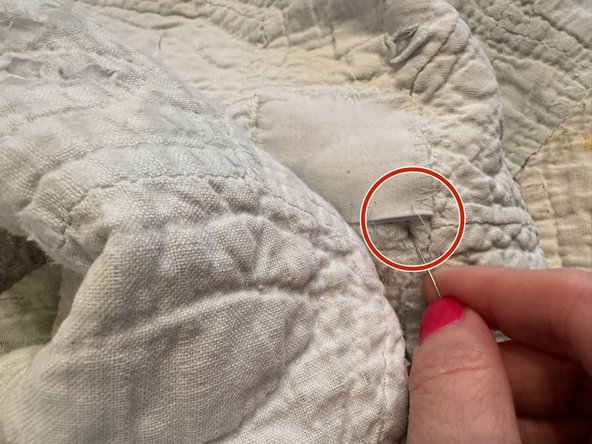
Move 0.25" or 0.5" down the new patch from where you just pulled the thread through the new patch. Then take the needle down through the neighboring patch and through to the back of the quilt.
-
Repeat the steps above. Push the needle up through the back of the quilt and through the new patch. Keep maintaining the 0.25" or 0.5" distance between stitches.
-
Continue in this way around all the edges of the new patch: going down through the neighboring, existing patch then up through the back of the quilt and surfacing through the new patch.
-
-
-
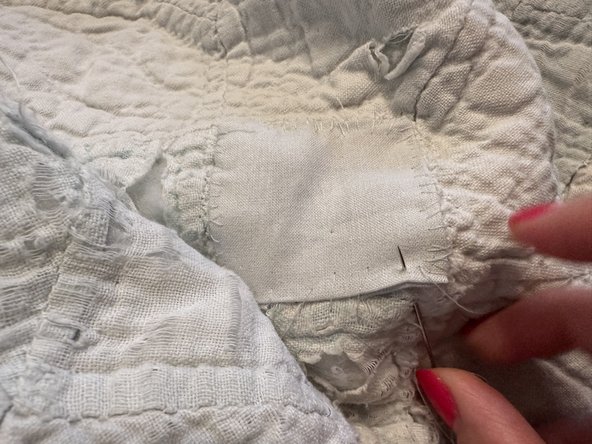
Once all edges of the new patch are sewn down, push one final stitch down through the top of the quilt.
-
On the back side of the quilt tie a knot in the thread. Repeat the knot tying done in Step 7 and tie three or four additional knots over your first knot to ensure it's large enough to not be pulled through the quilt.
-


To reassemble your device, follow these instructions in reverse order.
To reassemble your device, follow these instructions in reverse order.
Annuleren: ik heb deze handleiding niet afgemaakt.
Één andere persoon heeft deze handleiding voltooid.

Team

Austin Community College, Team 22-7, Watkins Fall 2023 Lid van Austin Community College, Team 22-7, Watkins Fall 2023
AUSTINCC-WATKINS-F23S22G7
2 Leden
2 handleidingen geschreven