Ga door naar hoofdinhoud

How to Replace Damaged Wooden Baseboards

Wat je nodig hebt

  1. How to Replace Damaged Wooden Baseboards, Wooden Baseboards: stap 1, afbeelding 1 van 3 How to Replace Damaged Wooden Baseboards, Wooden Baseboards: stap 1, afbeelding 2 van 3 How to Replace Damaged Wooden Baseboards, Wooden Baseboards: stap 1, afbeelding 3 van 3
    • Use a crowbar to remove the damaged baseboard.

    • Pull off the baseboard once it becomes loose.

  2. How to Replace Damaged Wooden Baseboards: stap 2, afbeelding 1 van 3 How to Replace Damaged Wooden Baseboards: stap 2, afbeelding 2 van 3 How to Replace Damaged Wooden Baseboards: stap 2, afbeelding 3 van 3
    • Measure the part of the wall where the baseboard will go. Write down this measurement.

    • Measure the baseboard to the measurement that you wrote down. Mark the baseboard with a pencil at this point.

  3. How to Replace Damaged Wooden Baseboards: stap 3, afbeelding 1 van 2 How to Replace Damaged Wooden Baseboards: stap 3, afbeelding 2 van 2
    • Draw a line on the baseboard at the point you marked.

  4. How to Replace Damaged Wooden Baseboards: stap 4, afbeelding 1 van 2 How to Replace Damaged Wooden Baseboards: stap 4, afbeelding 2 van 2
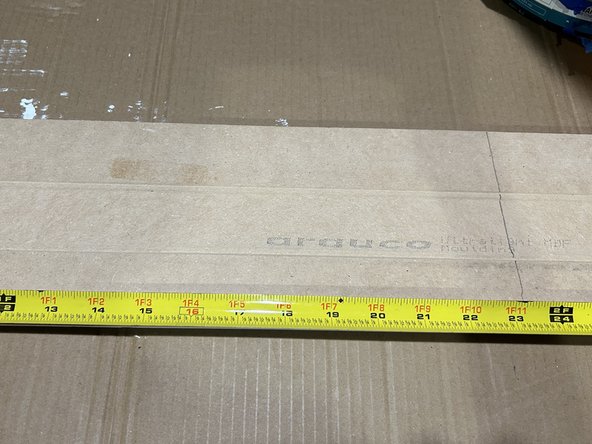
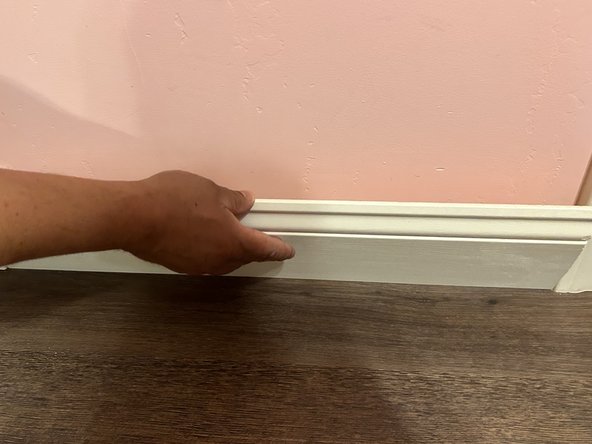
    • Lay the baseboard down on the table. Make sure the part you are going to cut is hanging off of the table.

    • Firmly hold down the baseboard. Steadily begin to saw the baseboard in a back and forth motion where you drew the line.

    • Handling a saw can be very dangerous due to its sharp edges. Make sure to be cautious of the motion of the blade and to cut away from your fingers/body.

    • Ensuring the baseboard is hanging off the table will help prevent your table from being cut or damaged.

    • Using a back and forth motion is safer to do when using a saw to cut a baseboard. This method will also give you a clean cut.

  5. How to Replace Damaged Wooden Baseboards: stap 5, afbeelding 1 van 3 How to Replace Damaged Wooden Baseboards: stap 5, afbeelding 2 van 3 How to Replace Damaged Wooden Baseboards: stap 5, afbeelding 3 van 3
    • Paint over any imperfections.

    • Leave the baseboard out to completely dry.

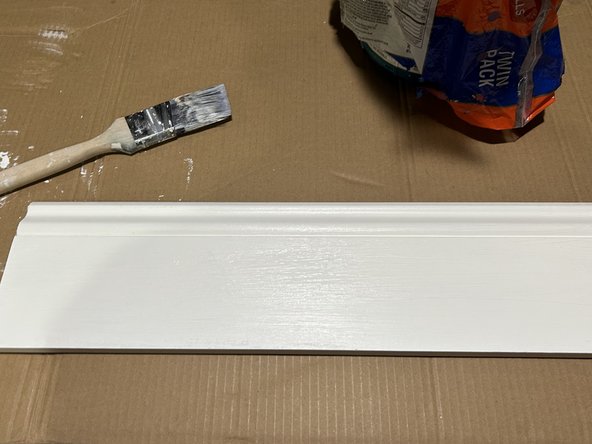
    • Depending on the amount of paint used, the drying process can take up to 15 or more minutes.

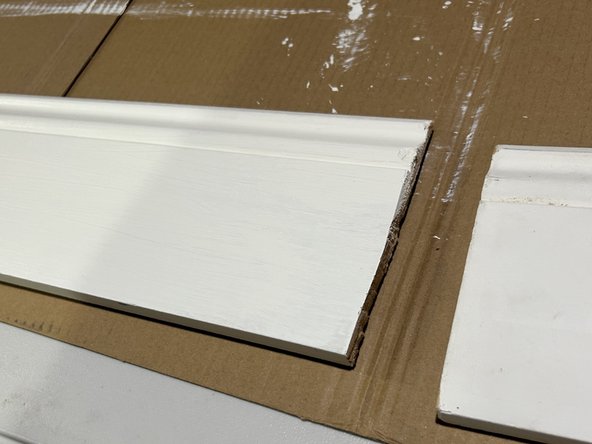
    • You may add a protective layer to the top of your table, such as a plastic table cover or flat cardboard, to help prevent your table from getting paint on it.

  6. How to Replace Damaged Wooden Baseboards: stap 6, afbeelding 1 van 3 How to Replace Damaged Wooden Baseboards: stap 6, afbeelding 2 van 3 How to Replace Damaged Wooden Baseboards: stap 6, afbeelding 3 van 3
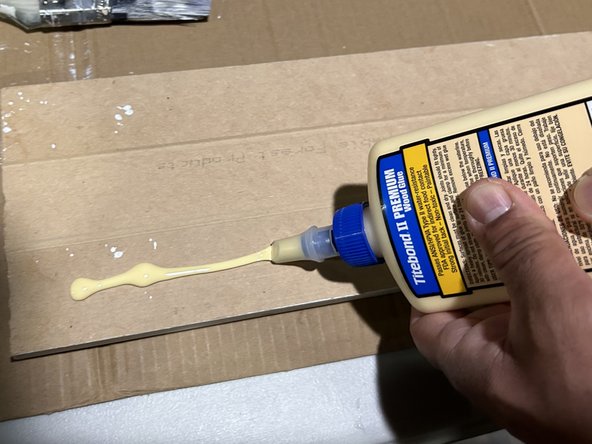
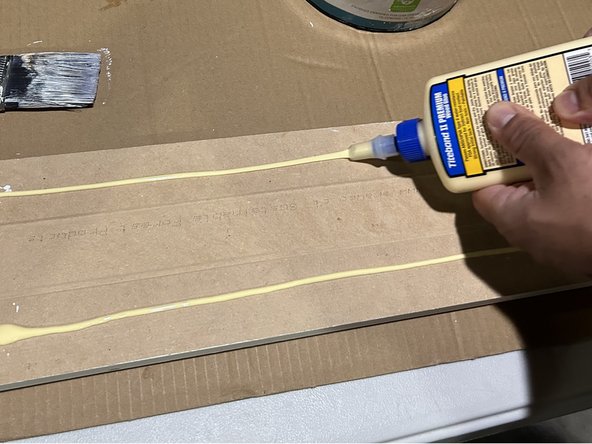
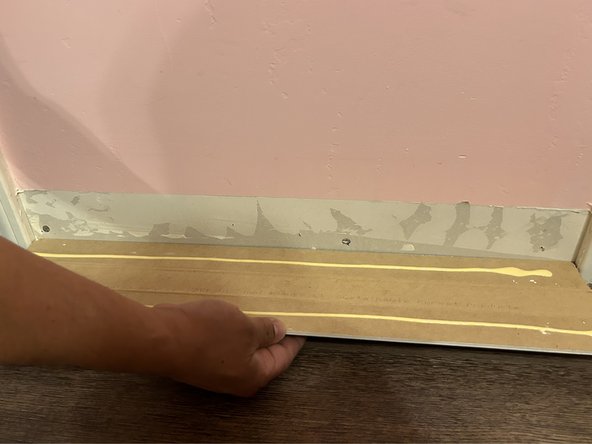
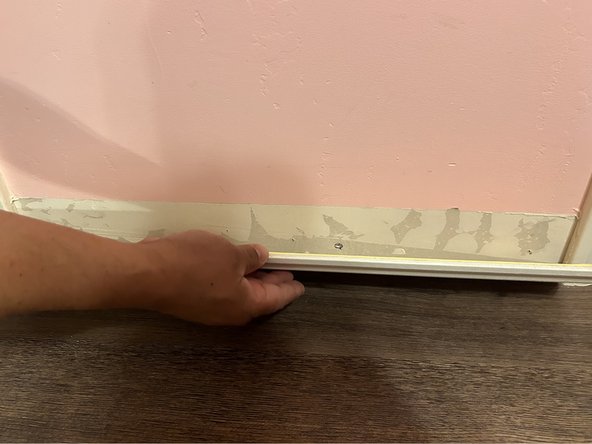
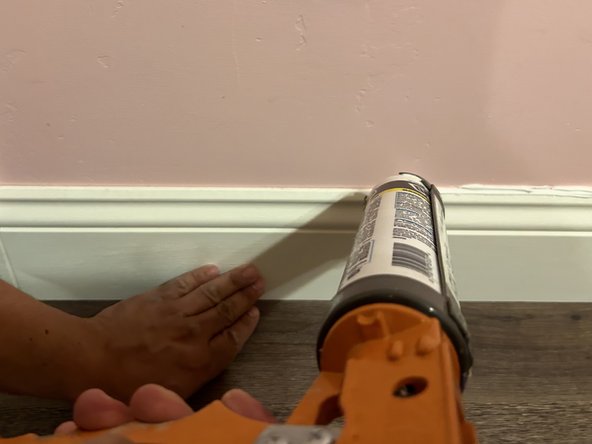
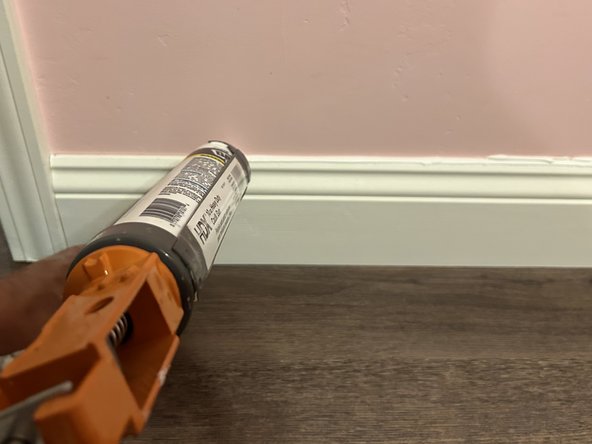
    • Apply wood glue to the top and bottom of the back of the baseboard.

    • You do not need glue in the center of the baseboard due to the ridges. However, if your baseboard is completely flat, be sure to fully cover the back with adhesive.

    • Make sure to apply enough glue so that the baseboard will stick.

  7. How to Replace Damaged Wooden Baseboards: stap 7, afbeelding 1 van 3 How to Replace Damaged Wooden Baseboards: stap 7, afbeelding 2 van 3 How to Replace Damaged Wooden Baseboards: stap 7, afbeelding 3 van 3
    • Align the baseboard with the wall. Press and hold the side of the baseboard with the glue against the area that the baseboard will cover.

    • More glue can be added if there are any loose areas.

  8. How to Replace Damaged Wooden Baseboards: stap 8, afbeelding 1 van 2 How to Replace Damaged Wooden Baseboards: stap 8, afbeelding 2 van 2
    • Press and hold the baseboard in place for about 3 to 5 minutes.

    • Place weights against the baseboard to hold it in place. Leave the weights there for at least 30 minutes or until completely dry.

    • The exact time may vary depending on the amount of glue used. Leave weights against the baseboard as long as it takes the adhesive to dry.

  9. How to Replace Damaged Wooden Baseboards: stap 9, afbeelding 1 van 3 How to Replace Damaged Wooden Baseboards: stap 9, afbeelding 2 van 3 How to Replace Damaged Wooden Baseboards: stap 9, afbeelding 3 van 3
    • Use a caulking gun to apply caulk to the gaps between the wall and baseboard.

    • Add as much caulking as it takes to fill in all gaps. We will clean the area in the next step.

    • Only begin this step once the glue is completely dry and the baseboard is not loose.

  10. How to Replace Damaged Wooden Baseboards: stap 10, afbeelding 1 van 3 How to Replace Damaged Wooden Baseboards: stap 10, afbeelding 2 van 3 How to Replace Damaged Wooden Baseboards: stap 10, afbeelding 3 van 3
    • Remove excess caulk and smooth it down with a wet wipe or clean towel.

    • Clean the surrounding area.

    • Let the area dry for at least 15 minutes (or until no longer wet to the touch).

  11. How to Replace Damaged Wooden Baseboards: stap 11, afbeelding 1 van 3 How to Replace Damaged Wooden Baseboards: stap 11, afbeelding 2 van 3 How to Replace Damaged Wooden Baseboards: stap 11, afbeelding 3 van 3
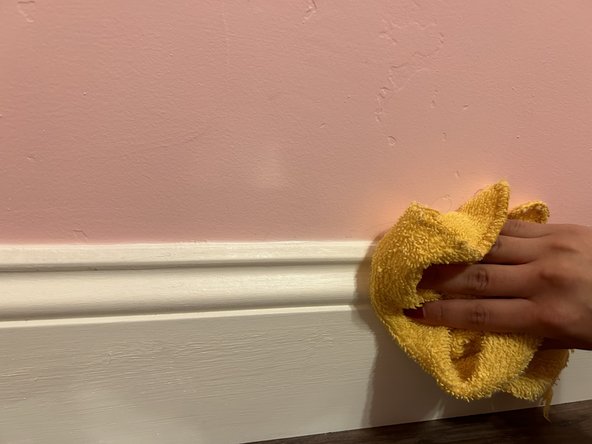
    • Once the area is completely dry, go back and clean the baseboard with wood cleaner.

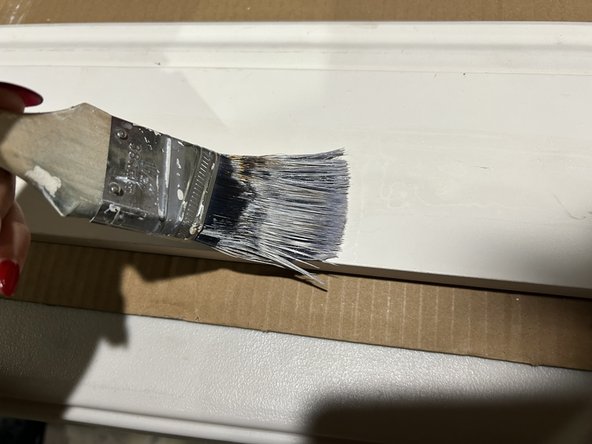
    • If you notice that there are still areas that need to be painted, you may paint over these areas again. Just allow the paint to dry and then clean the area again.

Eindstreep

0 opmerkingen

Voeg opmerking toe

Weergavestatistieken:

Afgelopen 24 uren: 4

Afgelopen 7 dagen: 10

Afgelopen 30 dagen: 55

Altijd: 105