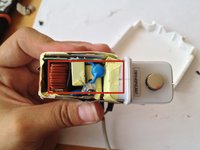
Inleiding
Sometimes the cable starts peeling just at that place where it meets the AC Adapter. I've met too many people that throw away their chargers because of this. It takes time and patience but repair is possible!
Wat je nodig hebt
-
-
Look at the line that goes though the charger. This is all glued with some super adhesive that prevents you from just taking it apart.
-
You will have to cut through that plastic, go all the way around following that small space with your knife.
-
This will take a while, you have to cut the plastic from all the 4 sides. You will notice when you have cut through most of it.
-
-
-
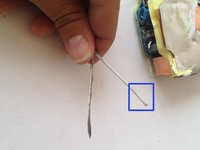
With a flat headed screwdriver start separating both plastic faces from the charger. You need to use a little force to do this.
-
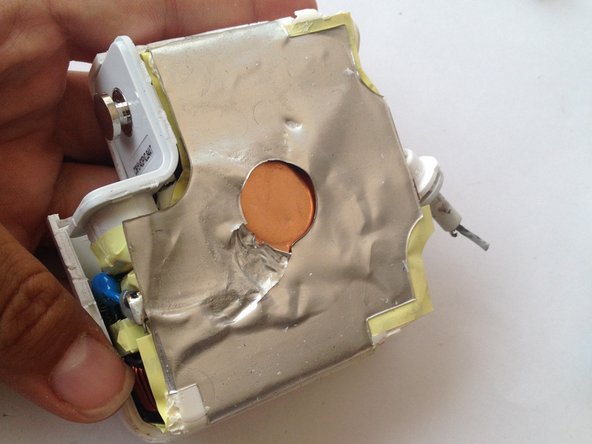
Once you have separated all sides with the screw driver, it still wont come off. This thing is glued to all sides of the plastic.
-
Insert the screwdriver into the top part of the charger and carefully separate the foil from the plastic enclosure. Be careful as to not rip off the foil from the inner part of the charger.
-
-
-
-
Cover up with electrical tape the rest the white and black/outer cable you just soldered.
-
Join them together with electrical tape as to form one cable and place the AC charger in one of the faces of the plastic enclosure.
-
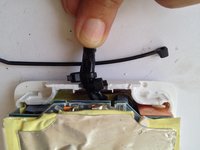
Take 3 small zip ties and tie them around the cable to stop it from being pulled out of the plastic enclosure.
-


Annuleren: ik heb deze handleiding niet afgemaakt.
240 andere personen hebben deze handleiding voltooid.

55 opmerkingen
Some tips:
* There is a better way to open the enclosure without damaging the edge: using a pliers to push the two sides apart where the bunny ears lift up (google for videos).
* The cable can actually be threaded through the rubber/plastic grommet if you have the patience to remove the broken cable from it and make the two small holes bigger with a drill bit. This can be frustrating but is the only way to keep the original appearance. Be sure to leave enough cable after the grommet for soldering.
* Thin (2-3mm) heat shrink is a good way to insulate the exposed wire after threading it through the grommet.
* If you trust your soldering skills, consider de-soldering the old cables from the terminals.
* Applying a little super glue along the edge and clamping for a few hours is all that is needed to keep it closed permanently.
Thanks for the tips! If you have pictures of the processes please feel free to modify this guide (especially the opening of the enclosure!) ^__^
* I have seen that in some tutorials and I wanted to to drill a hole through the rubber plastic grommet but didn't have a drill at my office =(
* I did consider de-soldering the old cables but that involved de-soldering other components that are attached to copper plates to get to those terminals. In earlier versions of the AC Adapter this can be done with not so much trouble.
I really appreciate your feedback! Thanks!
I didn't try that... We actually ended up just heating it to soften the plastic and that worked, wouldn't advise it though
Same for me, don: see this as a much easier way to open the case: https://www.youtube.com/watch?v=Yqa9uUKu...
Would be nice if you refer to this solution as alternative, befor starting to cut the case.
Thanks for the manual, I just fixed it!
Lukas -