Ga door naar hoofdinhoud

How to Repair a Small Hole in a Spanish Knife Textured Wall

Wat je nodig hebt

  1. How to Repair a Small Hole in a Spanish Knife Textured Wall, How to Repair a Small Hole in a Spanish Knife Textured Wall: stap 1, afbeelding 1 van 2 How to Repair a Small Hole in a Spanish Knife Textured Wall, How to Repair a Small Hole in a Spanish Knife Textured Wall: stap 1, afbeelding 2 van 2
    • Remove any debris from the hole in the wall.

  2. How to Repair a Small Hole in a Spanish Knife Textured Wall: stap 2, afbeelding 1 van 1
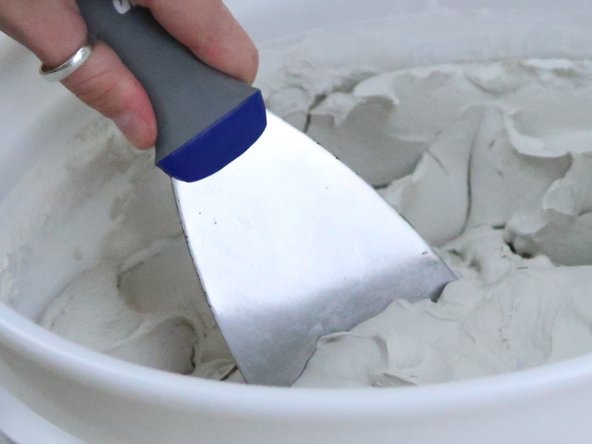
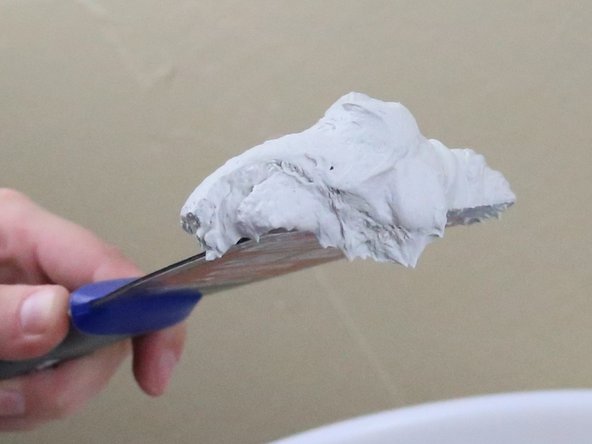
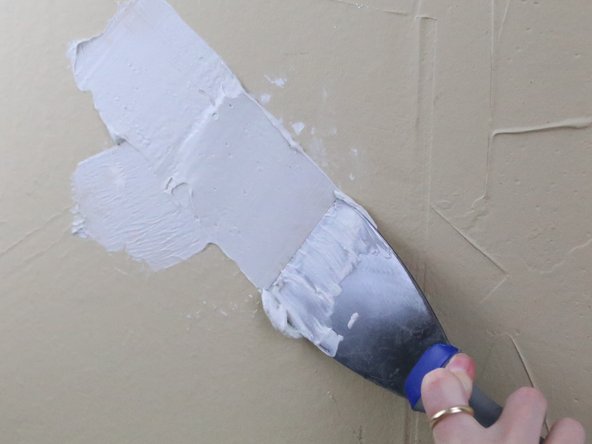
    • Scoop some DryDex Spackling on to your plastic taping knife.

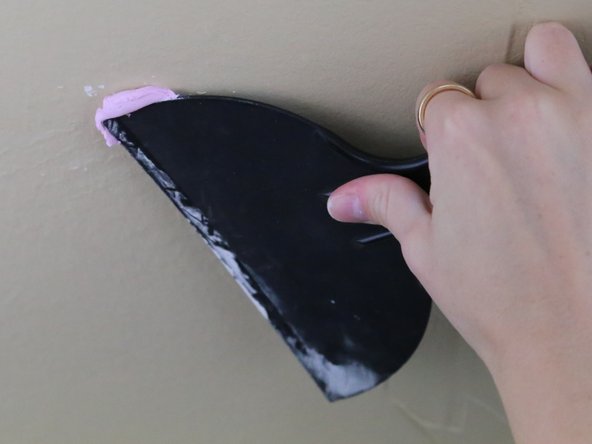
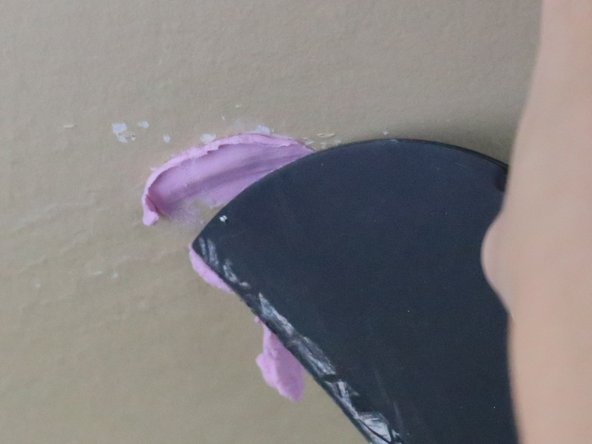
  3. How to Repair a Small Hole in a Spanish Knife Textured Wall: stap 3, afbeelding 1 van 2 How to Repair a Small Hole in a Spanish Knife Textured Wall: stap 3, afbeelding 2 van 2
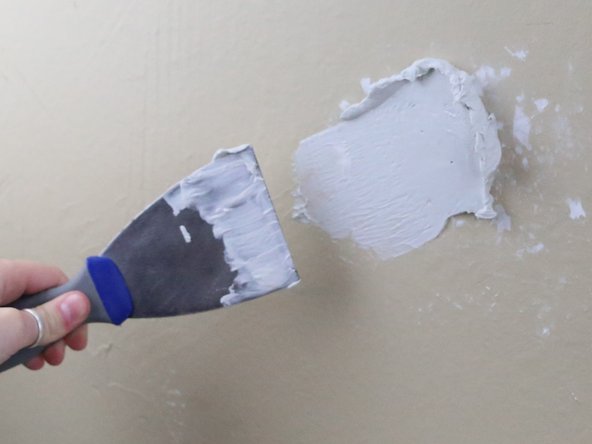
    • Fill the hole with spackle.

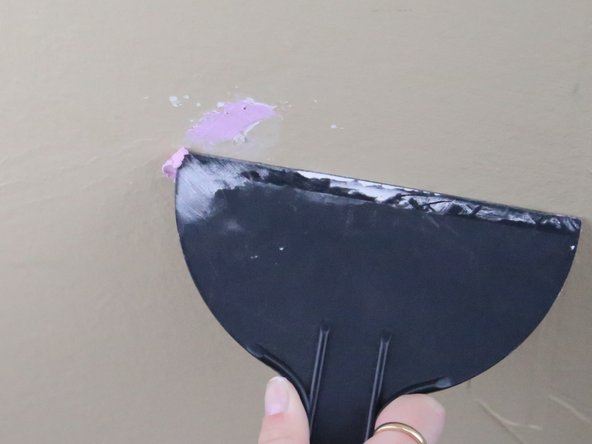
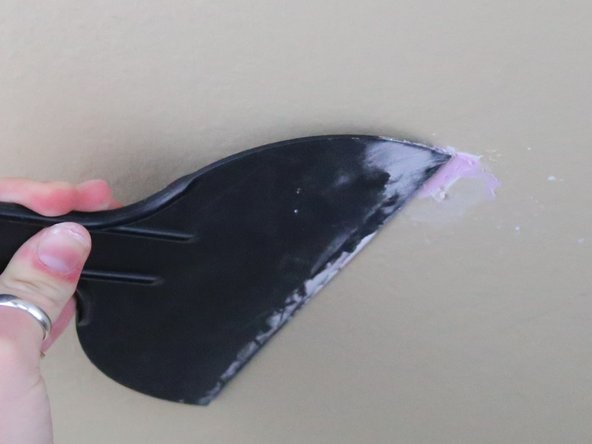
  4. How to Repair a Small Hole in a Spanish Knife Textured Wall: stap 4, afbeelding 1 van 2 How to Repair a Small Hole in a Spanish Knife Textured Wall: stap 4, afbeelding 2 van 2
    • Gently move the taping knife over the newly covered hole in multiple directions.

    • This will ensure the spackle completely fills the hole.

    • Let the DryDex Spackle dry.

    • You will know the spackle is dry when it turns from pink to white.

  5. How to Repair a Small Hole in a Spanish Knife Textured Wall: stap 5, afbeelding 1 van 1
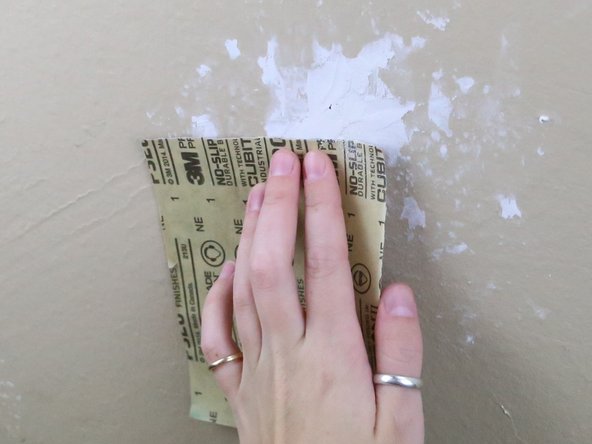
    • Sand the newly spackled area down until the spackle is level with the original wall.

  6. How to Repair a Small Hole in a Spanish Knife Textured Wall: stap 6, afbeelding 1 van 2 How to Repair a Small Hole in a Spanish Knife Textured Wall: stap 6, afbeelding 2 van 2
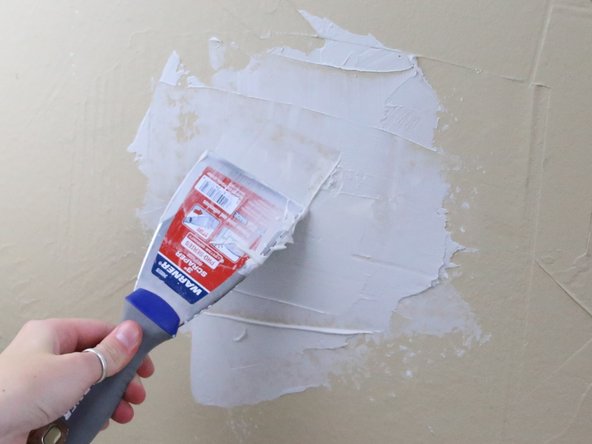
    • Scoop some All Purpose Joint Compound on to your putty knife.

  7. How to Repair a Small Hole in a Spanish Knife Textured Wall: stap 7, afbeelding 1 van 2 How to Repair a Small Hole in a Spanish Knife Textured Wall: stap 7, afbeelding 2 van 2
    • Smooth the joint compound on the wall, covering the area you want to re-texture.

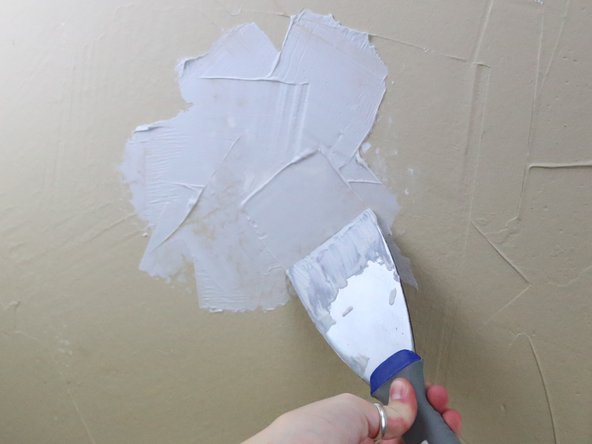
  8. How to Repair a Small Hole in a Spanish Knife Textured Wall: stap 8, afbeelding 1 van 2 How to Repair a Small Hole in a Spanish Knife Textured Wall: stap 8, afbeelding 2 van 2
    • Gently drag the putty knife through the joint compound to create ridges.

    • Creating ridges is a creative and unique process. You get to decide how close you want the ridges together and at what angle to make the ridges.

    • Let the joint compound completely dry.

    • You will know the Joint Compound is dry when it turns from grey to white.

  9. How to Repair a Small Hole in a Spanish Knife Textured Wall: stap 9, afbeelding 1 van 2 How to Repair a Small Hole in a Spanish Knife Textured Wall: stap 9, afbeelding 2 van 2
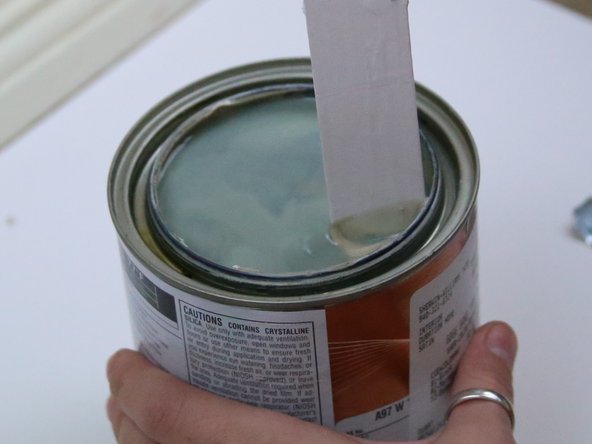
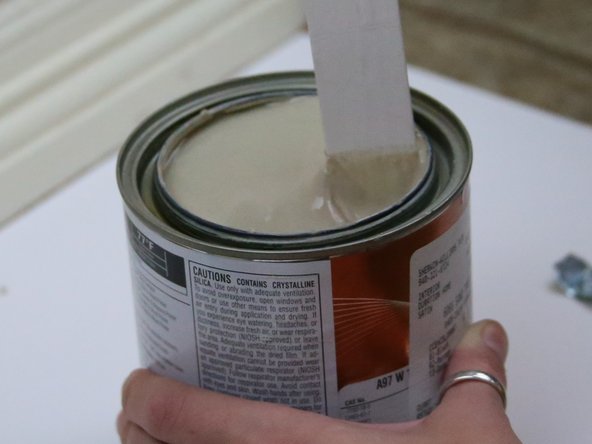
    • Mix the paint that you have leftover from the first time you painted the wall.

  10. How to Repair a Small Hole in a Spanish Knife Textured Wall: stap 10, afbeelding 1 van 2 How to Repair a Small Hole in a Spanish Knife Textured Wall: stap 10, afbeelding 2 van 2
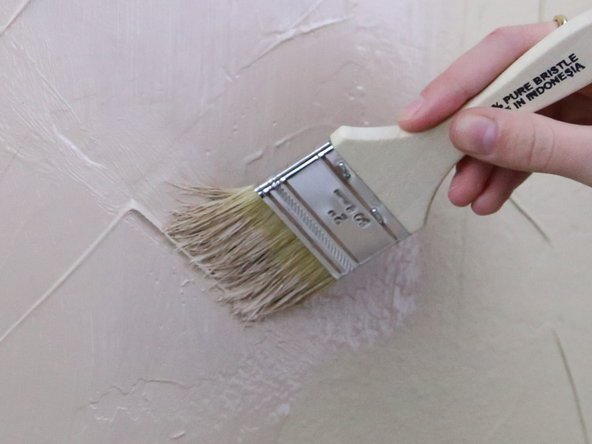
    • Paint the section of the wall that you re-textured.

    • Paint each ridge.

    • Let the paint completely dry.

Conclusie

You’ve successfully spackled, textured, and painted. Your wall is now as good as new!

Kayla Elder

Lid sinds: 09/22/21

198 Reputatie

1 Handleiding geschreven

0 opmerkingen

Voeg opmerking toe

Weergavestatistieken:

Afgelopen 24 uren: 1

Afgelopen 7 dagen: 15

Afgelopen 30 dagen: 28

Altijd: 867