Ga door naar hoofdinhoud

How to Repair a Hole in Workout/Yoga Around the Groin

Wat je nodig hebt

  1. How to Repair a Hole in Workout/Yoga Around the Groin, How to Repair a Hole in Workout/Yoga Around the Groin: stap 1, afbeelding 1 van 1
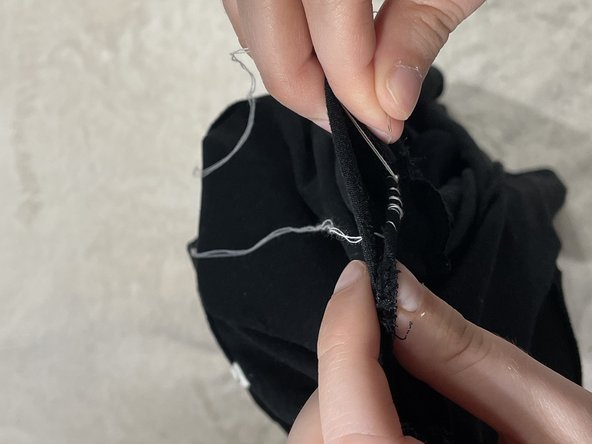
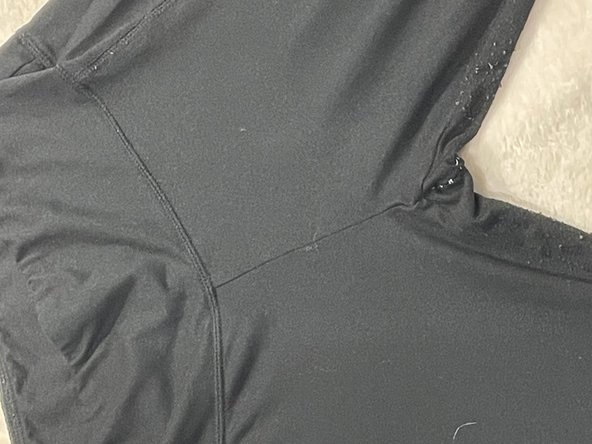
    • Take the pants and put them inside out.

    • You want the seams to be showing.

  2. How to Repair a Hole in Workout/Yoga Around the Groin: stap 2, afbeelding 1 van 1
    • Take the sewing pins (if the hole is big) and pin closed along the seam.

    • This should take no more than 5 pins to do.

  3. How to Repair a Hole in Workout/Yoga Around the Groin: stap 3, afbeelding 1 van 3 How to Repair a Hole in Workout/Yoga Around the Groin: stap 3, afbeelding 2 van 3 How to Repair a Hole in Workout/Yoga Around the Groin: stap 3, afbeelding 3 van 3
    • Take the thread (make sure it is the preferred color that matches the pants) and thread it through the needle.

    • Make sure to leave a large tail at least 20 inches.

    • Tie the two ends together into a small knot.

  4. How to Repair a Hole in Workout/Yoga Around the Groin: stap 4, afbeelding 1 van 1
    • Insert the needle into the fabric from one side until you can see the needle on the other side.

    • Pull all the way through.

  5. How to Repair a Hole in Workout/Yoga Around the Groin: stap 5, afbeelding 1 van 1
    • Take the needle and put it back through the fabric a short distance from where it came out originally.

  6. How to Repair a Hole in Workout/Yoga Around the Groin: stap 6, afbeelding 1 van 1
    • Continue steps 7 and 8 until you have reached the other end of the hole.

  7. How to Repair a Hole in Workout/Yoga Around the Groin: stap 7, afbeelding 1 van 2 How to Repair a Hole in Workout/Yoga Around the Groin: stap 7, afbeelding 2 van 2
    • Once you have finished sewing the hole, take the thread and tie a small knot at the base of the thread.

    • Cut thread and reverse the pants to check the seam.

  8. How to Repair a Hole in Workout/Yoga Around the Groin: stap 8, afbeelding 1 van 1
    • If seam is completely closed, then you have done it!

    • If not, then repeat steps 7-11 until hole is completely closed.

Conclusie

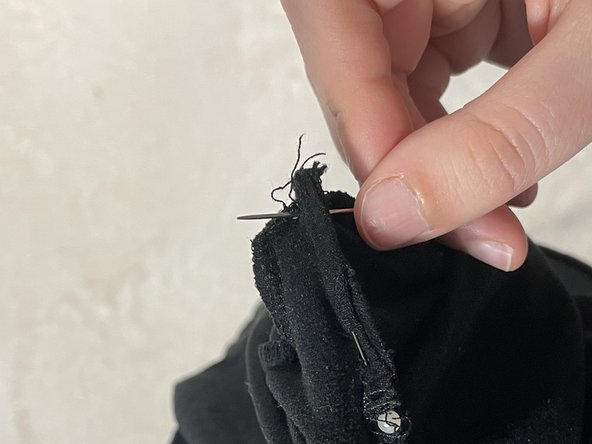
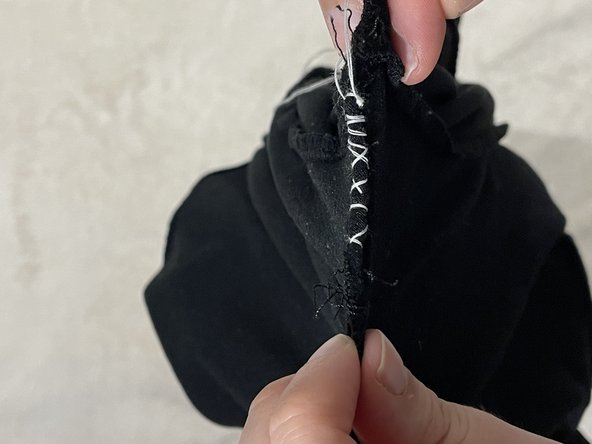
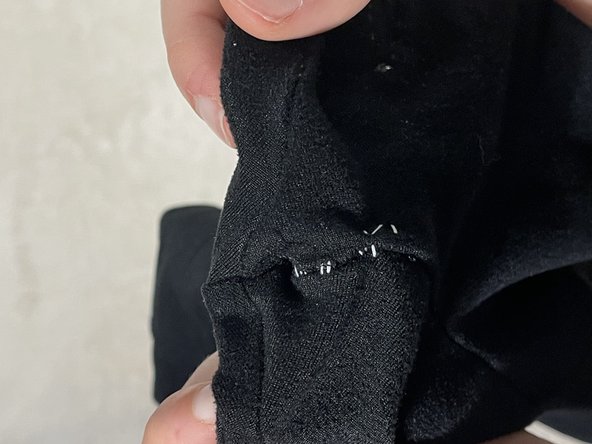
If seam is completely closed, then you have done it! If not, then repeat steps 7-11 until hole is completely closed.

Jessy Sternblitz

Lid sinds: 09/20/23

157 Reputatie

1 Handleiding geschreven

0 opmerkingen

Voeg opmerking toe

Weergavestatistieken:

Afgelopen 24 uren: 0

Afgelopen 7 dagen: 4

Afgelopen 30 dagen: 20

Altijd: 77