Ga door naar hoofdinhoud

How to Repair Cracks in a Cement Wall

Wat je nodig hebt

  1. How to Repair Cracks in a Cement Wall, How to Repair Cracks in a Cement Wall: stap 1, afbeelding 1 van 3 How to Repair Cracks in a Cement Wall, How to Repair Cracks in a Cement Wall: stap 1, afbeelding 2 van 3 How to Repair Cracks in a Cement Wall, How to Repair Cracks in a Cement Wall: stap 1, afbeelding 3 van 3
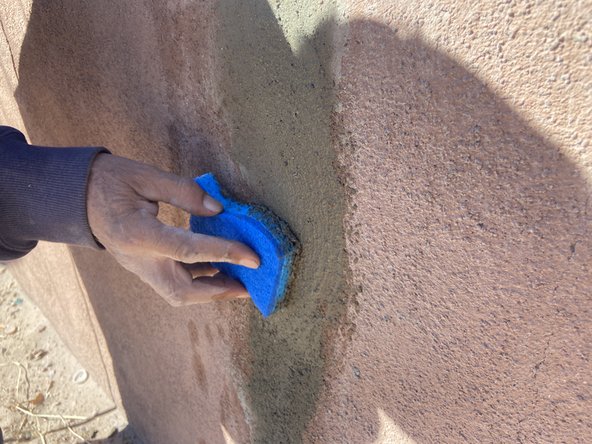
    • Remove the loose pieces of the wall in and around the crack.

    • Widen the crack to about an inch thick with an automatic angled concrete grinder.

    • A manual grinder may also work but will require more physical effort compared to the automatic grinder.

    • Use caution when operating power tools.

  2. How to Repair Cracks in a Cement Wall: stap 2, afbeelding 1 van 3 How to Repair Cracks in a Cement Wall: stap 2, afbeelding 2 van 3 How to Repair Cracks in a Cement Wall: stap 2, afbeelding 3 van 3
    • Follow the instructions on the cement patcher mix until the product is a paste consistency.

    • Soak a sponge in water and wet the now larger crack. Be sure to get water into the entire crack so that the area is moist.

    • Use a trowel to fill the mix into the crevices.

    • You may also use a steel putty knife or margin trowel.

    • Caution: Wear gloves to avoid getting paste onto your hands. Contact with skin could cause second or third-degree chemical burns.

  3. How to Repair Cracks in a Cement Wall: stap 3, afbeelding 1 van 3 How to Repair Cracks in a Cement Wall: stap 3, afbeelding 2 van 3 How to Repair Cracks in a Cement Wall: stap 3, afbeelding 3 van 3
    • Rewet the sponge and begin to smooth the patch mix into the wall.

    • A smooth blend will ensure the product stocks evenly across your wall and allows it to blend in.

  4. How to Repair Cracks in a Cement Wall: stap 4, afbeelding 1 van 2 How to Repair Cracks in a Cement Wall: stap 4, afbeelding 2 van 2
    • Allow the patcher mix to dry.

    • Drying times vary depending on the product and may take up to 48 hours.

    • Place tape in straight lines parallel to the edges of your dry plastered area.

  5. How to Repair Cracks in a Cement Wall: stap 5, afbeelding 1 van 2 How to Repair Cracks in a Cement Wall: stap 5, afbeelding 2 van 2
    • Wet the sponge and begin slightly tapping the newly plastered area.

    • Moisten the area until the entire boxed in area is damp.

  6. How to Repair Cracks in a Cement Wall: stap 6, afbeelding 1 van 3 How to Repair Cracks in a Cement Wall: stap 6, afbeelding 2 van 3 How to Repair Cracks in a Cement Wall: stap 6, afbeelding 3 van 3
    • Add stucco finish with the tile trowel.

    • Once the cemented area is covered with the stucco finish, take the foam plastering trowel and spread stucco finish to the edges of the tape.

    • If the trowel is too dry to spread the finish, moisten it with the water from earlier.

    • Blend the finish into the surrounding tape.

  7. How to Repair Cracks in a Cement Wall: stap 7, afbeelding 1 van 1
    • Remove the tape and blend areas that may not match.

    • Allow time for the finish to dry and the wall will be restored to crack-free.

Conclusie

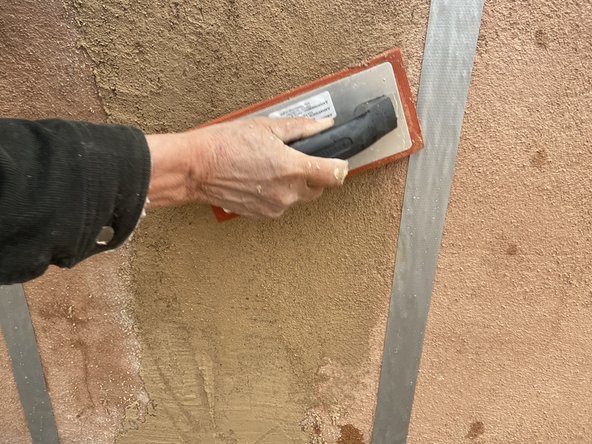
Enjoy your repaired concrete fence wall. These steps can also be used on any other concrete surfaces that have cracks.

Mariah Gonzales

Lid sinds: 01/13/22

164 Reputatie

1 Handleiding geschreven

0 opmerkingen

Voeg opmerking toe

Weergavestatistieken:

Afgelopen 24 uren: 3

Afgelopen 7 dagen: 24

Afgelopen 30 dagen: 80

Altijd: 4,085