Inleiding
Use this guide to repair a broken off ball joint in a Fashion Doll. The example used in this guide is a 2016 slim box Barbie, but the steps can be applied to other Fashion Dolls such as Monster High, Rainbow High, Disney Princess Dolls, and any other plastic dolls.
If you are a child, please ask a parent for help as this repair involves fire and needles.
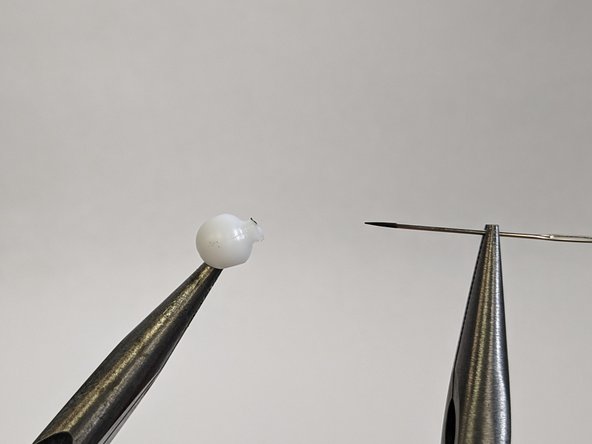
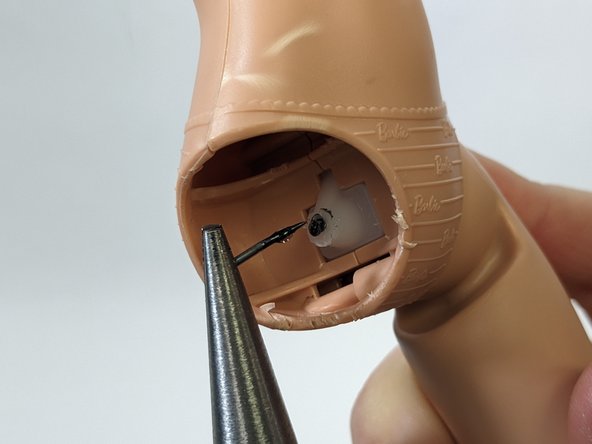
The ball joint secures the doll leg to the torso and provides mobility. The joint is one solid piece of plastic with three important areas. First is the solid plastic that is affixed inside the doll. Second are two small pegs, which stick out on each side. Third are balls at the ends of the pegs, which pop into sockets inside the doll's legs. During play or when trying to remove a leg, the plastic pegs can snap, breaking the ball off. This guide walks you through making a "splint" out of a sewing pin and super glue to securely reconnect the broken peg.
In steps 3 and 5 of this guide, you will use a lighter to heat up a metal sewing pin. Please perform these steps away from anything flammable, and avoid touching the hot metal with your bare skin. In steps 4 and 6 you will stick the hot sewing pin into plastic. Please perform these steps in a well ventilated area, as melting plastic can produce fumes. Additionally, the sewing pin is sharp at the end, so handle it carefully even when it's cold.
Caution: this isn't a perfect solution and it may degrade over time. If the ball joint breaks again, a sharp needle will be exposed.
Wat je nodig hebt
-
-
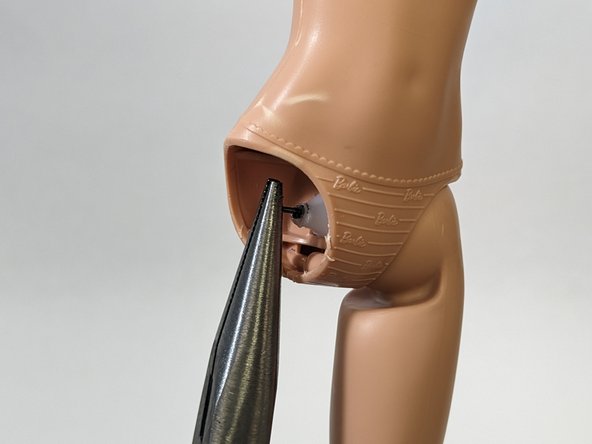
Determine where your doll is broken: is it at the knee? Hip? Arm?
-
-


To reassemble your device, follow these instructions in order.
To reassemble your device, follow these instructions in order.
Annuleren: ik heb deze handleiding niet afgemaakt.
2 andere personen hebben deze handleiding voltooid.

Team

UC Davis, Team 3-1, Andersen Winter 2023 Lid van UC Davis, Team 3-1, Andersen Winter 2023
UCD-ANDERSEN-W23S3G1
5 Leden
1 handleiding geschreven