Ga door naar hoofdinhoud

How To Replace the Wheels on a Trash Can

Wat je nodig hebt

  1. How To Replace the Wheels on a Trash Can, Wheels: stap 1, afbeelding 1 van 1
    • Flip the trash can upside down.

  2. How To Replace the Wheels on a Trash Can: stap 2, afbeelding 1 van 3 How To Replace the Wheels on a Trash Can: stap 2, afbeelding 2 van 3 How To Replace the Wheels on a Trash Can: stap 2, afbeelding 3 van 3
    • Position the flathead screwdriver on the tab of the pal-nut in the center of the wheel.

    • Position the rubber mallet on top of the flathead screwdriver.

    • Hit the flathead screwdriver with the rubber mallet a couple times for each tab.

    • There are two tabs on each pal-nut, so just do these actions for the pal-nut on one side. The other wheel can remain connected to the axle to remove.

    • This is to push the tab inside to free the pal-nut from the axle that the wheel is connected to.

  3. How To Replace the Wheels on a Trash Can: stap 3, afbeelding 1 van 3 How To Replace the Wheels on a Trash Can: stap 3, afbeelding 2 van 3 How To Replace the Wheels on a Trash Can: stap 3, afbeelding 3 van 3
    • Use the rubber mallet to hit the back of the wheel and loosen the pal-nut.

    • If the pal-nut is stuck, use PB B'LASTER to spray on the pal-nut to break up any rust or corrosion.

    • Caution: Wear gloves so the PB B'LASTER does not get on your skin.

    • Remove the pal-nut.

  4. How To Replace the Wheels on a Trash Can: stap 4, afbeelding 1 van 3 How To Replace the Wheels on a Trash Can: stap 4, afbeelding 2 van 3 How To Replace the Wheels on a Trash Can: stap 4, afbeelding 3 van 3
    • Remove the wheel with the pal-nut from the axle.

    • Slide the other wheel off of the trash can with the axle still attached.

  5. How To Replace the Wheels on a Trash Can: stap 5, afbeelding 1 van 3 How To Replace the Wheels on a Trash Can: stap 5, afbeelding 2 van 3 How To Replace the Wheels on a Trash Can: stap 5, afbeelding 3 van 3
    • To replace with the new parts, reverse the previous steps.

    • Slide the new wheel with the axle on to the trash can.

  6. How To Replace the Wheels on a Trash Can: stap 6, afbeelding 1 van 3 How To Replace the Wheels on a Trash Can: stap 6, afbeelding 2 van 3 How To Replace the Wheels on a Trash Can: stap 6, afbeelding 3 van 3
    • Position the new pal-nut on the axle.

    • Use the rubber mallet and hit the pal-nut on the axle until it is secured.

    • Hold the other side in place while hammering to offer some opposing force. This will help the pal-nut latch on to the axle.

    • Check that both sides are secured.

    • Flip the trash can back to the normal position.

    • Test the new wheels by rolling the trash can.

Conclusie

Now that your trash can is up and rolling again, you can now pat yourself on the back for a job well done!

Één andere persoon heeft deze handleiding voltooid.

Thien Pham

Lid sinds: 09/28/20

133 Reputatie

1 Handleiding geschreven

6 opmerkingen

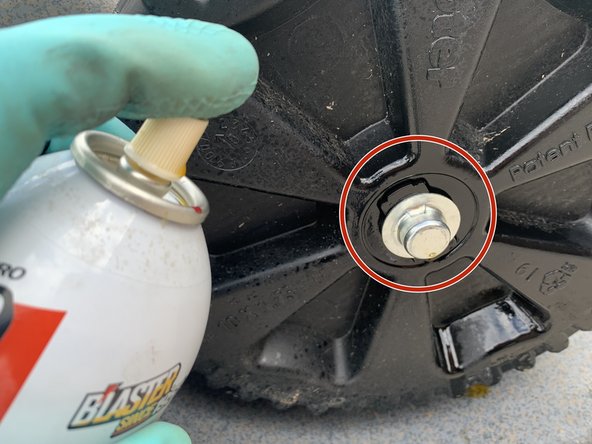
What size pal nuts on trash barrels

Billcopithorne - Antwoord

Putting wheels back on trash barrel.Need to replace pal nut and would like to know if there is a standard size to purchase

Billcopithorne - Antwoord

Hi there!

Upon looking at this specific replacement kit, the Pal-Nut size they used is 5/8”. Since you may have a different trash can with a different size axle, you should refer to any replacement kits made online and see what size Pal-Nut they use.

https://www.homedepot.com/p/Toter-Replac...

Thien Pham -

The nut wont come off. I had to saw the axel in half.

Is Sira - Antwoord

I am a 65 year grandmother and I replaced the wheels on my 20 year Toter with no issues, Found the repacement parts online. Proud of myself

Rose Wright - Antwoord

Voeg opmerking toe

Weergavestatistieken:

Afgelopen 24 uren: 8

Afgelopen 7 dagen: 86

Afgelopen 30 dagen: 310

Altijd: 12,760