Inleiding
Does your Hover-1 Horizon not turn off? This is a guide to show you how to replace the power button, the most likely cause of your issue. This guide requires a Phillips #2 and a Phillips #1 screwdriver.
Wat je nodig hebt


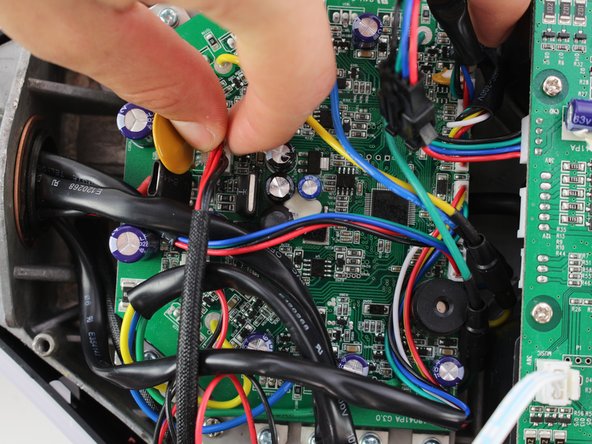


Bijna klaar!
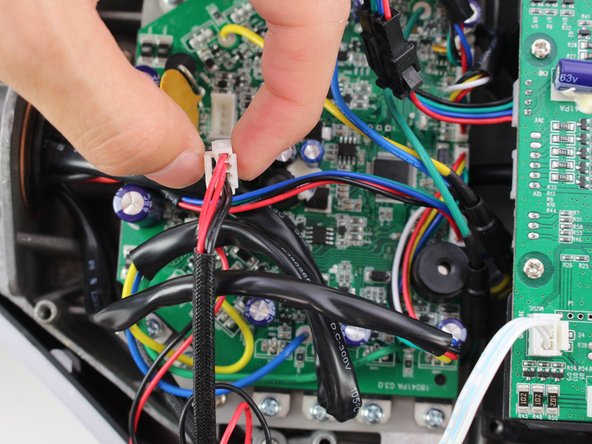
To reassemble your device, follow these instructions in reverse order.
Conclusie
To reassemble your device, follow these instructions in reverse order.
Team

Cal Poly, Team S13-G6, White Fall 2018 Lid van Cal Poly, Team S13-G6, White Fall 2018
CPSU-WHITE-F18S13G6
4 Leden
6 handleidingen geschreven