Inleiding
This step-by-step guide will demonstrate how to replace the retaining ring that holds the motherboard inside the case. This ring contains the hinge itself, so you would need to replace it if it does not close.
Wat je nodig hebt
-
-
Use an ESD-safe pry tool to gently pry open the case from the metal hinge that connects the white part of the top and bottom of the case together.
-
-
-
-
Use your H1.5 screw bit and gently remove the six screws on the silver retaining ring that holds in the motherboard.
-
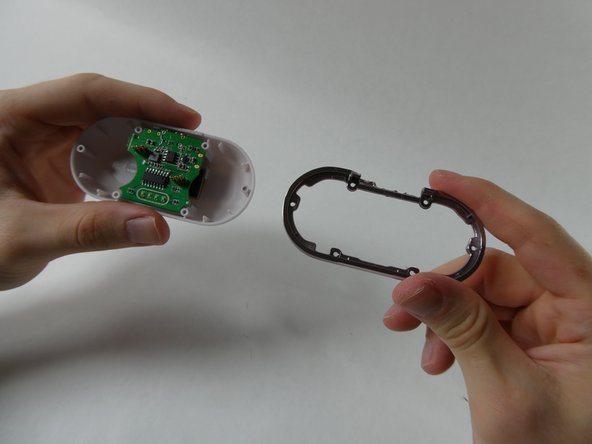
After the screws are removed from the case, put the screws aside and remove the ring from the base.
-


To reassemble your device, follow these instructions in reverse order.
To reassemble your device, follow these instructions in reverse order.
Team

UMass Dartmouth, Team 1-3, Petersen Fall 2022 Lid van UMass Dartmouth, Team 1-3, Petersen Fall 2022
UMASSD-PETERSEN-F22S1G3
6 Leden
6 handleidingen geschreven