Ga door naar hoofdinhoud

Heyday Active Noise-Canceling Wireless Headphones 0398 Battery Replacement

Wat je nodig hebt

  1. Heyday Active Noise-Canceling Wireless Headphones 0398 Battery Replacement, Ear-pad Cushion: stap 1, afbeelding 1 van 2 Heyday Active Noise-Canceling Wireless Headphones 0398 Battery Replacement, Ear-pad Cushion: stap 1, afbeelding 2 van 2
    • Position the headphones so that you can see the opening for the cushion as you take out your blue iFixIt opening tool. In between the earpad cushion and the headset, place the iFixit opening tool.

  2. Heyday Active Noise-Canceling Wireless Headphones 0398 Battery Replacement: stap 2, afbeelding 1 van 1
    • The connectors that the cushion snaps into place are used to attach the cushion to the headset. The connectors could be damaged by applying too much force, which would prevent the cushion from returning to its original position.

  3. Heyday Active Noise-Canceling Wireless Headphones 0398 Battery Replacement: stap 3, afbeelding 1 van 1
    • After the earpad cushion has been disconnected from the connectors you can take your new earpad cushion and install it.

  4. Heyday Active Noise-Canceling Wireless Headphones 0398 Battery Replacement, Battery: stap 4, afbeelding 1 van 2 Heyday Active Noise-Canceling Wireless Headphones 0398 Battery Replacement, Battery: stap 4, afbeelding 2 van 2
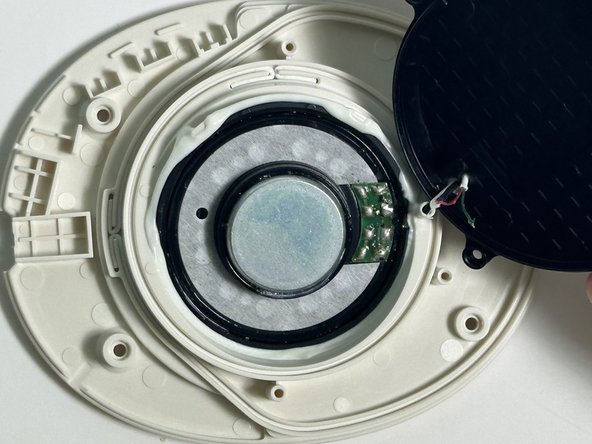
    • After removing the ear pad cushion, unscrew the four 1.6mm black screws with your Phillips-head screwdriver.

  5. Heyday Active Noise-Canceling Wireless Headphones 0398 Battery Replacement: stap 5, afbeelding 1 van 2 Heyday Active Noise-Canceling Wireless Headphones 0398 Battery Replacement: stap 5, afbeelding 2 van 2
    • Use the Phillips-head screwdriver to remove the black casing screws.

    • Lift the casing to see the battery.

  6. Heyday Active Noise-Canceling Wireless Headphones 0398 Battery Replacement: stap 6, afbeelding 1 van 1
    • The central spherical piece of metal is the battery. Use the ifixit opening tool and pry open the battery in your direction to remove the battery.

Conclusie

To reassemble your device, follow these instructions in reverse order.

Christopher Puperi

Lid sinds: 09/13/23

493 Reputatie

5 handleidingen geschreven

Team

0 opmerkingen

Voeg opmerking toe

Weergavestatistieken:

Afgelopen 24 uren: 0

Afgelopen 7 dagen: 1

Afgelopen 30 dagen: 11

Altijd: 94