Inleiding
This guide will show you how to change the light bulb in a Harbor Breeze Fan with a glass dome. This particular model is the Lake Canton Model #41705. I have completed a similar repair myself four times with three different fans.
This repair requires working with your hands above your head for the duration of the repair and likely requires using a ladder or a step stool. If you have issues with dizziness or balance, it may be best to have someone else do it for you. Be careful when working on a ladder; ensure that it's secure, and if possible, have someone hold it steady. Additionally, it is recommended to have an assistant to provide an extra set of hands. Having someone assist you will make the process easier and safer, especially if it's your first time attempting the repair.
Before you begin, turn off the power to your Harbor Breeze fan and light.
Wat je nodig hebt
-
-
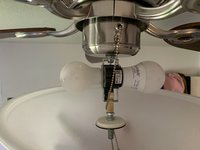
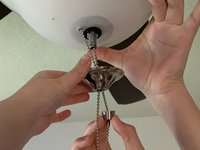
Twist off the cap that holds the glass dome still.
-
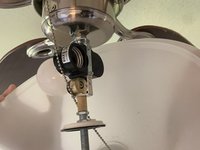
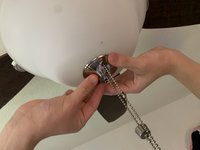
Slide the hardware covering the glass and allow it to hang on the end of the pull chain.
-
-


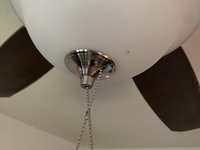
You now have all the information to replace your own ceiling fan lightbulb. While a few things may differ for different brands, the general idea should be the same. I hope this was a helpful experience for you, enjoy your light!
You now have all the information to replace your own ceiling fan lightbulb. While a few things may differ for different brands, the general idea should be the same. I hope this was a helpful experience for you, enjoy your light!

Team

Austin Community College, Team 52-2, Watkins Spring 2024 Lid van Austin Community College, Team 52-2, Watkins Spring 2024
AUSTINCC-WATKINS-S24S52G2
1 Lid
1 handleiding geschreven