Deze versie kan foutieve bewerkingen bevatten. Schakel over naar de recentste gecontroleerde momentopname.
Wat je nodig hebt
-
Deze stap is niet vertaald. Help het te vertalen
-
Power the phone off.
-
Use your thumb to gently press downward and away from the camera to remove the battery cover.
-
-
Deze stap is niet vertaald. Help het te vertalen
-
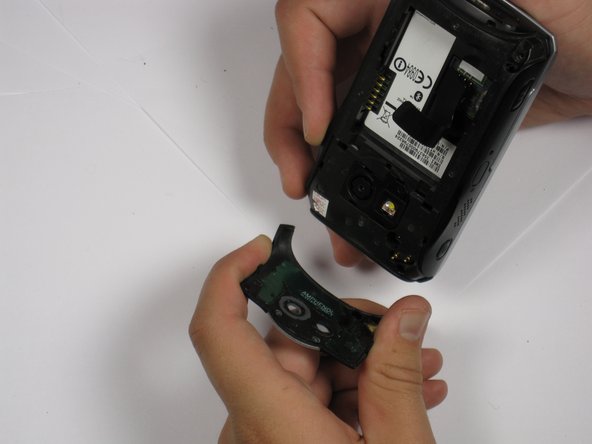
Use a plastic opening tool to remove the camera cover.
-
Lift the camera cover off of the phone.
-
-
Deze stap is niet vertaald. Help het te vertalen
-
Remove the stylus from the phone.
-
Remove the four 5.5 mm screws with the T6 Torx Screwdriver.
-
-
Deze stap is niet vertaald. Help het te vertalen
-
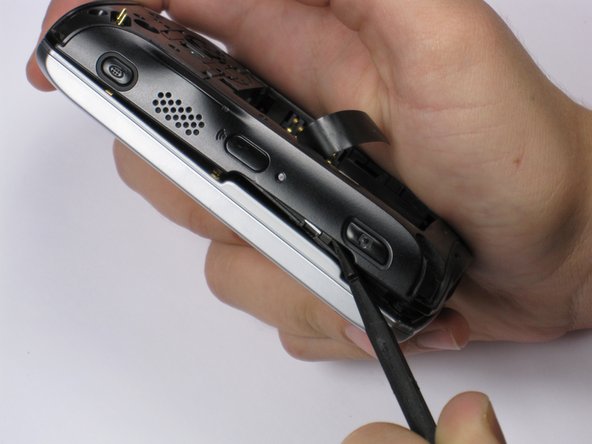
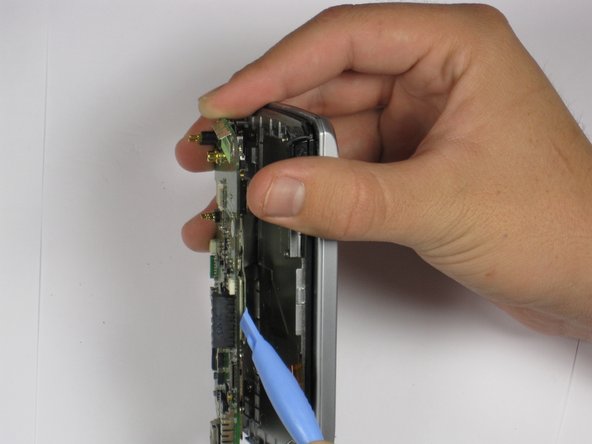
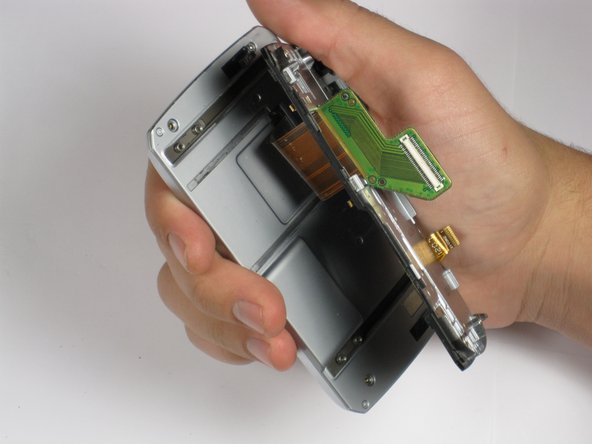
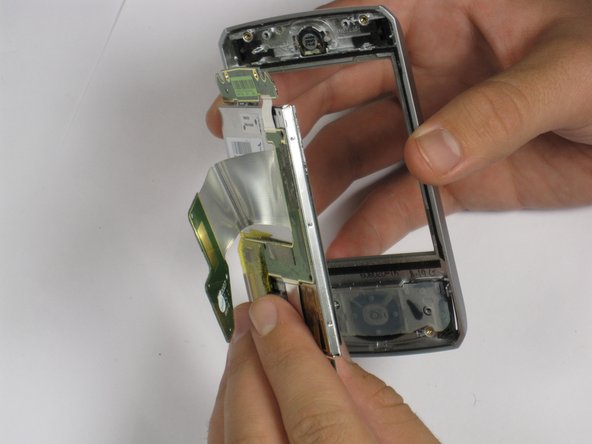
Insert spudger in the bottom corner as seen in the picture. Carefully slide the spudger from the bottom towards the top as seen in the second picture.
-
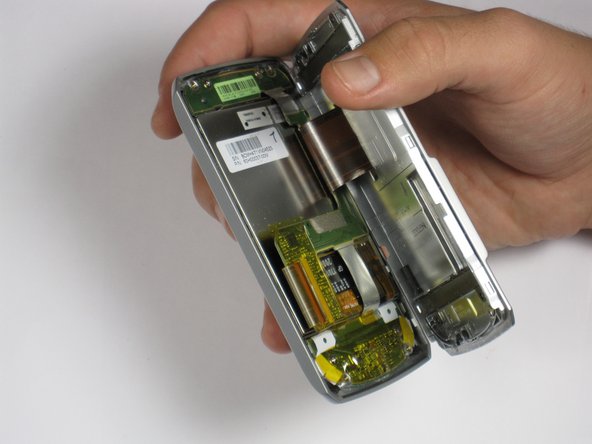
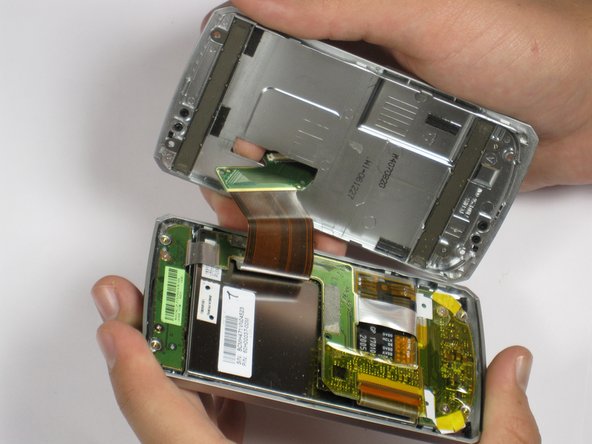
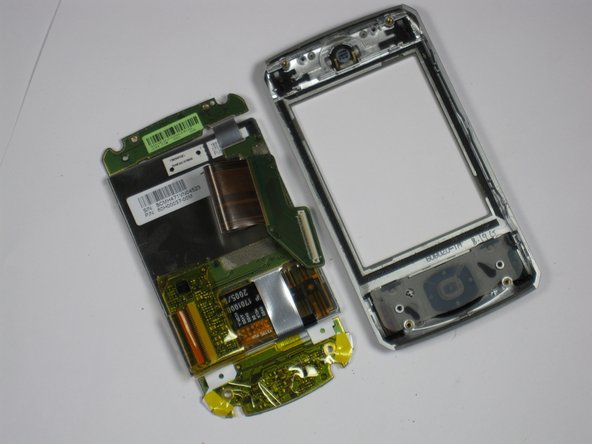
Lift the back case off completely.
-
-
Deze stap is niet vertaald. Help het te vertalen
-
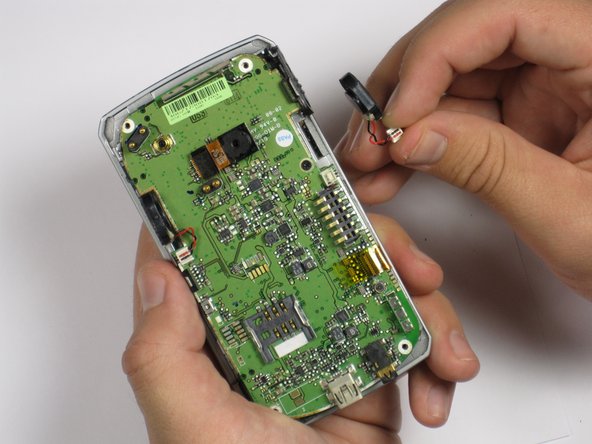
Grip the speaker connector with your thumb and finger and gently pull up.
-
Repeat for 2nd speaker.
-
-
-
Deze stap is niet vertaald. Help het te vertalen
-
Locate the camera and pry off with the plastic opening tool or spudger.
-
-
Deze stap is niet vertaald. Help het te vertalen
-
Remove the 3.4 mm black screw with the Phillips #000 screwdriver.
-
-
Deze stap is niet vertaald. Help het te vertalen
-
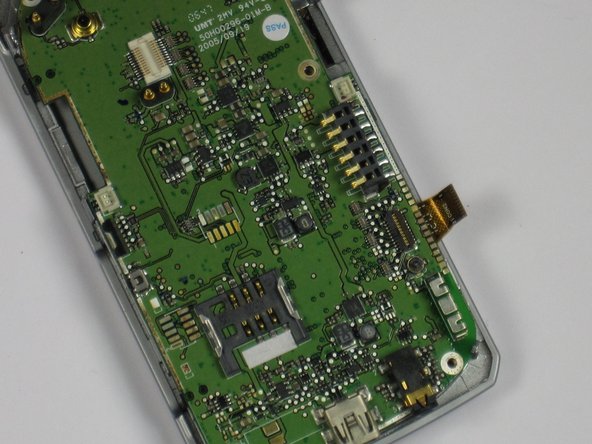
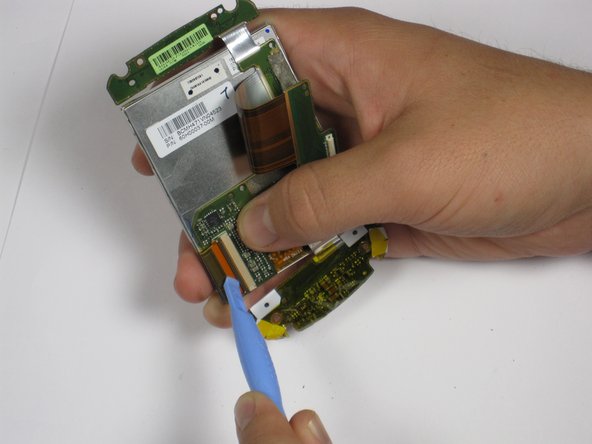
Remove the plastic tape to reveal the connector.
-
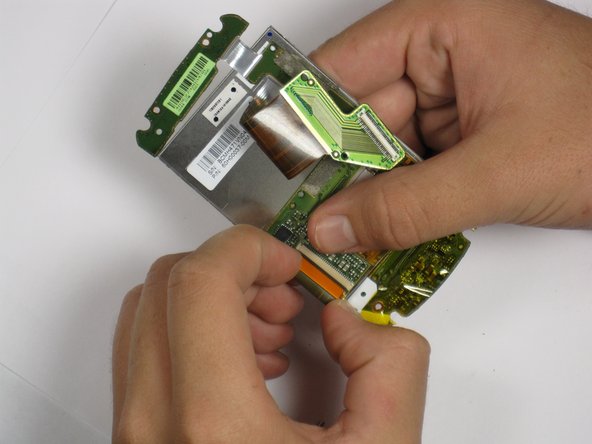
Use your finger or plastic opening tool to flip the connector and release the cable.
-
-
Deze stap is niet vertaald. Help het te vertalen
-
Use the plastic opening tool to carefully lift the motherboard off one corner at a time.
-
If the motherboard is not easily removed by pulling, then lift one side of the motherboard until you can see the attached cable. Then use the plastic opening tool to detach the cable from the motherboard.
-
-
Deze stap is niet vertaald. Help het te vertalen
-
Using the Phillips Screwdriver #000 remove the four 3.3 mm screws.
-
Carefully lift the keyboard from the plastic plate by allowing the ribbon cable to slip through the opening of the plastic plate.
-
-
Deze stap is niet vertaald. Help het te vertalen
-
Use the Phillips Screwdriver #000 to remove the four 3.8 mm screws from the back of the screen.
-
-
Deze stap is niet vertaald. Help het te vertalen
-
Insert the spudger between the panel and the case.
-
Gently pry off the panel by rotating or wiggling the spudger back and forth.
-
Lift the panel off while allowing the ribbon to slip through the opening.
-
-
Deze stap is niet vertaald. Help het te vertalen
-
Remove the four 2.9 mm screws with the Phillips Screwdriver #000.
-
Use your fingers to separate the screen assembly from the front panel.
-
-
Deze stap is niet vertaald. Help het te vertalen
-
Insert the spudger between the green panel and the screen itself.
-
Gently wiggle the spudger to pry them apart.
-
-
Deze stap is niet vertaald. Help het te vertalen
-
Remove the tape.
-
Locate the connecting ribbon.
-
Using the spudger or your thumb and finger, flip the switch up and disconnect the ribbon.
-
Lift off the panel from the screen.
-


Annuleren: ik heb deze handleiding niet afgemaakt.
Één andere persoon heeft deze handleiding voltooid.

Team

Cal Poly, Team 20-28, Maness Fall 2011 Lid van Cal Poly, Team 20-28, Maness Fall 2011
CPSU-MANESS-F11S20G28
4 Leden
15 handleidingen geschreven