Deze versie kan foutieve bewerkingen bevatten. Schakel over naar de recentste gecontroleerde momentopname.
Wat je nodig hebt
-
Deze stap is niet vertaald. Help het te vertalen
-
Flip the phone over to have the rear cover facing up.
-
The camera lens should be towards the top of the phone.
-
-
Deze stap is niet vertaald. Help het te vertalen
-
Slide the cover up, towards the top of phone, to unlock the battery cover.
-
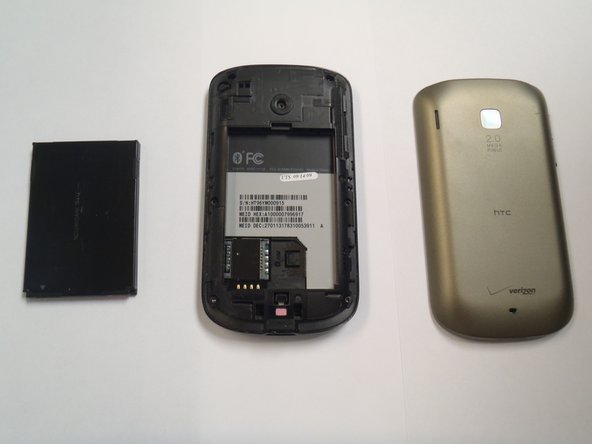
Lift the cover off phone and remove it.
-
-
Deze stap is niet vertaald. Help het te vertalen
-
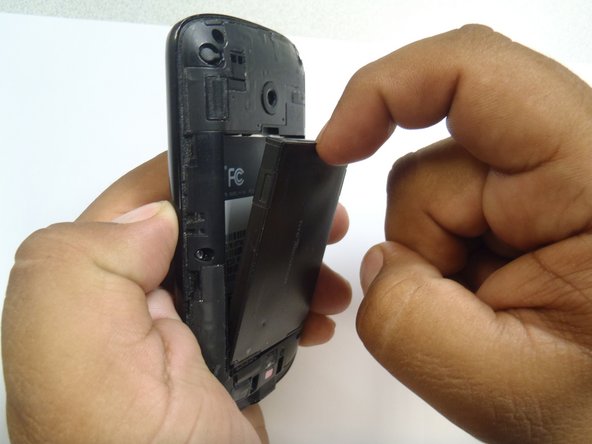
Use your finger to push the top of the battery downwards and lift the battery out of the phone.
-
-
-
Deze stap is niet vertaald. Help het te vertalen
-
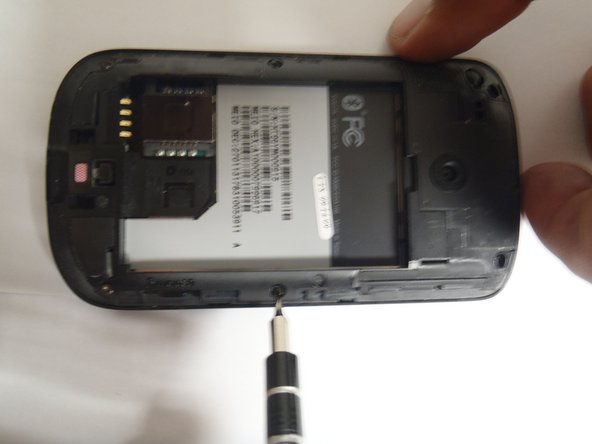
Remove the six Torx #5 screws that are securing the rear frame.
-
-
Deze stap is niet vertaald. Help het te vertalen
-
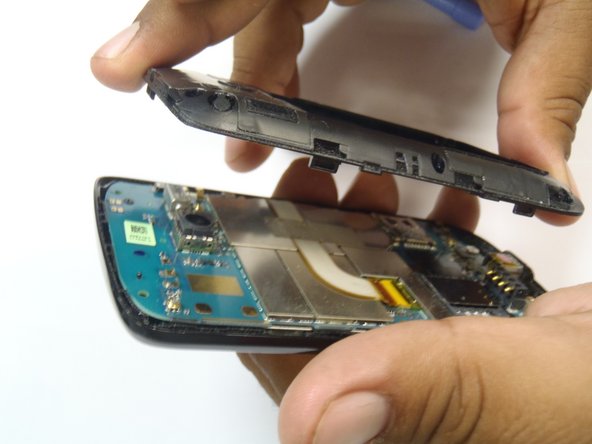
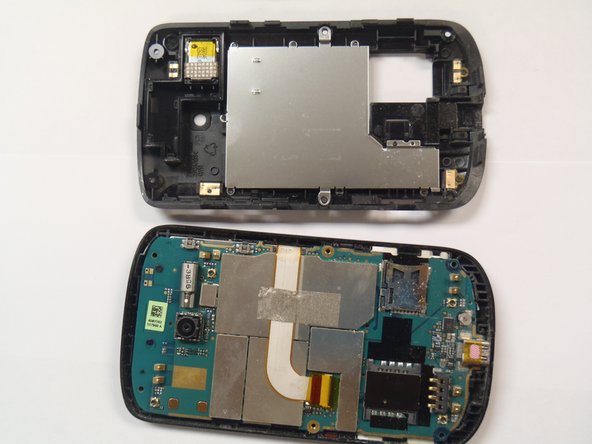
Pry the frame open, releasing the eight plastic tabs around the edge of the frame, using the plastic opening tool.
-
-
Deze stap is niet vertaald. Help het te vertalen
-
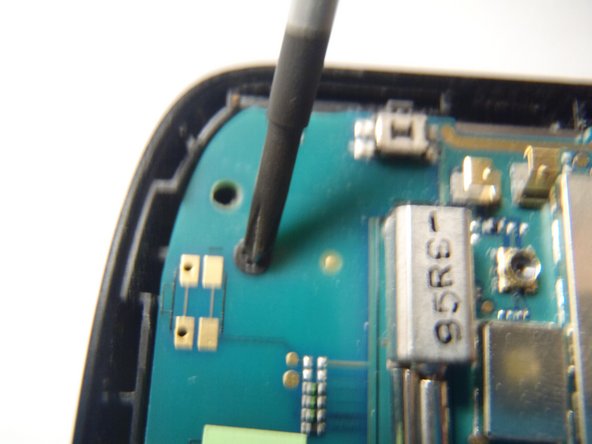
Remove the single Phillips #0 screw that is securing the motherboard to the front case of the phone.
-
-
Deze stap is niet vertaald. Help het te vertalen
-
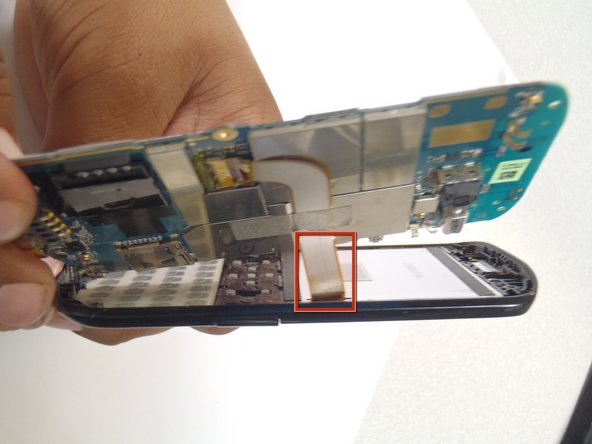
Pry the motherboard away from the front of the plastic case using a plastic opening tool.
-
-
Deze stap is niet vertaald. Help het te vertalen
-
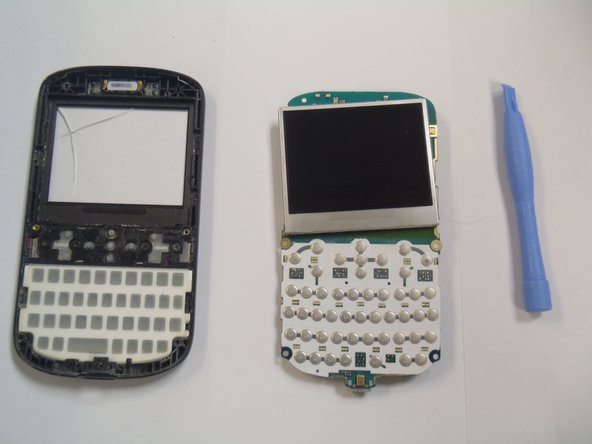
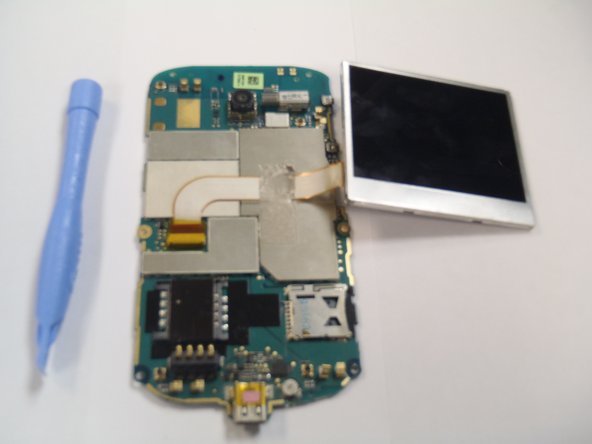
Remove the plastic cover from the LCD display and the motherboard.
-
Annuleren: ik heb deze handleiding niet afgemaakt.
Één andere persoon heeft deze handleiding voltooid.


