Ga door naar hoofdinhoud
Word lid van de reparatiegemeenschap - Account aanmaken

HP Spectre 13-3010dx Fan Replacement

Wat je nodig hebt

  1. HP Spectre 13-3010dx Fan Replacement, Removal of the Back Case: stap 1, afbeelding 1 van 2 HP Spectre 13-3010dx Fan Replacement, Removal of the Back Case: stap 1, afbeelding 2 van 2
    Gereedschap gebruikt in deze stap:
    Anti-Static Wrist Strap
    $7.95
    • Put on Anti Static Wrist Strap.

    • It is always a good idea to ground yourself when working with electronics to prevent static buildup. You wear this strap to protect you and your device from accidental electrostatic discharge (ESD) damage during repairs.]

    • Flip Computer Upside down.

    • Unscrew the eight 3.3mm black screws on the back casing with the T4 Torx Screwdriver.

    Vraag FixBot
  2. HP Spectre 13-3010dx Fan Replacement: stap 2, afbeelding 1 van 2 HP Spectre 13-3010dx Fan Replacement: stap 2, afbeelding 2 van 2
    • Use the plastic opening tool to lift the back case off.

    • Use the plastic opening tools first; metal spudgers can damage your device.

    Vraag FixBot
  3. HP Spectre 13-3010dx Fan Replacement, Battery: stap 3, afbeelding 1 van 1
    • Remove the six 2.0mm silver screws and the two 3.2 mm black screws using the PH00 Phillips Screw Head.

    Vraag FixBot
  4. HP Spectre 13-3010dx Fan Replacement: stap 4, afbeelding 1 van 1
    • Gently unplug from CONO851 plug, using the plastic opening tool.

    Vraag FixBot
  5. HP Spectre 13-3010dx Fan Replacement: stap 5, afbeelding 1 van 2 HP Spectre 13-3010dx Fan Replacement: stap 5, afbeelding 2 van 2
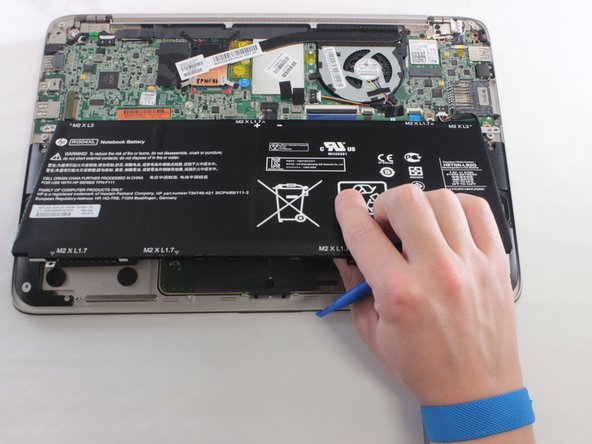
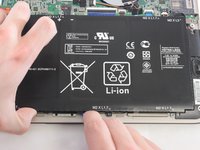
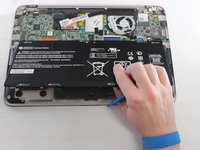
    • Gently lift up the battery and remove using the plastic opening tools.

    Vraag FixBot
  6. HP Spectre 13-3010dx Fan Replacement, Fan: stap 6, afbeelding 1 van 1
    • Unscrew three 2.0 mm screws using the Phillips Head #0

    Vraag FixBot
  7. HP Spectre 13-3010dx Fan Replacement: stap 7, afbeelding 1 van 1
    • Disconnect the plug.

    Vraag FixBot
  8. HP Spectre 13-3010dx Fan Replacement: stap 8, afbeelding 1 van 1
    • Remove the fan.

    Vraag FixBot
Conclusie

To reassemble your device, follow these instructions in reverse order.

6 andere personen hebben deze handleiding voltooid.

2Gids Commentaar

Why did you physically remove the battery? It seems like unplugging the battery’s CONO851 plug would be good enough? It’s funny, even in the photo where you remove the fan, the battery is still there.

tshong - Antwoord Deel

I replaced the fan in my computer. As tshong said, I did not have to remove the battery. Just unplugged it then skipped steps 3 and 5. and voila.

Trach Nguyen - Antwoord Deel

Voeg opmerking toe

Weergavestatistieken:

Afgelopen 24 uren: 1

Afgelopen 7 dagen: 9

Afgelopen 30 dagen: 54

Altijd: 3,754