Wat je nodig hebt
-
-
Rotate the printer 90 degrees counter clockwise so that the side panel next to control panel is facing you.
-
Remove the two T10 12mm Torx screws from the left side panel.
-
-
-
Rotate the printer 90 degrees counter clockwise.
-
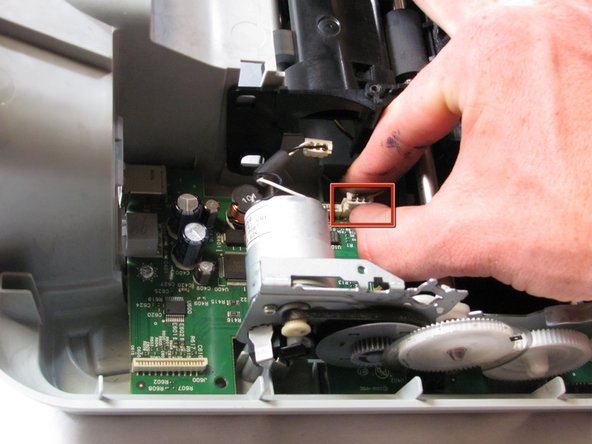
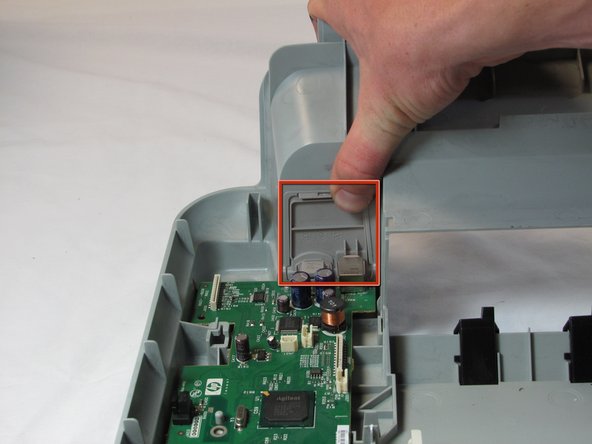
Inside the printer is a small white tab. Press it inward with a spudger until a pop is heard.
-
Remove the front panel by grasping its front and pulling away from the printer.
-
-
-
Set aside the top panel of the printer.
-
Remove the two T10 12 mm Torx screws from the top front of the printer
-
-
-
-
Set aside the ink cartridge carriage.
-
Remove the three T10 12mm Torx screws holding the paper guide to the printer body.
-
Lift the paper guide directly up to remove it and set it aside.
-
-
-
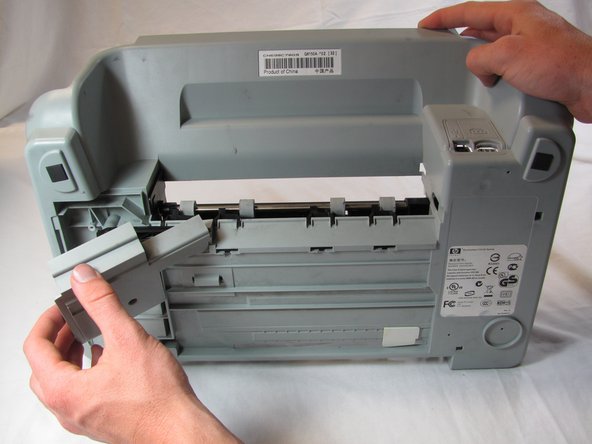
Rotate the printer 180 degrees and turn it up on to the front side, so that the back of the printer is facing up and the bottom facing you.
-
Push in the tab on the left side of the back panel and pull outward to remove the back panel.
Doubtful many will read through steps beforehand to complete the tear down, but the rotation isn’t necessary. Back panel can be removed keeping the printer horizontal. In the next step, if this screw is removed at the beginning, parts will simply drop out if you lift printer up vertically (or might need a little help from you). No need to worry about the loose feed roller assembly.
-
-
-
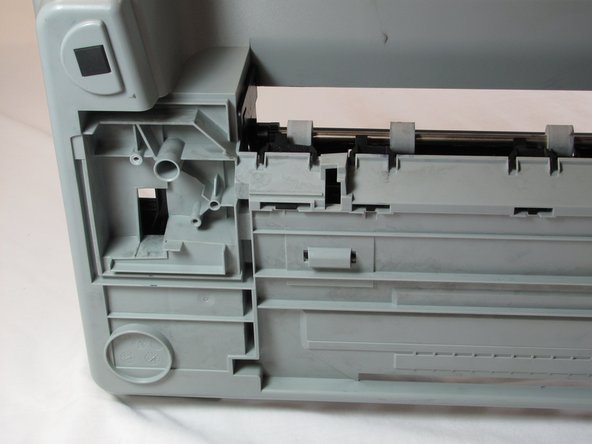
Remove the printer head cleaner by lifting the front of the printer head cleaner above the track and slide it forward.
If you place a small screwdriver blade over the front left guide and under the print head cleaner and then slide the cleaner forward (so that it rides over the guide rail) it will come out easily.
That worked. Thank you. I thought I wasn’t going to be able to get it out without breaking something. But when I saw your comment I gave it a try and it worked perfectly.
-
-
-
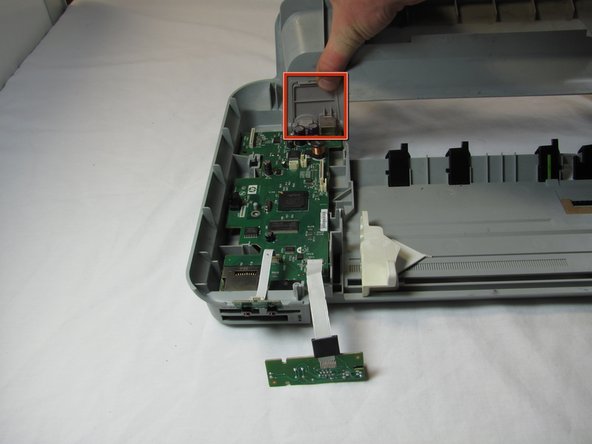
Grasp the left side of the feed roller assembly and pull towards the front of the printer and up to free the metal tab from the slot.
-
-
-
Lift the feed roller assembly straight up to remove it.
Dieser letzte Arbeitsschritt kann wohl nur zum endgültigen Zerlegen des Geräts dienen.
Den Mechanismus der Transportrollen etc wieder zum Funktionieren zu bringen, erweist sich
als höchst schwierig - nicht zu empfehlen.
Dem Autor sei aber allerhöchster Dank gesagt, dass er sich die Mühe gemacht hat, alle Montageschritte
klar zu beschreiben und auch mit Bildern zu ergänzen - sogar einige Pop-up Hinweise sind dabei.
Bravo und nochmals Dank für eine so saubere Arbeit. Garofalo
While removing this a small plastic shaft with gears on both ends fell out not sure where to put it back
Same happened to me. Did you find out where to re-insert it?
-
-
-
Set aside the feed roller assembly.
-
Push down on the tab that is on the power and USB back panel and then away from the printer to remove the power and USB back panel.
-


To reassemble your device, follow these instructions in reverse order.
To reassemble your device, follow these instructions in reverse order.
Annuleren: ik heb deze handleiding niet afgemaakt.
7 andere personen hebben deze handleiding voltooid.
Team

Cal Poly, Team 20-30, Maness Fall 2011 Lid van Cal Poly, Team 20-30, Maness Fall 2011
CPSU-MANESS-F11S20G30
4 Leden
25 handleidingen geschreven
4 opmerkingen
Muito boas elucidações das etapas para desmontagem da HP C3180
Excellent guide! You saved my printer. Thanks!
Hi, love your instructional slide shows. Very detailed. Thank you.
So now the big question: where do I buy the parts from? I have an HP C4280 all-in-one printer/scanner and I need to replace {because of your videos} either the control panel circuitry or the main control panel. But I have no idea where to get them. Can you suggest anyone?
Thank you,
Diane L.