Deze versie kan foutieve bewerkingen bevatten. Schakel over naar de recentste gecontroleerde momentopname.
Wat je nodig hebt
-
Deze stap is niet vertaald. Help het te vertalen
-
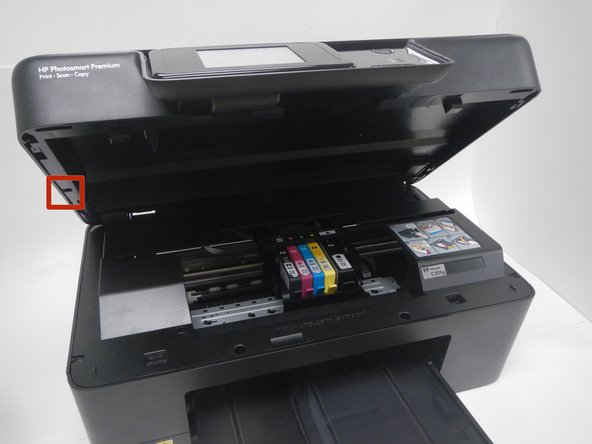
Open the top of printer. The printer should appear as shown.
-
-
Deze stap is niet vertaald. Help het te vertalen
-
Use the blue plastic opening tool to pry the trim pieces all the way around the printer.
-
Loosen the pieces around the edges before pulling to remove from the printer.
-
Pull the (4) trim pieces off and set them aside.
-
-
Deze stap is niet vertaald. Help het te vertalen
-
Using the blue plastic opening tool, pull from the middle and then slide back to remove the side panels.
-
-
Deze stap is niet vertaald. Help het te vertalen
-
Using the T9 Torx Security screwdriver bit, unscrew the five 12mm screws shown.
-
-
Deze stap is niet vertaald. Help het te vertalen
-
The scanner flap is attached by a clip that can be dislodged by pulling it gently away from the printer.
-
Keeping the scanner flap upright, slide it toward the unattached clip in order to dislodge the second clip.
-
Both clips will come unattached and you can set the scanner flap aside.
-
-
-
Deze stap is niet vertaald. Help het te vertalen
-
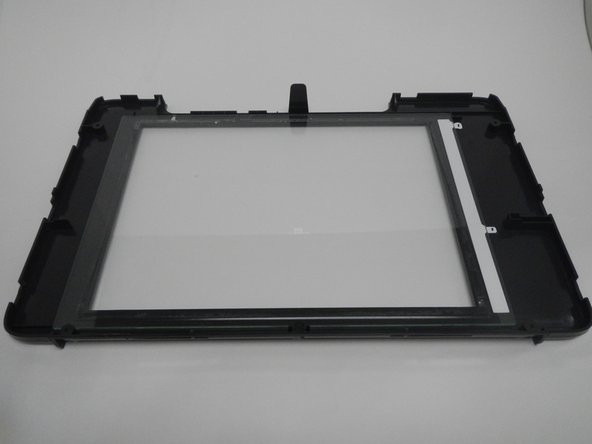
Lift the scanner glass piece from the printer and set it aside.
-
-
Deze stap is niet vertaald. Help het te vertalen
-
Gently pull the display screen away from the printer.
-
Locate & unscrew the two 12mm screws using the T9 Torx Security screwdriver bit.
-
-
Deze stap is niet vertaald. Help het te vertalen
-
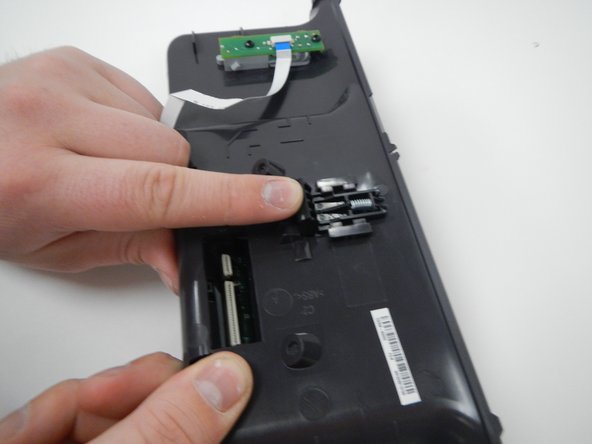
Place thumb and forefinger where shown and pull this piece away from the printer.
-
-
Deze stap is niet vertaald. Help het te vertalen
-
Pull both wiring ribbons out from the display screen piece. This will separate the piece from the printer.
-
-
Deze stap is niet vertaald. Help het te vertalen
-
Push forward and down to release the retaining piece. This will detach the display screen from the front panel.
-
-
Deze stap is niet vertaald. Help het te vertalen
-
Set the display screen face down.
-
Locate and unscrew all four 12mm screws on the back on the display screen using the T9 Torx Security screwdriver bit.
-
-
Deze stap is niet vertaald. Help het te vertalen
-
Place hands as shown and push with your thumbs to detach the plastic from the screen.
-


Annuleren: ik heb deze handleiding niet afgemaakt.
Één andere persoon heeft deze handleiding voltooid.
Team

Michigan Tech, Team 1-2, Lauer Fall 2014 Lid van Michigan Tech, Team 1-2, Lauer Fall 2014
MTU-LAUER-F14S1G2
3 Leden
5 handleidingen geschreven