Wat je nodig hebt
-
-
Unscrew the four 8mm Philips screws marked with an icon resembling a stacks of discs.
-
Lift the cover from the right to remove it.
-
-
-
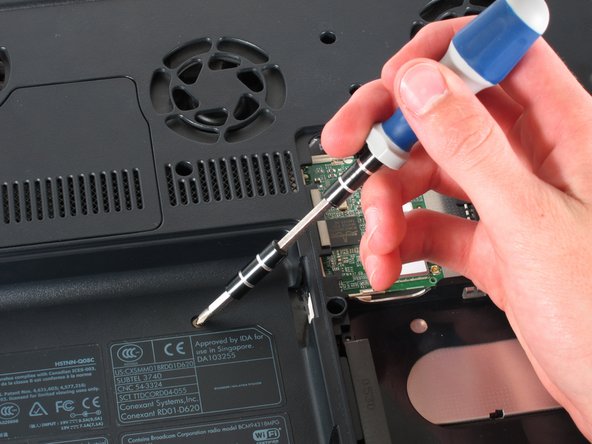
Remove the 8mm Philips screw located between the hard drive and the WiFi card.
-
-
-
Place the laptop face-down and rotate it 180 degrees so the vents are facing you.
-
Remove the five 8mm Philips screws. Three are on the black base and two are near the hinges.
-
-
-
Rotate it so the display is on your right and the keyboard is on your left.
-
Lift the switch cover carefully from one end while sliding the spudger between the switch cover and the laptop to separate them.
-
The switch cover should easily separate from the laptop as you run the spudger through.
-
-
-
-
Close the lid and rotate the laptop so that the vents are facing you.
-
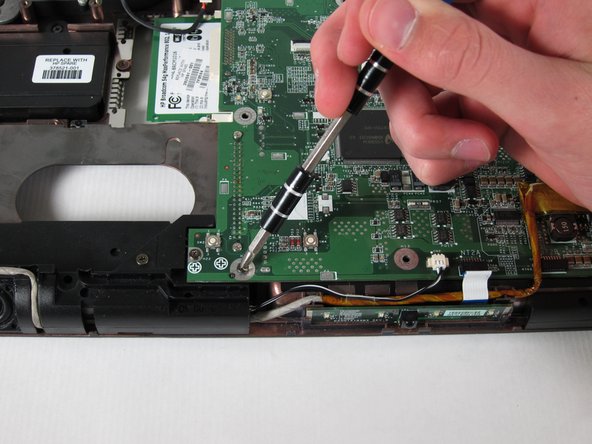
Unscrew the two 8mm Philips screws below the hinges.
-
-
-
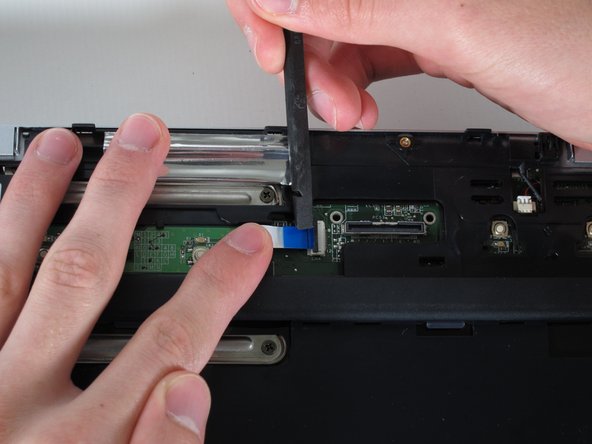
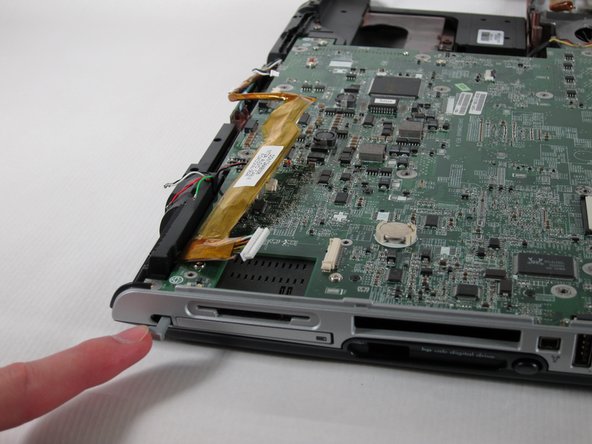
Find the ribbon cable on the LED board located at the top of the laptop.
-
You will notice that the ribbon cable is connected to two levels - you will be dealing with the one on the lower level.
-
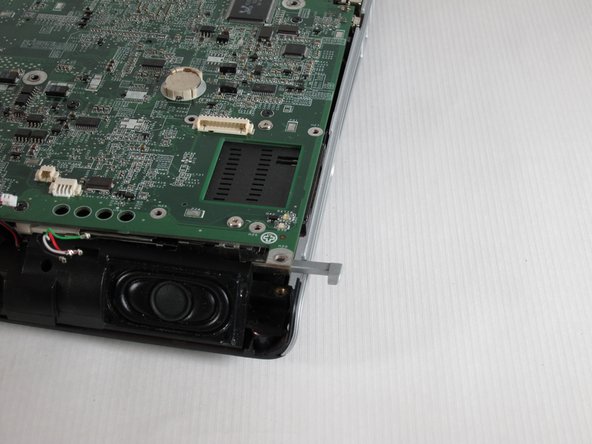
Find the black latch at the end of the ribbon cable and unlatch it with a spudger to release it.
-
-
-
Rotate the laptop 90 degrees counter-clockwise
-
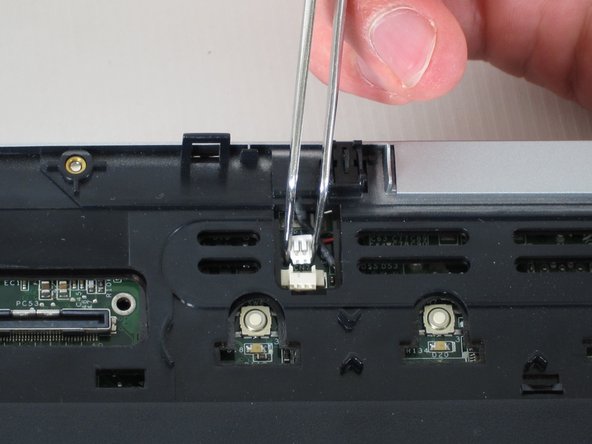
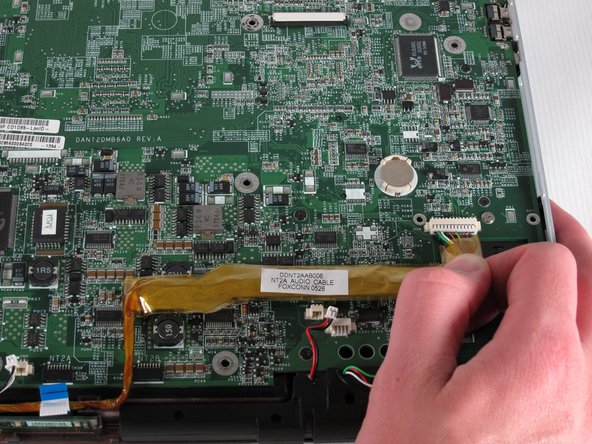
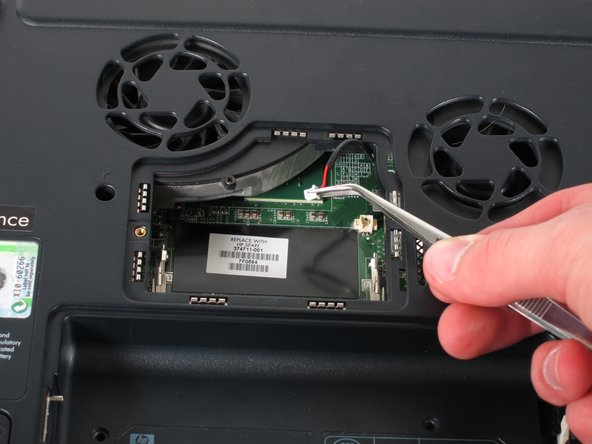
Locate the USB Module
-
Grip the yellow cable cover and pull it to the right to release it.
-
-
-
Unscrew and remove the five 4mm Philips screws marked with the white Phillips screw icon.
-
-
-
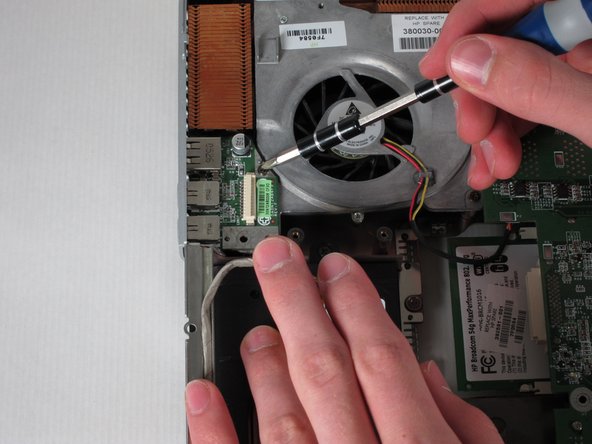
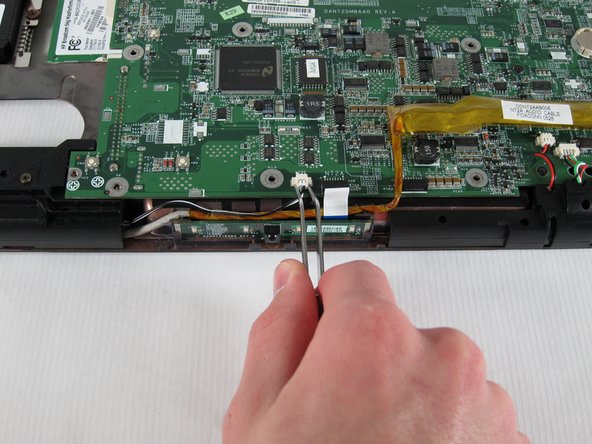
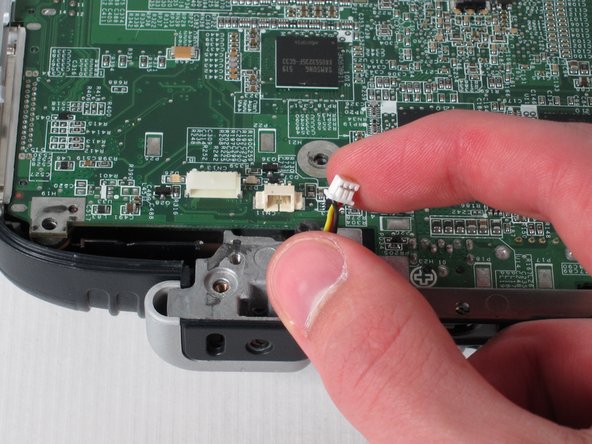
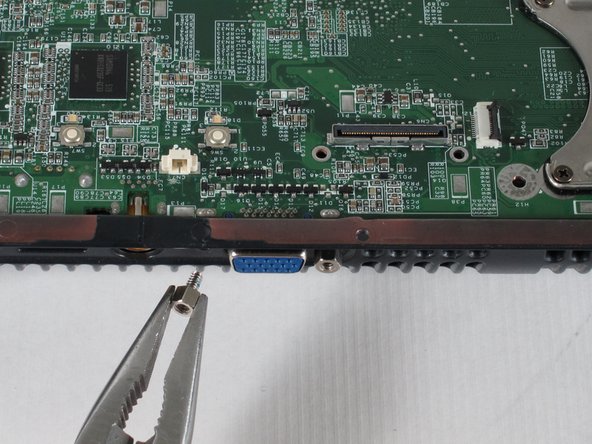
Using tweezers, remove the digital drive board cable - the cable set on the right with black, red, green, and white wires.
-
Using tweezers, remove the the rigth speaker cable - the cable set on the left with red and black wires - by pulling the white connector towards you.
-


To reassemble your device, follow these instructions in reverse order.
To reassemble your device, follow these instructions in reverse order.
Annuleren: ik heb deze handleiding niet afgemaakt.
9 andere personen hebben deze handleiding voltooid.
Team

Cal Poly, Team 24-56, Amido Spring 2011 Lid van Cal Poly, Team 24-56, Amido Spring 2011
CPSU-AMIDO-S11S24G56
4 Leden
13 handleidingen geschreven