Deze versie kan foutieve bewerkingen bevatten. Schakel over naar de recentste gecontroleerde momentopname.
Wat je nodig hebt
-
Deze stap is niet vertaald. Help het te vertalen
-
Remove rubber screw covers from the LCD screen. The top covers pop off with a fingernail but the two on the bottom may require a screwdriver or flat tool.
-
Remove the six 7.15mm screws underneath the stoppers. There are four on top and two on bottom.
-
-
Deze stap is niet vertaald. Help het te vertalen
-
Press the tabs on the sides of the screen in and pop the plastic off. Careful, the plastic is very flimsy and may break.
-
-
-
Deze stap is niet vertaald. Help het te vertalen
-
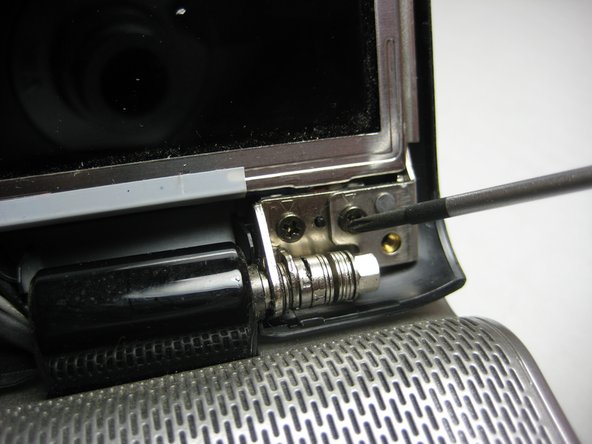
Remove the two screws (5.8mm) on either side of the LCD near the hinge. Remove the screws on the outermost side first.
-
-
Deze stap is niet vertaald. Help het te vertalen
-
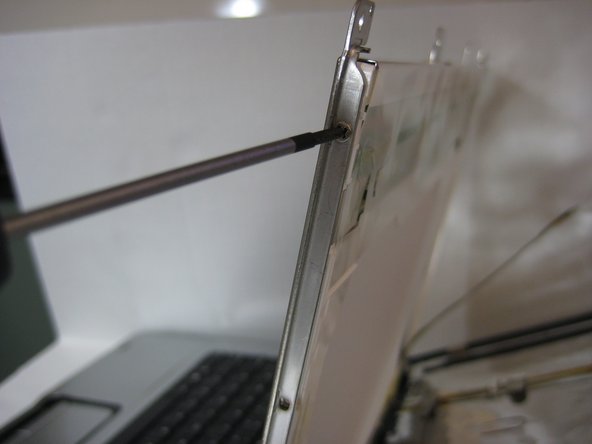
Take out the two 3.58mm screws on the LCD at the top (one on each edge).
-
-
Deze stap is niet vertaald. Help het te vertalen
-
Hold on to the LCD screen to prevent it from falling over and remove the two 3.58mm screws on the sides at the bottom.
-
-
Deze stap is niet vertaald. Help het te vertalen
-
Let the screen gently rest on the keyboard.
-
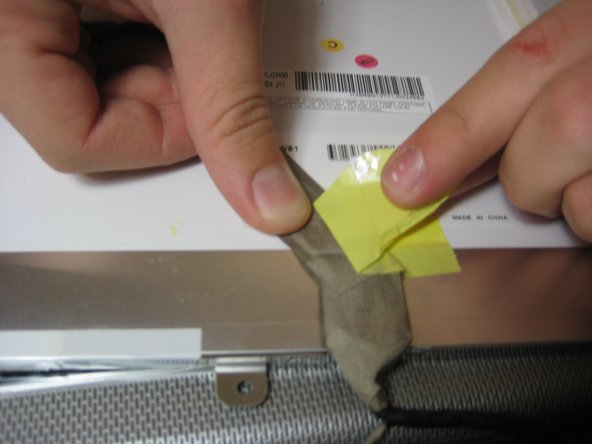
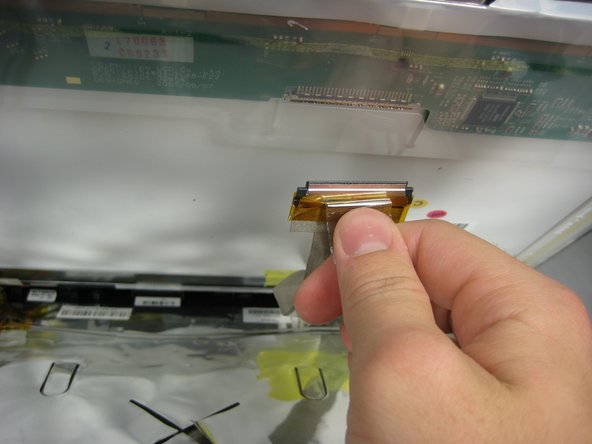
Remove the tape from the ribbon.
-


Annuleren: ik heb deze handleiding niet afgemaakt.
15 andere personen hebben deze handleiding voltooid.
Team

Cal Poly, Team 21-33, Regan Fall 2010 Lid van Cal Poly, Team 21-33, Regan Fall 2010
CPSU-REGAN-F10S21G33
4 Leden
12 handleidingen geschreven
Één opmerking
after replacing my cracked screen the back light does not show again