Inleiding
If your scanner is not working, odds are that your scanner lamp is burned out and needs to be replaced. In order to replace the scanner lamp, the scanner tray and glass must be removed from the printer.
Note: The scanner lamp is very fragile and must be handled with care.
Wat je nodig hebt
-
-
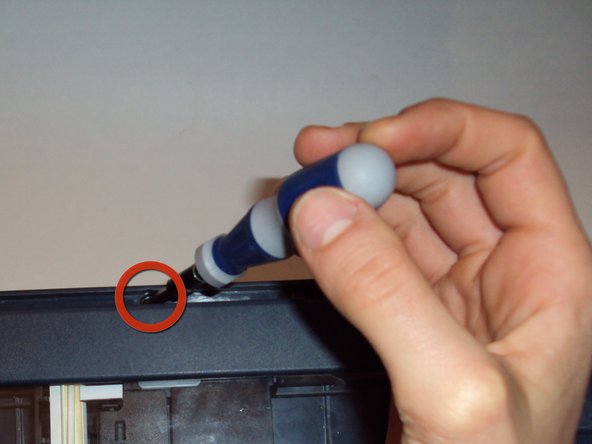
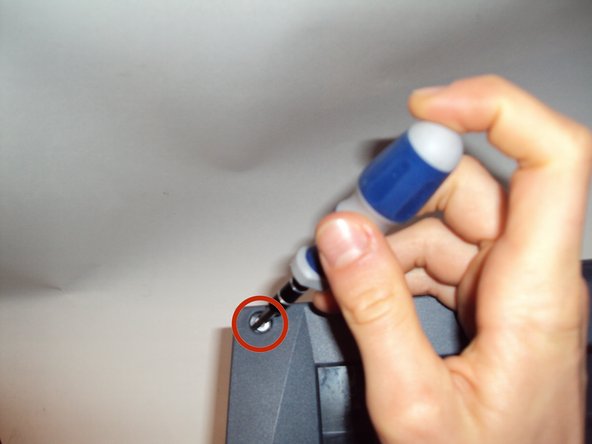
Carefully wedge the flathead 3/32" screwdriver on the outer groove of the control panel faceplate.
-
Follow the perimeter of the groove with the flathead 3/32" screwdriver making sure to gently pry and lift upward until the control panel faceplate comes off.
-
-
-
Once the control panel faceplate is off, look for the Lock/Unlock tab located underneath the off button.
-
To unlock and release the control panel, insert the flathead 3/32" screwdriver into the tab and carefully push down. The control panel will then separate from the printer's base by sliding it downward a little.
-
-
-
Underneath the control panel will be a flat grey ribbon cable. This cable is attached at the base of the green control board with the other end of the cable located on the back side of the printer's base.
-
Carefully disconnect both ends of the flat grey ribbon cable to release the control panel in its entirety.
-
-
-
-
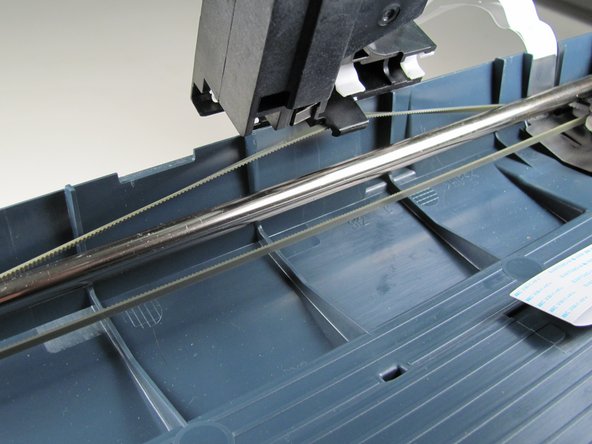
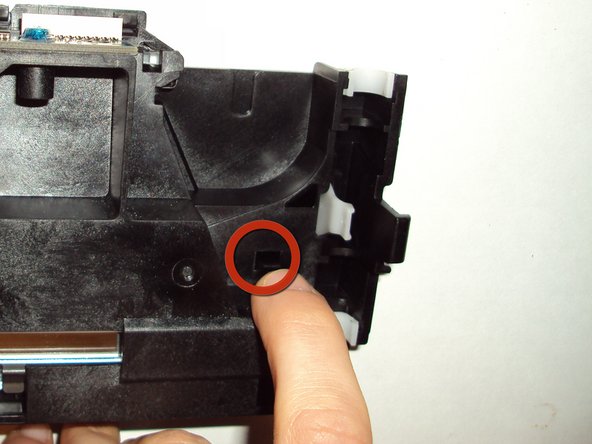
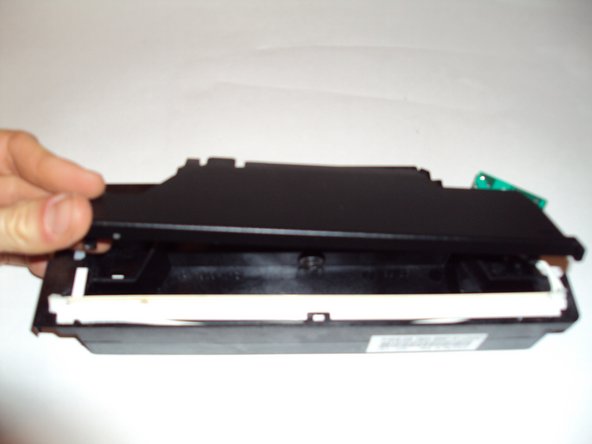
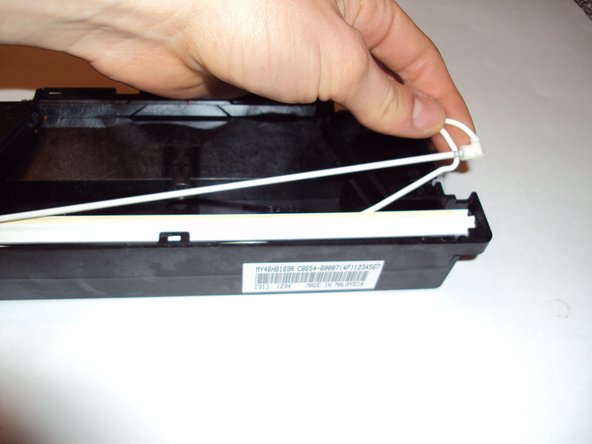
Remove the scanner head from the scanner tray by lifting the scanner head up and pulling the black tab from the gray drive belt.
-
To reassemble your device, follow these instructions in reverse order.
To reassemble your device, follow these instructions in reverse order.
Annuleren: ik heb deze handleiding niet afgemaakt.
2 andere personen hebben deze handleiding voltooid.
Één opmerking
Very good instruction. Easy to follow. Removed lamp as instructed but where does one buy a replacement lamp?


