Inleiding
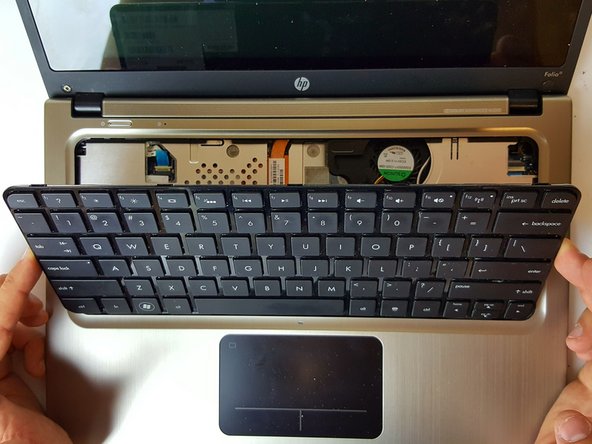
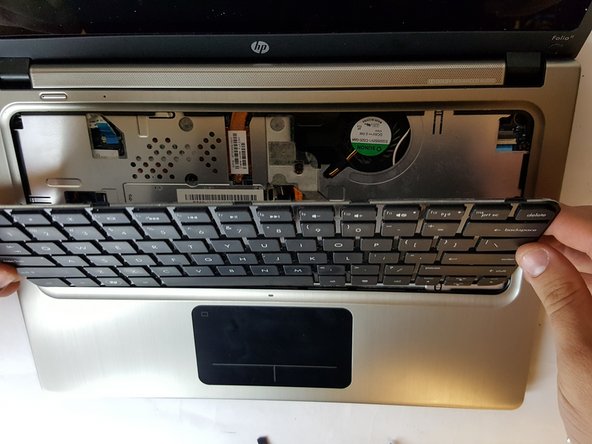
Make sure you have completed the keyboard replacement guide and the top cover removal guide.
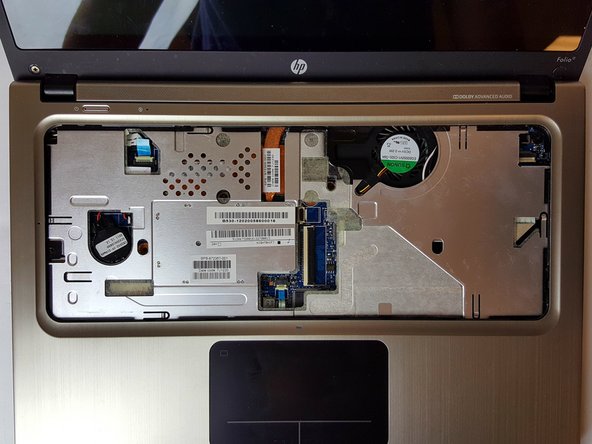
A defective RAM can cause your laptop's loading speed to deteriorate. This guide will show you how to correctly replace a defective or an outdated RAM for your HP Folio 13t-1000.
Wat je nodig hebt
-
-
Use a PH1 screw head to remove the 16, 6mm screws from the bottom case housing of the laptop.
-
-
-
-
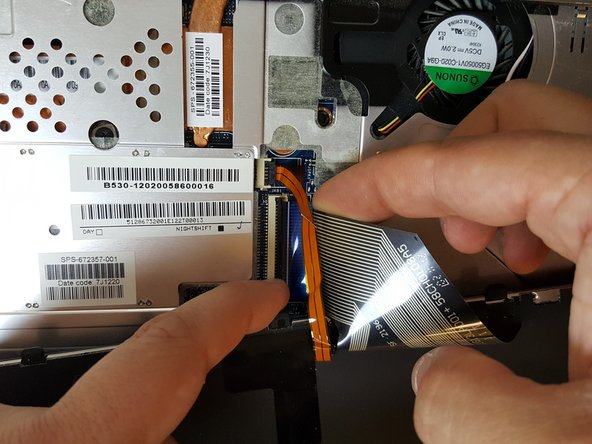
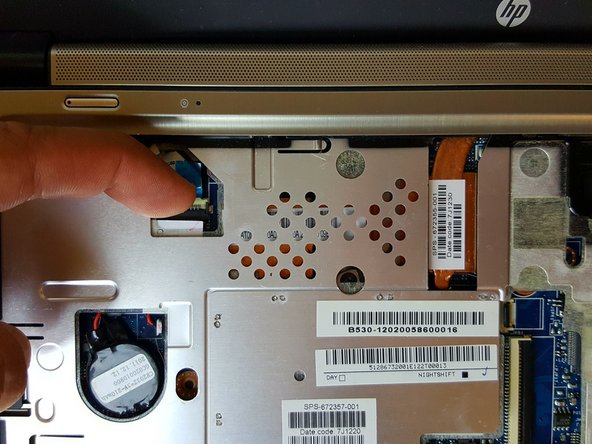
Place your finger between one of the plastic clamps and the cable and apply a slight leveraging force until the clamp pops up.
-
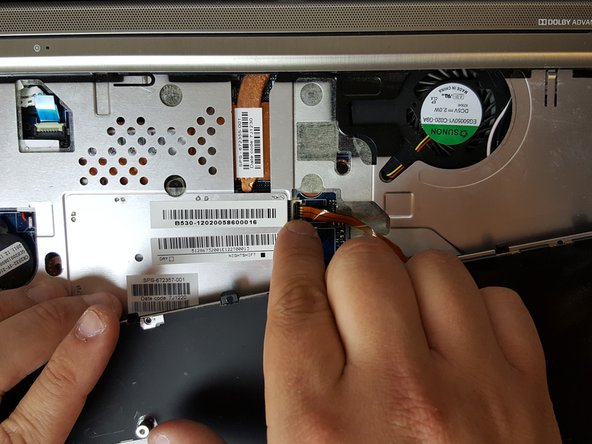
Do the same for the second connection.
-
-
-
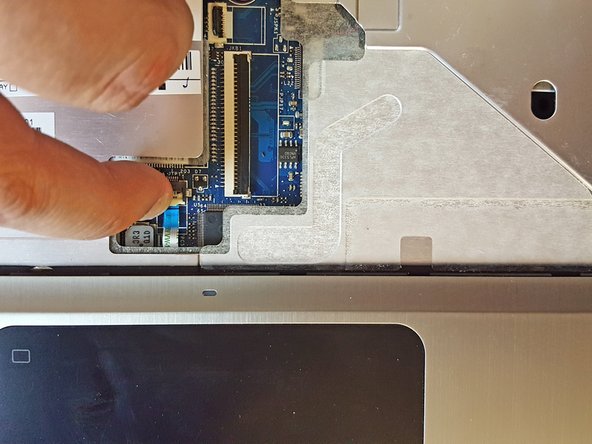
Using the tips of your fingers, gently apply opposite outward force until the two clips are no longer holding the RAM stick.
-


To reassemble your device, follow these instructions in reverse order.
To reassemble your device, follow these instructions in reverse order.

Team

USF Tampa, Team 1-2, Cagle Fall 2016 Lid van USF Tampa, Team 1-2, Cagle Fall 2016
USFT-CAGLE-F16S1G2
4 Leden
7 handleidingen geschreven