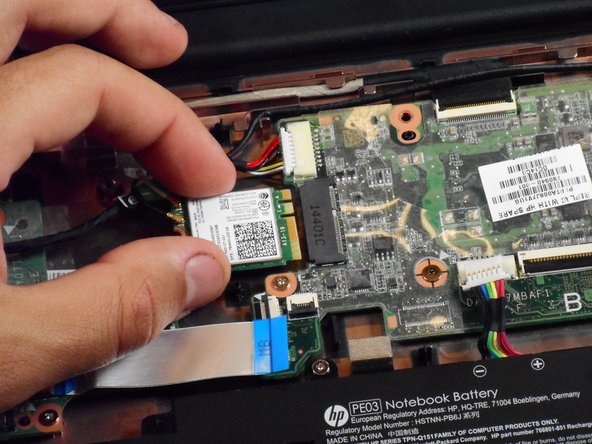
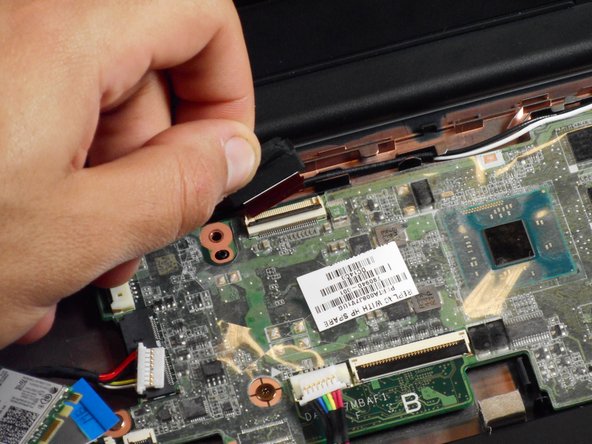
Ga door naar hoofdinhoud

HP Chromebook 11 G3 Motherboard Replacement

Wat je nodig hebt

  1. HP Chromebook 11 G3 Motherboard Replacement, Keyboard Mount: stap 1, afbeelding 1 van 2 HP Chromebook 11 G3 Motherboard Replacement, Keyboard Mount: stap 1, afbeelding 2 van 2
    • Flip the laptop upside down so that the lid lies flat on the table.

    • Remove the nine 6mm Phillips #00 screws that line the border.

  2. HP Chromebook 11 G3 Motherboard Replacement: stap 2, afbeelding 1 van 2 HP Chromebook 11 G3 Motherboard Replacement: stap 2, afbeelding 2 van 2
    • Remove the two rubber feet closest to the hinge using tweezers.

    • Remove the two 6mm Phillips #00 screws revealed under these rubber feet.

    • The rubber feet may tear while removal; preventing this can be difficult, but it won’t harm the laptop. If desired, replace these rubber feet during reassembly.

  3. HP Chromebook 11 G3 Motherboard Replacement: stap 3, afbeelding 1 van 1
    • Flip the laptop so it is in the upright position.

    • Open the lid.

    • Unsnap the keyboard mount along the border of the laptop using a plastic opening tool.

    • This may require more force than expected. Hearing loud clicks as the plastic opening tool slides along the seam is normal.

  4. HP Chromebook 11 G3 Motherboard Replacement: stap 4, afbeelding 1 van 3 HP Chromebook 11 G3 Motherboard Replacement: stap 4, afbeelding 2 van 3 HP Chromebook 11 G3 Motherboard Replacement: stap 4, afbeelding 3 van 3
    • Tilt the keyboard mount up.

    • Use a spudger to flip up the two ZIF connector retaining flaps for the ribbon cables that connect the keyboard mount to the motherboard.

    • Gently remove both ribbon cables.

  5. HP Chromebook 11 G3 Motherboard Replacement: stap 5, afbeelding 1 van 1
    • Lift the keyboard mount out of the laptop.

  6. HP Chromebook 11 G3 Motherboard Replacement, Motherboard: stap 6, afbeelding 1 van 1
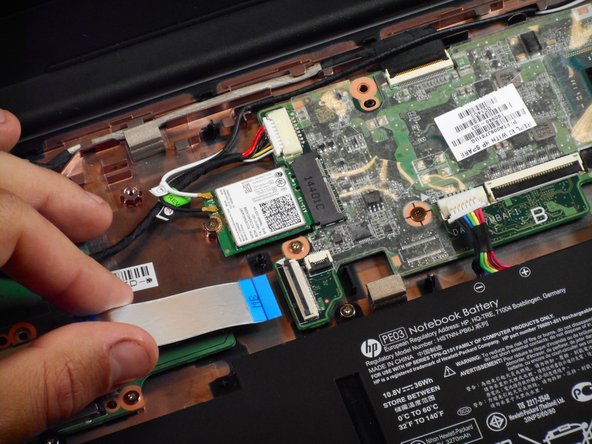
    • Gently pull the battery’s rainbow-colored, bundled cable out of its socket.

  7. HP Chromebook 11 G3 Motherboard Replacement: stap 7, afbeelding 1 van 2 HP Chromebook 11 G3 Motherboard Replacement: stap 7, afbeelding 2 van 2
    • Use a spudger to lift the small ZIF retaining flap for the ribbon cable that connects the SD card reader to the motherboard.

    • Gently pull the cable out of its socket.

  8. HP Chromebook 11 G3 Motherboard Replacement: stap 8, afbeelding 1 van 2 HP Chromebook 11 G3 Motherboard Replacement: stap 8, afbeelding 2 van 2
    • Remove the 2 mm Phillips #00 screw that holds the Wi-Fi module in place.

    • Slide the Wi-Fi module out of the motherboard.

    • If the black and white cables come off of the Wi-Fi module, remember to reattach them during reassembly by matching the number on the wire to the number on the module.

  9. HP Chromebook 11 G3 Motherboard Replacement: stap 9, afbeelding 1 van 1
    • Gently pull the bundled cable that connects the charging port to the motherboard out of its connector on the motherboard.

  10. HP Chromebook 11 G3 Motherboard Replacement: stap 10, afbeelding 1 van 2 HP Chromebook 11 G3 Motherboard Replacement: stap 10, afbeelding 2 van 2
    • Use a spudger to lift the small ZIF retaining flip for the ribbon cable that connects the display to the motherboard.

    • Gently pull the cable out of its socket.

    • This cable comes out of the left side of the display’s hinge.

  11. HP Chromebook 11 G3 Motherboard Replacement: stap 11, afbeelding 1 van 1
    • Use a spudger to remove the slide-out connector from its socket.

    • Do not attempt to remove this connector by pulling on the cables, as this may cause damage.

  12. HP Chromebook 11 G3 Motherboard Replacement: stap 12, afbeelding 1 van 1
    • Remove the center-right Phillips #1 3mm screw.

  13. HP Chromebook 11 G3 Motherboard Replacement: stap 13, afbeelding 1 van 1
    • Remove the center-left Phillips #00 4mm screw.

  14. HP Chromebook 11 G3 Motherboard Replacement: stap 14, afbeelding 1 van 1
    • Remove the four perimeter Phillips #00 6mm screws.

  15. HP Chromebook 11 G3 Motherboard Replacement: stap 15, afbeelding 1 van 1
    • Gently slide the motherboard to the left and away from the external ports on the right and then pull it up and out of the laptop.

Conclusie

To reassemble your device, follow these instructions in reverse order.

Één andere persoon heeft deze handleiding voltooid.

Rahul Goyal

Lid sinds: 04/26/17

1.369 Reputatie

10 handleidingen geschreven

Team

Cal Poly, Team S23-G3, Livingston Spring 2017 Lid van Cal Poly, Team S23-G3, Livingston Spring 2017

CPSU-LIVINGSTON-S17S23G3

4 Leden

12 handleidingen geschreven

0 opmerkingen

Voeg opmerking toe

Weergavestatistieken:

Afgelopen 24 uren: 0

Afgelopen 7 dagen: 2

Afgelopen 30 dagen: 10

Altijd: 1,415