Ga door naar hoofdinhoud

Deze handleiding heeft recentere wijzigingen. Schakel over naar de nieuwste niet-geverifieerde versie.

HP 250 G3 WiFi Card Replacement

Wat je nodig hebt

  1. HP 250 G3 WiFi Card Replacement, WiFi Card: stap 1, afbeelding 1 van 1
    • first of all remove the battery

  2. HP 250 G3 WiFi Card Replacement: stap 2, afbeelding 1 van 1
    • now remove the screw thats holding the keyboard. ( 2 screws)

    • keep track of the screws. i use the antistatic project tray from ifixit., Or paste the screws to a paper and draw a map.

  3. HP 250 G3 WiFi Card Replacement: stap 3, afbeelding 1 van 3 HP 250 G3 WiFi Card Replacement: stap 3, afbeelding 2 van 3 HP 250 G3 WiFi Card Replacement: stap 3, afbeelding 3 van 3
    • now we will remove the DVD player.

    • remove the screw thats holding the module.

    • use the isesamo to loossen the tray. and just slide it out.

  4. HP 250 G3 WiFi Card Replacement, screws of the case 1: stap 4, afbeelding 1 van 3 HP 250 G3 WiFi Card Replacement, screws of the case 1: stap 4, afbeelding 2 van 3 HP 250 G3 WiFi Card Replacement, screws of the case 1: stap 4, afbeelding 3 van 3
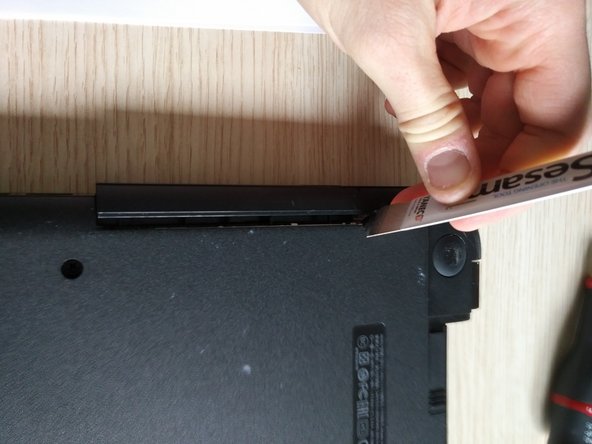
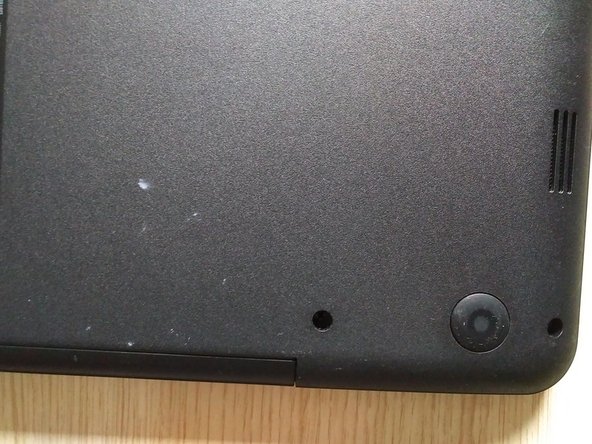
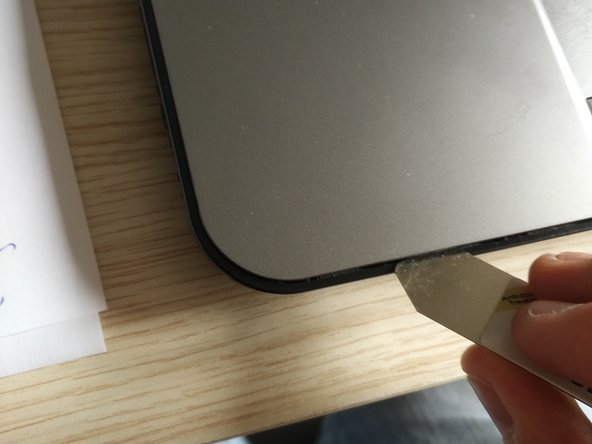
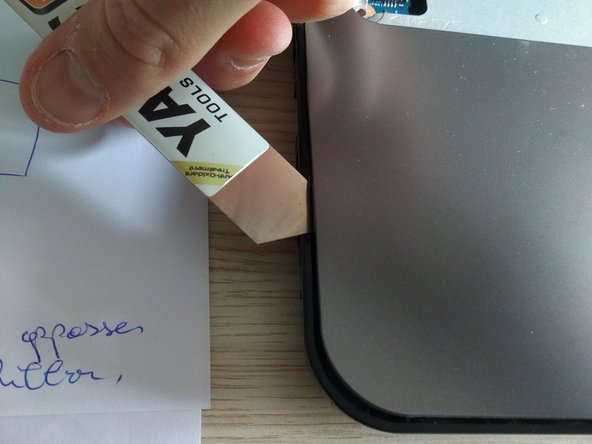
    • remove the screws holding the plastic case as follows :

    • there are 2 hidden screws under the rubber cushions. ( next to the battery )left and right.

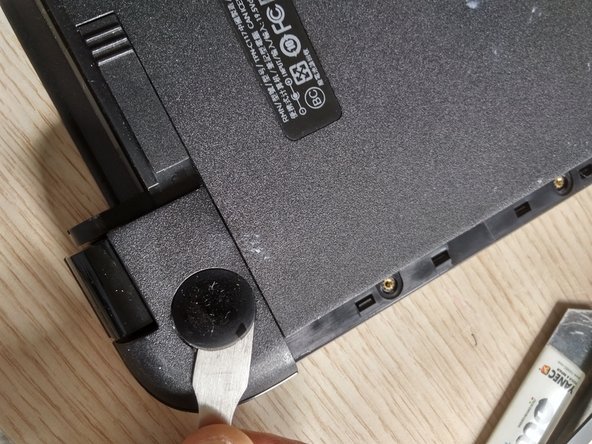
    • they are not easy to remove, i used a very sharp stanley knife and than used a spudger to pry.

  5. HP 250 G3 WiFi Card Replacement, screws of the case 2: stap 5, afbeelding 1 van 3 HP 250 G3 WiFi Card Replacement, screws of the case 2: stap 5, afbeelding 2 van 3 HP 250 G3 WiFi Card Replacement, screws of the case 2: stap 5, afbeelding 3 van 3
    • now remove the other screws

    • remove the 2 little screws at the DVD entrance.

  6. HP 250 G3 WiFi Card Replacement, removing keyboard: stap 7, afbeelding 1 van 3 HP 250 G3 WiFi Card Replacement, removing keyboard: stap 7, afbeelding 2 van 3 HP 250 G3 WiFi Card Replacement, removing keyboard: stap 7, afbeelding 3 van 3
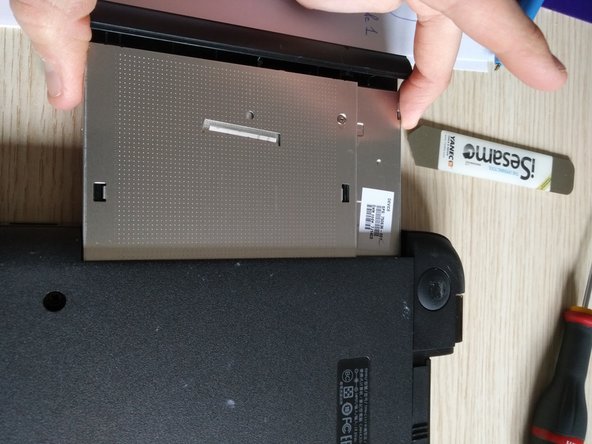
    • now turn the laptop arround.

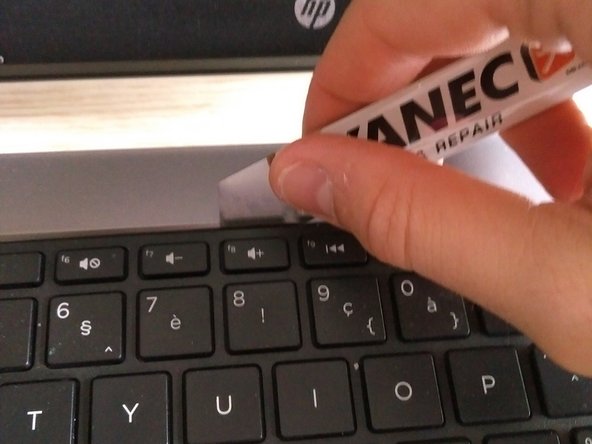
    • open up the laptop : we will remove the keyboard now.

    • use a spudger or isesamo to remove the keyboard. you have to slide the isesamo arround the upper side of the keyboard as shown in the picture. you will here clicks.

  7. HP 250 G3 WiFi Card Replacement: stap 8, afbeelding 1 van 3 HP 250 G3 WiFi Card Replacement: stap 8, afbeelding 2 van 3 HP 250 G3 WiFi Card Replacement: stap 8, afbeelding 3 van 3
    • when it becomes loose : you slide ( gently) the keyboard to the left as shown in picture 3

    • be gently cause the thin ribbon can tear..

  8. HP 250 G3 WiFi Card Replacement, removing keyboard / ribbon cable: stap 9, afbeelding 1 van 3 HP 250 G3 WiFi Card Replacement, removing keyboard / ribbon cable: stap 9, afbeelding 2 van 3 HP 250 G3 WiFi Card Replacement, removing keyboard / ribbon cable: stap 9, afbeelding 3 van 3
    • now gently lift up the keyboard

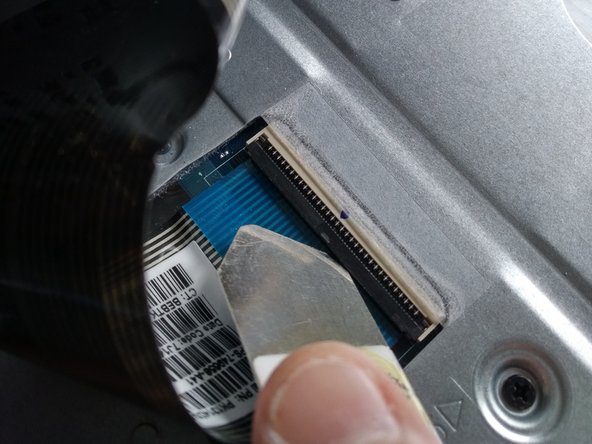
    • now you will see the very thin ribbon cable attached to a connector.

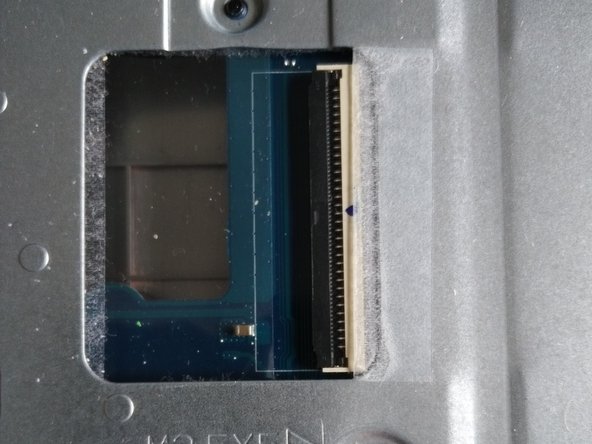
    • That connector has a plastic lid. gently open the lid with a spudger and slide the ribbon cable out of the connector.

    • be very gently with cable and connector. the lid can come loose , if this happens, it is very hard to put it back in.

    • after removing the cable , close the lid again, so it can't jump out.

  9. HP 250 G3 WiFi Card Replacement, removing upper plate/case: stap 10, afbeelding 1 van 3 HP 250 G3 WiFi Card Replacement, removing upper plate/case: stap 10, afbeelding 2 van 3 HP 250 G3 WiFi Card Replacement, removing upper plate/case: stap 10, afbeelding 3 van 3
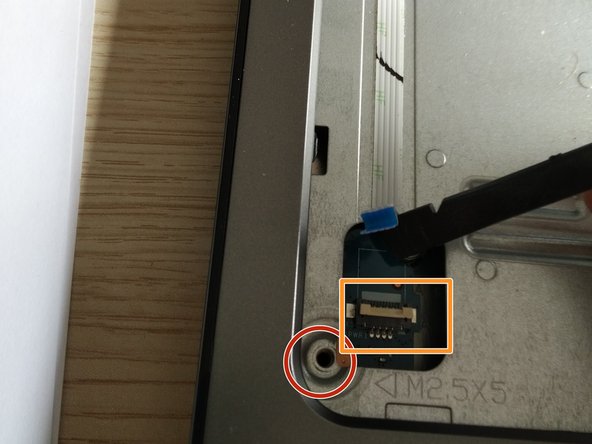
    • now we can remove the final screws and cables.

    • remove the srew that is circled red in picture 2

    • remove the white ribbon cable from the connector. ( first remove the tape over the cable and connector)Same way you removed the keyboard ribbon cable. : open up the lid with spudger and remove ( gently the ribbon cable. be carefull cause the ribbon cable is pasted to the plate.

    • this ribbon cable is the connector from the ON/OFF switch.

  10. HP 250 G3 WiFi Card Replacement: stap 11, afbeelding 1 van 2 HP 250 G3 WiFi Card Replacement: stap 11, afbeelding 2 van 2
    • remove screw circled in red and remove ribbon cable from connector.

    • the ribbon cable/ connector is the touch pad / mouse connector.

  11. HP 250 G3 WiFi Card Replacement: stap 12, afbeelding 1 van 1
    • remove screw on the upper side of the laptop.

    • last screw... unfortunaly i don't have a picture of this.. but you will see it yourself on your own laptop :)

  12. HP 250 G3 WiFi Card Replacement: stap 14, afbeelding 1 van 3 HP 250 G3 WiFi Card Replacement: stap 14, afbeelding 2 van 3 HP 250 G3 WiFi Card Replacement: stap 14, afbeelding 3 van 3
    • removing upper plate/case to reveal the motherboard or main PCB.

    • slide your isesamo arround the case as shown in picture 1 and 2 . go arround the entire laptop.

    • you will hear clicks , after using your isesamo you can lift up the upper plate.

  13. HP 250 G3 WiFi Card Replacement, removing main board: stap 15, afbeelding 1 van 3 HP 250 G3 WiFi Card Replacement, removing main board: stap 15, afbeelding 2 van 3 HP 250 G3 WiFi Card Replacement, removing main board: stap 15, afbeelding 3 van 3
    • here you see the motherboard / main PCB.

    • remove the 2 screws holding the main board to the plate.

    • see picture 2 and 3 for removing screws.

  14. HP 250 G3 WiFi Card Replacement, loose screws and cables to remove main board: stap 16, afbeelding 1 van 1
    • i'm sorry for the blurred picture...

    • use a IC extractor to remove the audio connector from the socket.

  15. HP 250 G3 WiFi Card Replacement, removing LCD cable: stap 17, afbeelding 1 van 3 HP 250 G3 WiFi Card Replacement, removing LCD cable: stap 17, afbeelding 2 van 3 HP 250 G3 WiFi Card Replacement, removing LCD cable: stap 17, afbeelding 3 van 3
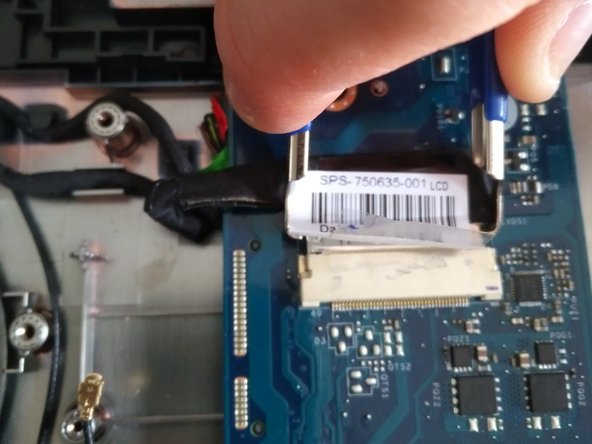
    • removing LCD connector

    • first remove the tape/ sticker , use a spudger.

    • be very gently and careful doing this step, the connector is a hard to remove ribbon cable with a bunch of tiny little small cables. : ripping one of them will damage the ribbon cable and will cause bad or no screen.

    • use a IC extractor to do this. If you don't have a IC extractor , you can use 2 small flat head screwdrivers or the points of tweezers to slide the connector out of the socket. but if you can use the IC extractor.

  16. HP 250 G3 WiFi Card Replacement, removing HDD: stap 18, afbeelding 1 van 2 HP 250 G3 WiFi Card Replacement, removing HDD: stap 18, afbeelding 2 van 2
    • remove the 2 screws holding the HDD.

    • slide out the HDD.

  17. HP 250 G3 WiFi Card Replacement, removing usb pcb: stap 19, afbeelding 1 van 3 HP 250 G3 WiFi Card Replacement, removing usb pcb: stap 19, afbeelding 2 van 3 HP 250 G3 WiFi Card Replacement, removing usb pcb: stap 19, afbeelding 3 van 3
    • removing the USB PCB ( on the right.)

    • be carefull the flat ribbon cable is pasted to the bottom plate and the ribbon cable is soldered to the PCB.

    • use a spudger to loose the cable from the bottom plate.

  18. HP 250 G3 WiFi Card Replacement, removing the bad Wifi module.: stap 20, afbeelding 1 van 3 HP 250 G3 WiFi Card Replacement, removing the bad Wifi module.: stap 20, afbeelding 2 van 3 HP 250 G3 WiFi Card Replacement, removing the bad Wifi module.: stap 20, afbeelding 3 van 3
    • remove the golden antenna cable from his socket. be very carefull and use a spudger.

    • remove the screw.

    • remove the wifi module. it will jump up when removing the screw. slide it out.

    • avoid touching the antenna or the antenna sockets with your fingers. wear gloves instead.

    • install the new wifi module : just slide it in , push it down and put the screw back in. attach the antenna back in.

  19. HP 250 G3 WiFi Card Replacement, removing main PVB: stap 21, afbeelding 1 van 3 HP 250 G3 WiFi Card Replacement, removing main PVB: stap 21, afbeelding 2 van 3 HP 250 G3 WiFi Card Replacement, removing main PVB: stap 21, afbeelding 3 van 3
    • removing the main board

    • in this case i didn't remove the main pcb , cause than i had to remove the DC jack. but it was a very breakable connector and the wires are very thin. when you break one of them you cant charge your laptop any more.

    • when the dc jack is damaged or broken in your laptop, you will have to remove the hinge instead. this is holding the DC power jack in place.

Conclusie

To reassemble your device, follow these instructions in reverse order.

10 andere personen hebben deze handleiding voltooid.

Kevin D

Lid sinds: 05/02/14

7.276 Reputatie

21 handleidingen geschreven

0 opmerkingen

Voeg opmerking toe

Weergavestatistieken:

Afgelopen 24 uren: 1

Afgelopen 7 dagen: 15

Afgelopen 30 dagen: 64

Altijd: 11,402