Inleiding
If your HP 15-ef2025nr laptop is constantly overheating, it may be time to replace the fan inside. The fan is what pulls cool air into the computer to prevent the circuits from getting too hot. Having the circuits get too hot creates problems with the laptop. Check out the troubleshooting guide for more diagnosing information. For the device, we recommend an original quality replacement part for all repairs.
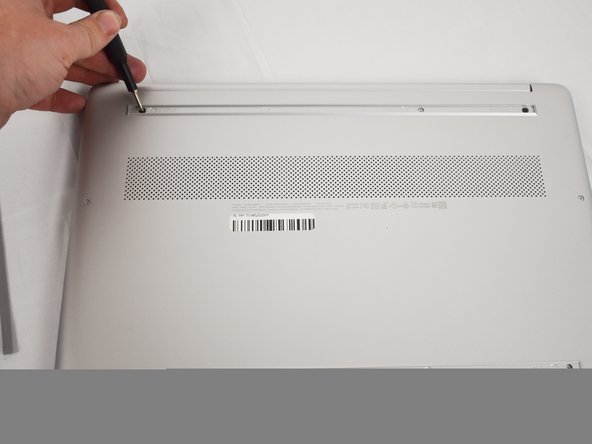
Before following this guide, please make sure your computer is not hot to the touch and the computer battery is removed.
Wat je nodig hebt
-
-
-
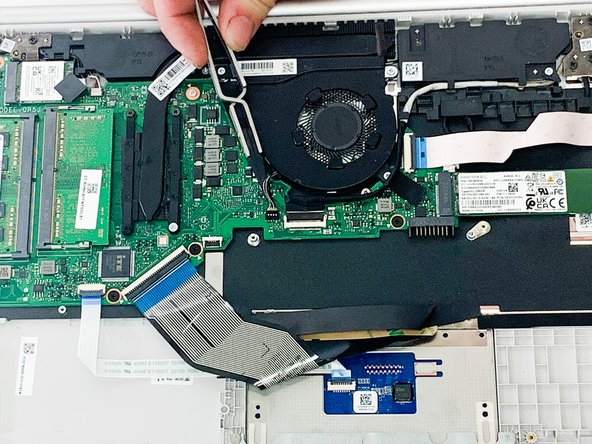
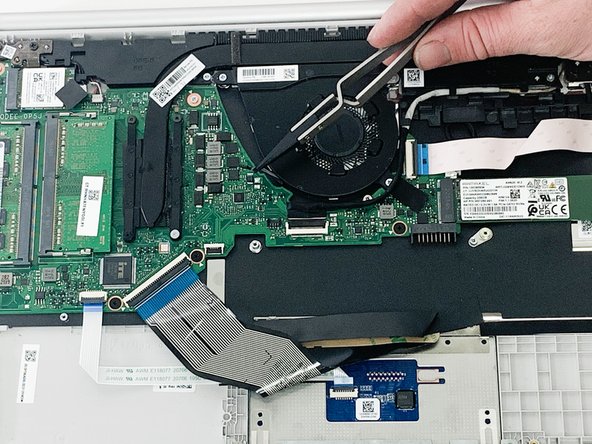
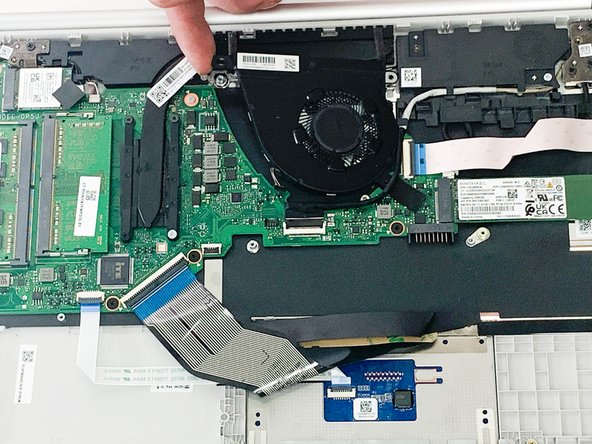
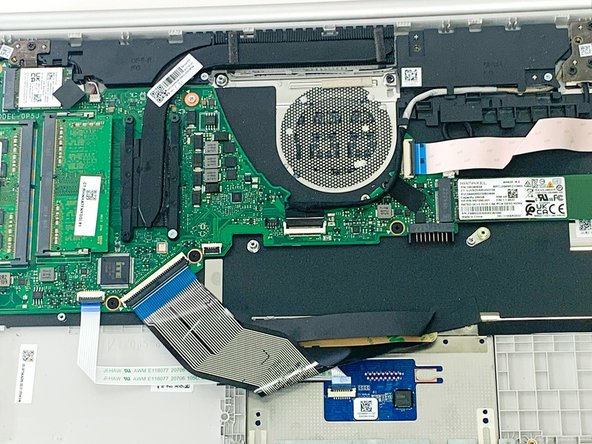
Use tweezers to pull the fan connector directly out of its motherboard socket.
-


To reassemble your device, follow these instructions in reverse order.
To reassemble your device, follow these instructions in reverse order.
Team

Austin Community College, Team 1-1, Watkins Spring 2023 Lid van Austin Community College, Team 1-1, Watkins Spring 2023
AUSTINCC-WATKINS-S23S1G1
4 Leden
5 handleidingen geschreven