Ga door naar hoofdinhoud

HP 15-dy2024nr Motherboard Replacement

Wat je nodig hebt

  1. HP 15-dy2024nr Motherboard Replacement, Back Cover: stap 1, afbeelding 1 van 2 HP 15-dy2024nr Motherboard Replacement, Back Cover: stap 1, afbeelding 2 van 2
    • Use a spudger to peel one corner of each of the rubber feet from the bottom of the laptop.

    • Gently peel the feet from the laptop using the spudger revealing the screws underneath.

    • If the rubber foot peels away but leaves adhesive behind you must peel the adhesive away before removing the screws.

  2. HP 15-dy2024nr Motherboard Replacement: stap 2, afbeelding 1 van 3 HP 15-dy2024nr Motherboard Replacement: stap 2, afbeelding 2 van 3 HP 15-dy2024nr Motherboard Replacement: stap 2, afbeelding 3 van 3
    • Use a Phillips #1 screwdriver to remove:

    • Two 2.5mm x 6mm screws

    • Six 2mm x 6mm screws

    • Be sure to keep different screw sizes separated.

  3. HP 15-dy2024nr Motherboard Replacement: stap 3, afbeelding 1 van 3 HP 15-dy2024nr Motherboard Replacement: stap 3, afbeelding 2 van 3 HP 15-dy2024nr Motherboard Replacement: stap 3, afbeelding 3 van 3
    • Insert an iFixit opening tool into the seam between the keyboard area and bottom cover.

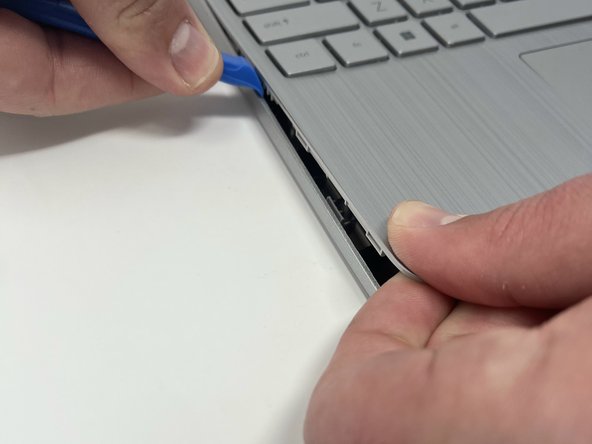
    • Using another iFixit opening tool, slide along the seam to unhook the clips.

    • There are clips all the way around the seam. You may hear a popping sound as the clips come loose. This step may require some force to separate the back cover from the laptop.

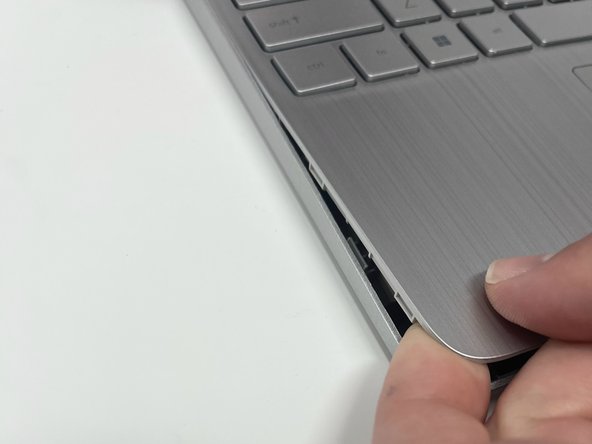
    • When the front of the laptop is open, you can use your finger to hold a corner open then slide an iFixit opening tool along the seam toward the back corner.

    • After the clips have been released, flip the laptop over and lift the cover.

  4. HP 15-dy2024nr Motherboard Replacement, Battery: stap 4, afbeelding 1 van 3 HP 15-dy2024nr Motherboard Replacement, Battery: stap 4, afbeelding 2 van 3 HP 15-dy2024nr Motherboard Replacement, Battery: stap 4, afbeelding 3 van 3
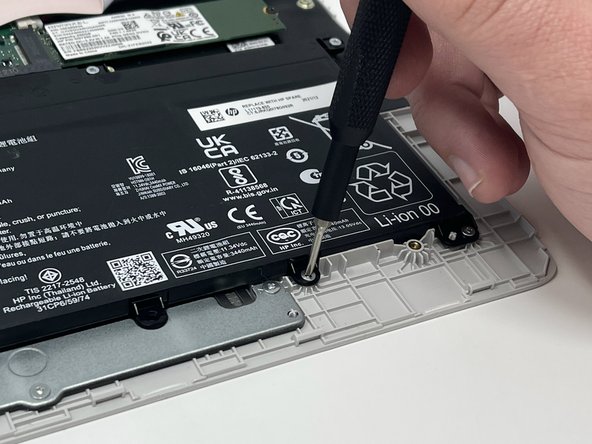
    • Remove five 2.0mm x 3.0mm screws using a Phillips #00 screwdriver.

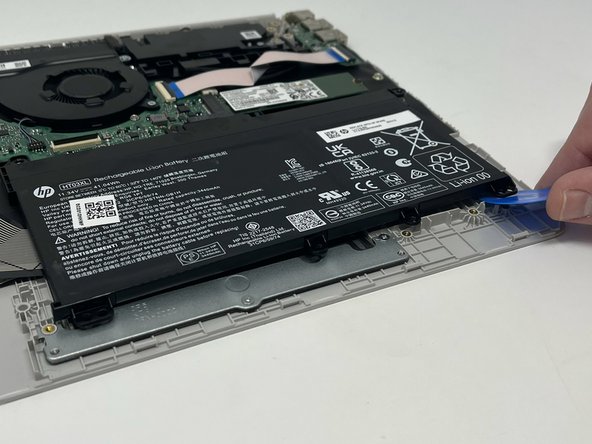
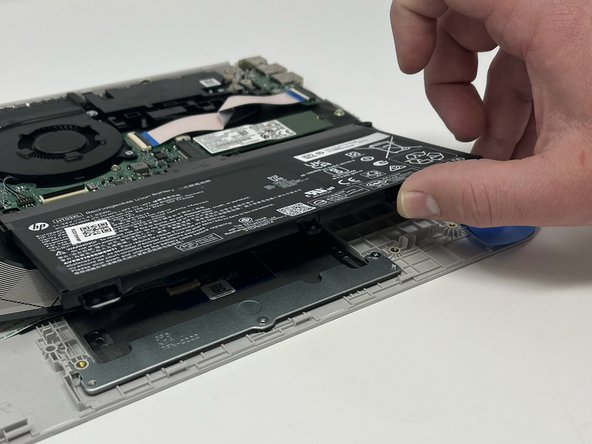
    • Use the iFixit opening picks to lift the battery away from the laptop.

  5. HP 15-dy2024nr Motherboard Replacement: stap 5, afbeelding 1 van 3 HP 15-dy2024nr Motherboard Replacement: stap 5, afbeelding 2 van 3 HP 15-dy2024nr Motherboard Replacement: stap 5, afbeelding 3 van 3
    • Be aware that the battery is plugged into the motherboard.

    • Unplug the battery from the motherboard.

    • Lift the battery away from the laptop and remove.

  6. HP 15-dy2024nr Motherboard Replacement, SSD: stap 6, afbeelding 1 van 2 HP 15-dy2024nr Motherboard Replacement, SSD: stap 6, afbeelding 2 van 2
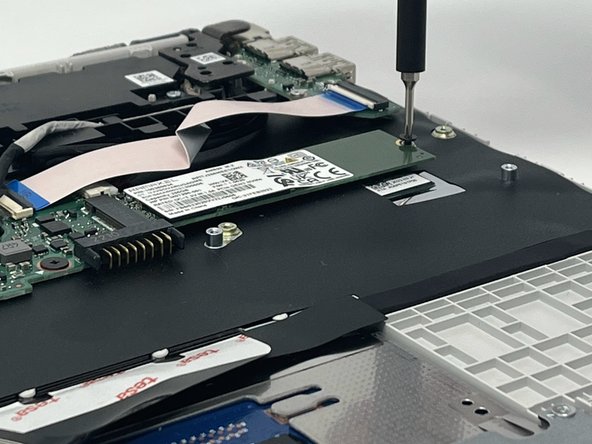
    • Remove the single 2 mm screw from the hard drive using a Phillips #00 screwdriver.

  7. HP 15-dy2024nr Motherboard Replacement: stap 7, afbeelding 1 van 2 HP 15-dy2024nr Motherboard Replacement: stap 7, afbeelding 2 van 2
    • Pull the SSD away from the connector, while gently lifting it out using your hands.

  8. HP 15-dy2024nr Motherboard Replacement, Motherboard: stap 8, afbeelding 1 van 1
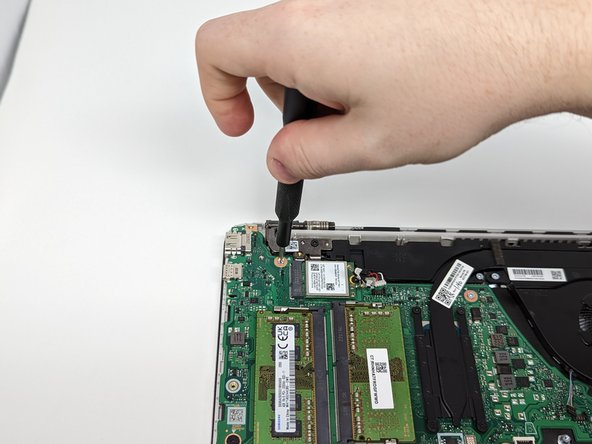
    • Locate each cable connected to the motherboard.

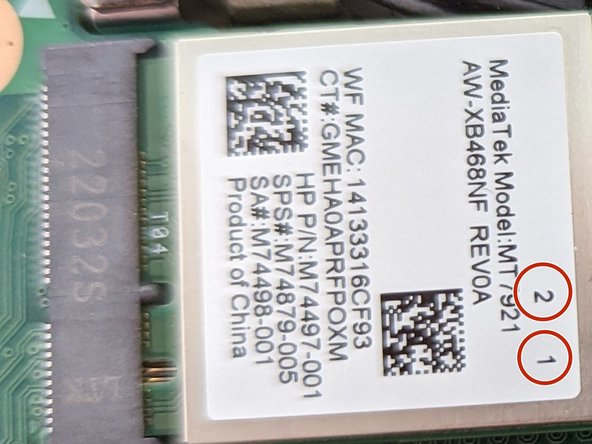
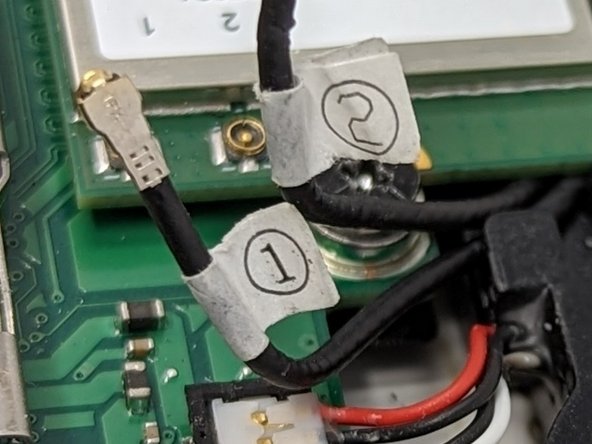
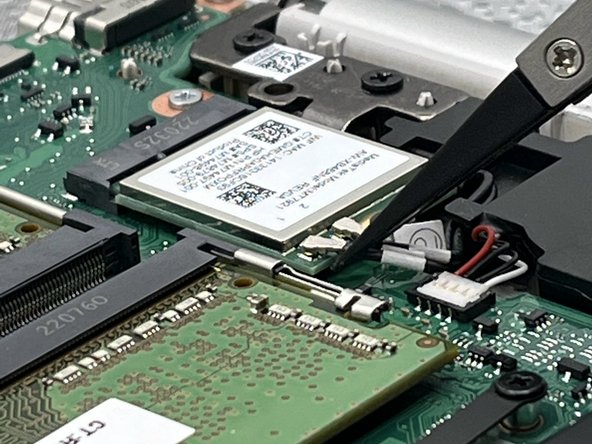
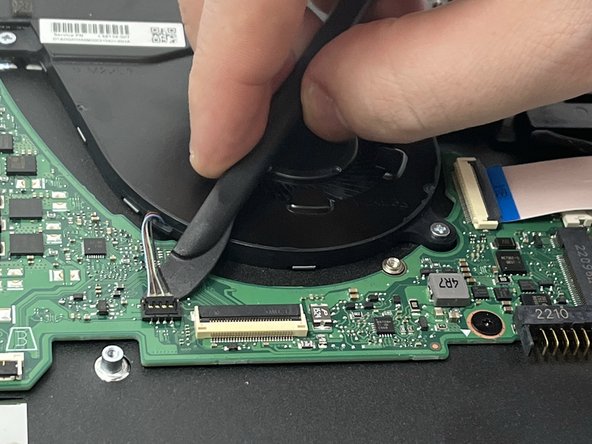
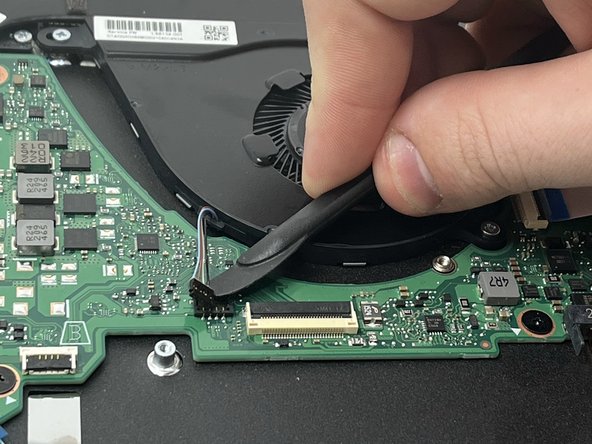
    • WLAN Module Antennas & Speaker Cable.

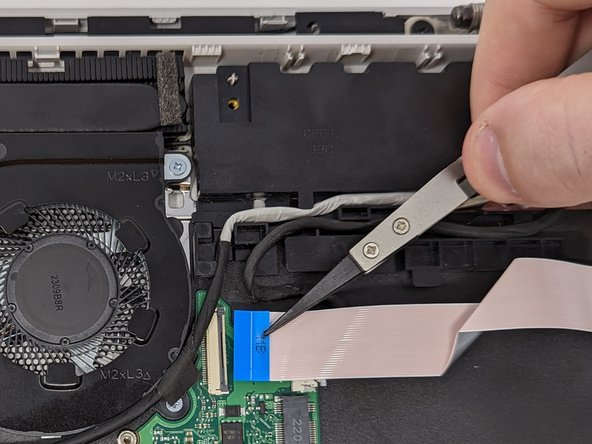
    • USB Board Cable & Power Connector.

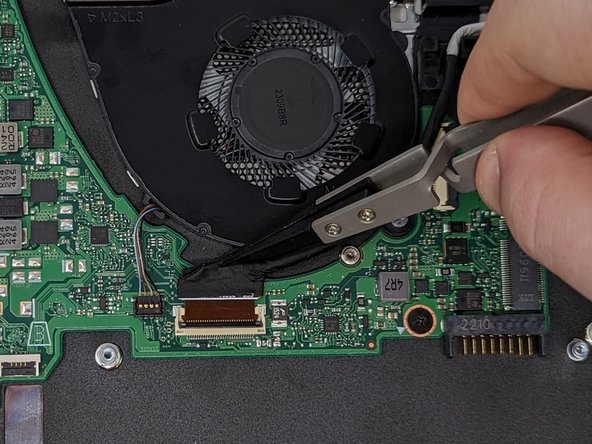
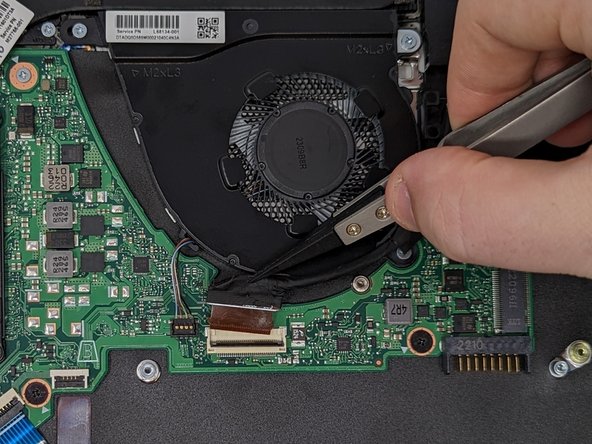
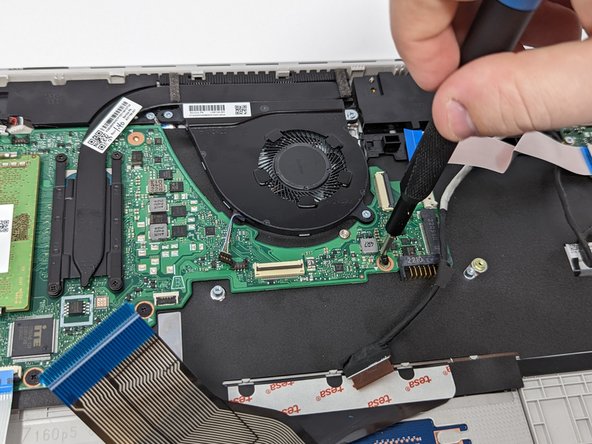
    • Display Cable & Fan Cable.

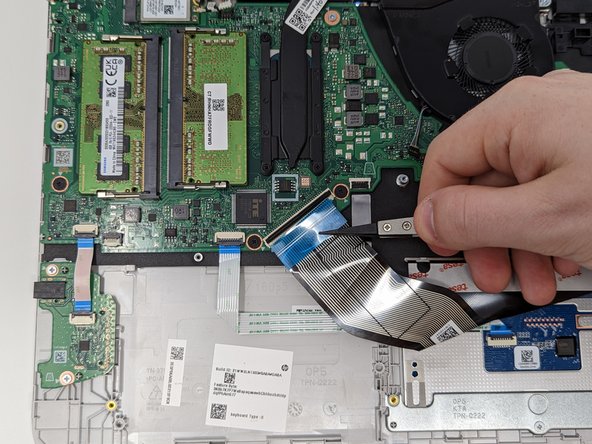
    • Keyboard, Touchpad, & Card Reader Cables.

    • Note that there are at least 9 cables to disconnect from the motherboard, however there may be more cables depending on any additional features your model has such as fingerprint readers or keyboard backlights. All cables are removed using the same methods demonstrated in this guide.

  9. HP 15-dy2024nr Motherboard Replacement: stap 9, afbeelding 1 van 3 HP 15-dy2024nr Motherboard Replacement: stap 9, afbeelding 2 van 3 HP 15-dy2024nr Motherboard Replacement: stap 9, afbeelding 3 van 3
    • Locate the WLAN module near the left display hinge.

    • Use the blade end of the spudger to remove the black square sticker covering the WLAN cables.

    • Note the number labels of each antenna cable and the numbers on the WLAN module antenna connectors. This detail will be important later during the reassembly of the laptop.

  10. HP 15-dy2024nr Motherboard Replacement: stap 10, afbeelding 1 van 3 HP 15-dy2024nr Motherboard Replacement: stap 10, afbeelding 2 van 3 HP 15-dy2024nr Motherboard Replacement: stap 10, afbeelding 3 van 3
    • Remove the two WLAN antennas from the WLAN module using the nylon reverse tweezers.

    • Only grasp the antenna cables from the connector ends; do not pull on the cable.

    • The solder points for these connectors on the WLAN module are fragile and can easily break.

    • These antennas are clipped into the WLAN module using a similar mechanism to a denim snap button. Pulling the connector off at a slight angle will be more effective than pulling it straight up.

  11. HP 15-dy2024nr Motherboard Replacement: stap 11, afbeelding 1 van 2 HP 15-dy2024nr Motherboard Replacement: stap 11, afbeelding 2 van 2
    • Use the nylon tipped reverse tweezers to lift the speaker cables up.

    • Do not use the tweezers to pull the cable out.

    • User the blade end of the spudger to pry the speaker connector up from between the connector and the motherboard.

  12. HP 15-dy2024nr Motherboard Replacement: stap 12, afbeelding 1 van 2 HP 15-dy2024nr Motherboard Replacement: stap 12, afbeelding 2 van 2
    • Use the blade end of the spudger to lift the black retaining clip.

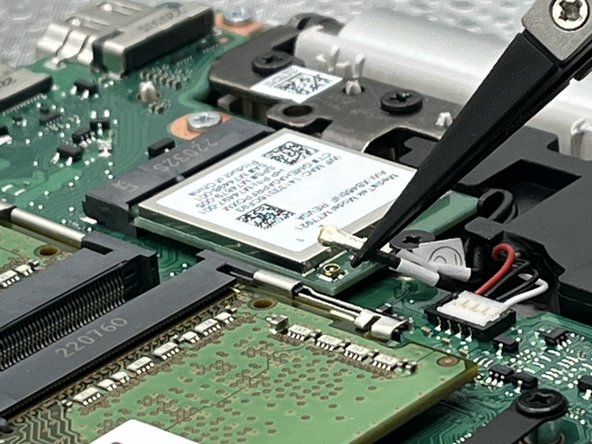
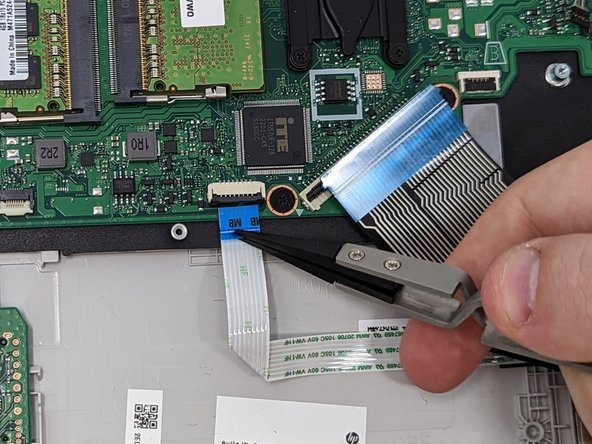
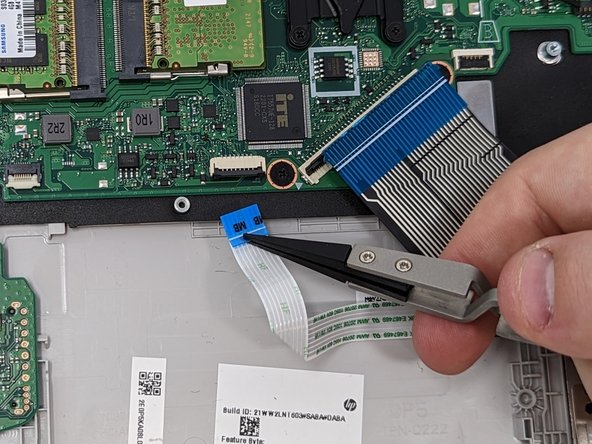
    • Use the nylon tipped reverse tweezers to grip the blue tab on the ribbon cable and pull it gently out of the socket.

    • After the cable is out of the socket, move the cable out of the way to get to the power connector underneath.

    • Be careful not to fold or bend the ribbon cable too severely.

  13. HP 15-dy2024nr Motherboard Replacement: stap 13, afbeelding 1 van 2 HP 15-dy2024nr Motherboard Replacement: stap 13, afbeelding 2 van 2
    • Grasp the power cable firmly and lightly tug on the cable. You may need to grab the connector end and wiggle it out of the socket.

    • Be sure to grasp all of the cables bundled together or the connector end itself; do not tug on one wire at a time.

  14. HP 15-dy2024nr Motherboard Replacement: stap 14, afbeelding 1 van 3 HP 15-dy2024nr Motherboard Replacement: stap 14, afbeelding 2 van 3 HP 15-dy2024nr Motherboard Replacement: stap 14, afbeelding 3 van 3
    • Use the blade end of the spudger to lift the black retaining clip.

    • Ue the nylon tipped reverse tweezers to grip the black ribbon cable and pull it gently out of the socket.

    • Avoid folding or bending the ribbon cable too severely.

  15. HP 15-dy2024nr Motherboard Replacement: stap 15, afbeelding 1 van 3 HP 15-dy2024nr Motherboard Replacement: stap 15, afbeelding 2 van 3 HP 15-dy2024nr Motherboard Replacement: stap 15, afbeelding 3 van 3
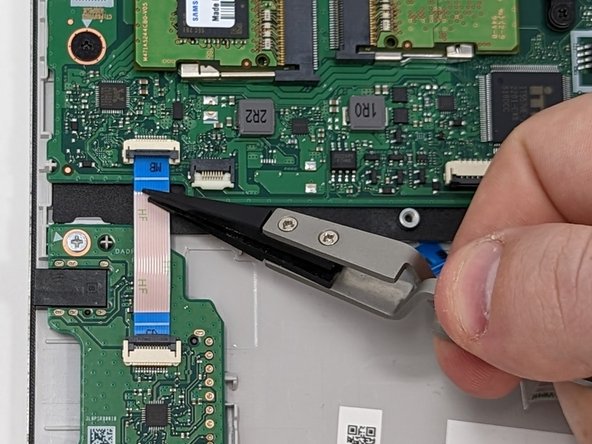
    • Use the nylon tipped reverse tweezers to lift the cables up from off the motherboard.

    • Do not use the tweezers to pull the cables off the motherboard.

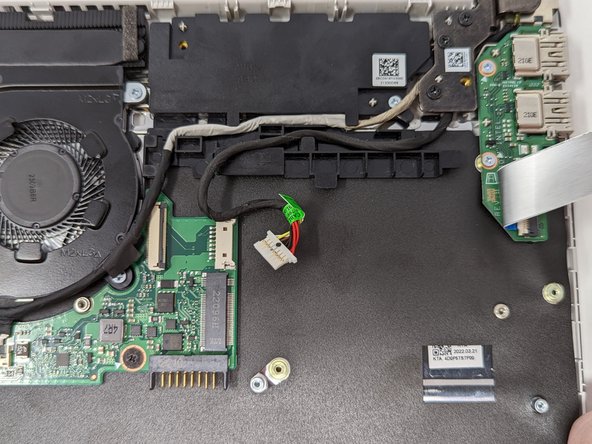
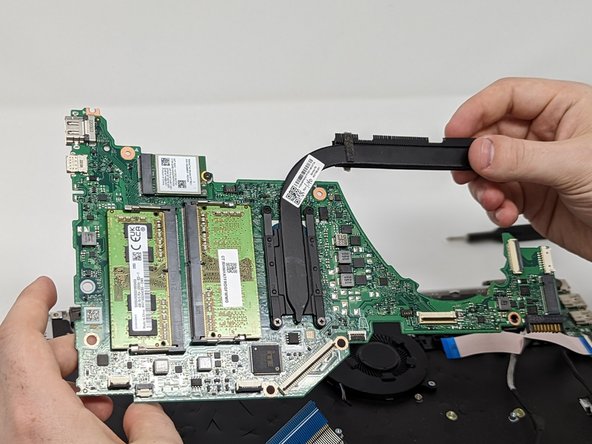
    • User the knife end of the Halberd spudger to wedge between the black plastic connector and the motherboard. Lightly twist the spudger blade up. The connector should pop off.

  16. HP 15-dy2024nr Motherboard Replacement: stap 16, afbeelding 1 van 3 HP 15-dy2024nr Motherboard Replacement: stap 16, afbeelding 2 van 3 HP 15-dy2024nr Motherboard Replacement: stap 16, afbeelding 3 van 3
    • Use the blade end of the spudger to lift the black retaining clip.

    • Use the nylon-tipped reverse tweezers to grip the blue tab on the ribbon cable and pull it gently out of the socket.

    • Avoid folding or bending the ribbon cable too severely.

  17. HP 15-dy2024nr Motherboard Replacement: stap 17, afbeelding 1 van 3 HP 15-dy2024nr Motherboard Replacement: stap 17, afbeelding 2 van 3 HP 15-dy2024nr Motherboard Replacement: stap 17, afbeelding 3 van 3
    • Use the blade end of the spudger to lift the black retaining clip.

    • Use the nylon-tipped reverse tweezers to grip the blue tab on the ribbon cable and pull it gently out of the socket.

    • Avoid folding or bending the ribbon cable too severely.

  18. HP 15-dy2024nr Motherboard Replacement: stap 18, afbeelding 1 van 3 HP 15-dy2024nr Motherboard Replacement: stap 18, afbeelding 2 van 3 HP 15-dy2024nr Motherboard Replacement: stap 18, afbeelding 3 van 3
    • Use the blade end of the spudger to lift the black retaining clip.

    • Use the nylon-tipped reverse tweezers to grip the blue tab on the ribbon cable and pull it gently out of the socket.

    • Avoid folding or bending the ribbon cable too severely.

  19. HP 15-dy2024nr Motherboard Replacement: stap 19, afbeelding 1 van 3 HP 15-dy2024nr Motherboard Replacement: stap 19, afbeelding 2 van 3 HP 15-dy2024nr Motherboard Replacement: stap 19, afbeelding 3 van 3
    • Remove the three 3 mm chrome-plated screws using a Phillips #0 screwdriver.

    • Remove the four 2 mm black wide-head screws using a Phillips #0 screwdriver.

  20. HP 15-dy2024nr Motherboard Replacement: stap 20, afbeelding 1 van 2 HP 15-dy2024nr Motherboard Replacement: stap 20, afbeelding 2 van 2
    • Grasp the motherboard by the edges. Lift the motherboard out of the laptop.

    • Be sure not to let any cables get caught on the motherboard as you lift if out of the laptop.

    • The cooling pipe and heatsink will come off with the motherboard. It will slide out from the back of the laptop by the hinge.

Conclusie

To reassemble your device, follow these instructions in reverse order.

Één andere persoon heeft deze handleiding voltooid.

Nathaniel Reeves

Lid sinds: 09/27/22

366 Reputatie

2 handleidingen geschreven

Team

Utah Tech University, Team 1-4, McMurrin Fall 2022 Lid van Utah Tech University, Team 1-4, McMurrin Fall 2022

UTAHTECH-MCMURRIN-F22S1G4

3 Leden

6 handleidingen geschreven

0 opmerkingen

Voeg opmerking toe

Weergavestatistieken:

Afgelopen 24 uren: 8

Afgelopen 7 dagen: 10

Afgelopen 30 dagen: 20

Altijd: 441