Ga door naar hoofdinhoud

HP 15-ac121dx Screen Replacement

Wat je nodig hebt

  1. HP 15-ac121dx Screen  Replacement, Battery: stap 1, afbeelding 1 van 1
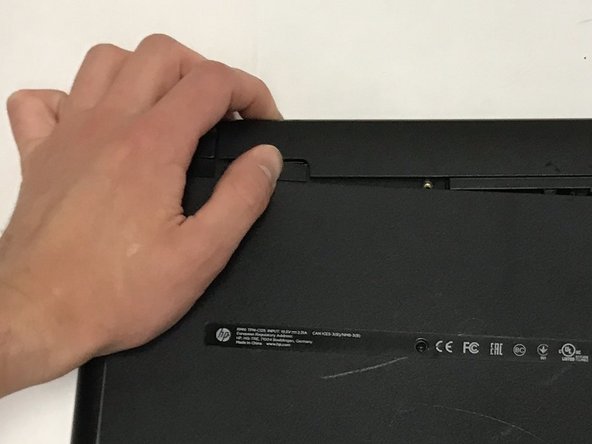
    • Remove all external devices from the computer.

    • Remove the charging cord from the computer.

  2. HP 15-ac121dx Screen  Replacement: stap 2, afbeelding 1 van 1
    • Turn off the computer by holding the power button.

  3. HP 15-ac121dx Screen  Replacement: stap 3, afbeelding 1 van 2 HP 15-ac121dx Screen  Replacement: stap 3, afbeelding 2 van 2
    • To remove the battery, slide the left slider on the back to the unlocked position.

  4. HP 15-ac121dx Screen  Replacement: stap 4, afbeelding 1 van 2 HP 15-ac121dx Screen  Replacement: stap 4, afbeelding 2 van 2
    • Push the right slider inwards.

    • Remove the battery out by pulling straight out and to the right.

  5. HP 15-ac121dx Screen  Replacement, Screen: stap 5, afbeelding 1 van 1
    • Open the laptop so that the screen is facing you.

  6. HP 15-ac121dx Screen  Replacement: stap 6, afbeelding 1 van 2 HP 15-ac121dx Screen  Replacement: stap 6, afbeelding 2 van 2
    • With the screen facing you, use the plastic opening tool to remove the liner around the screen

  7. HP 15-ac121dx Screen  Replacement: stap 7, afbeelding 1 van 1
    • Using a Phillips #000 screwdriver, remove all four 2mm screws in each corner of the screen.

  8. HP 15-ac121dx Screen  Replacement: stap 8, afbeelding 1 van 2 HP 15-ac121dx Screen  Replacement: stap 8, afbeelding 2 van 2
    • Carefully remove the screen and place it face down on the keyboard.

    • Do not pull the screen away from the front panel assembly, as this would damage the cord connecting the screen to the front panel assembly.

  9. HP 15-ac121dx Screen  Replacement: stap 9, afbeelding 1 van 2 HP 15-ac121dx Screen  Replacement: stap 9, afbeelding 2 van 2
    • With the screen faced down on the keyboard, remove the grounding tape adhered to the back of the screen.

    • You should see a 36-pin plug underneath the grounding tape.

    • Carefully remove the 36-pin plug, not to damage the grounding tape or the plug.

Conclusie

To reassemble your device, follow these instructions in reverse order.

0 opmerkingen

Voeg opmerking toe

Weergavestatistieken:

Afgelopen 24 uren: 2

Afgelopen 7 dagen: 10

Afgelopen 30 dagen: 22

Altijd: 742