Ga door naar hoofdinhoud

HP 15-ac121dx Fan Replacement

Wat je nodig hebt

  1. HP 15-ac121dx Fan Replacement, Battery: stap 1, afbeelding 1 van 1
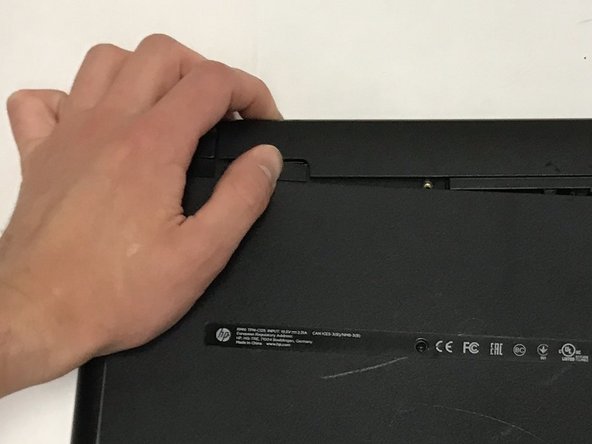
    • Remove all external devices from the computer.

    • Remove the charging cord from the computer.

  2. HP 15-ac121dx Fan Replacement: stap 2, afbeelding 1 van 1
    • Turn off the computer by holding the power button.

  3. HP 15-ac121dx Fan Replacement: stap 3, afbeelding 1 van 2 HP 15-ac121dx Fan Replacement: stap 3, afbeelding 2 van 2
    • To remove the battery, slide the left slider on the back to the unlocked position.

  4. HP 15-ac121dx Fan Replacement: stap 4, afbeelding 1 van 2 HP 15-ac121dx Fan Replacement: stap 4, afbeelding 2 van 2
    • Push the right slider inwards.

    • Remove the battery out by pulling straight out and to the right.

  5. HP 15-ac121dx Fan Replacement, Back Panel: stap 5, afbeelding 1 van 3 HP 15-ac121dx Fan Replacement, Back Panel: stap 5, afbeelding 2 van 3 HP 15-ac121dx Fan Replacement, Back Panel: stap 5, afbeelding 3 van 3
    • Locate the CD Compartment panel and gently slide it out.

  6. HP 15-ac121dx Fan Replacement: stap 6, afbeelding 1 van 1
    • Remove the back of the laptop by unscrewing the screws shown.

    • Also remove the other 5 Phillips screws lining the back cover.

  7. HP 15-ac121dx Fan Replacement: stap 7, afbeelding 1 van 3 HP 15-ac121dx Fan Replacement: stap 7, afbeelding 2 van 3 HP 15-ac121dx Fan Replacement: stap 7, afbeelding 3 van 3
    • Using the prying tool, wedge it underneath the back of the laptop and do the same all around until the back comes off.

    • Dont forget to unscrew 2 screws under 2 plastic tabs (one on each hing). The lid will not come off without them being removed!

  8. HP 15-ac121dx Fan Replacement, Fan: stap 8, afbeelding 1 van 3 HP 15-ac121dx Fan Replacement, Fan: stap 8, afbeelding 2 van 3 HP 15-ac121dx Fan Replacement, Fan: stap 8, afbeelding 3 van 3
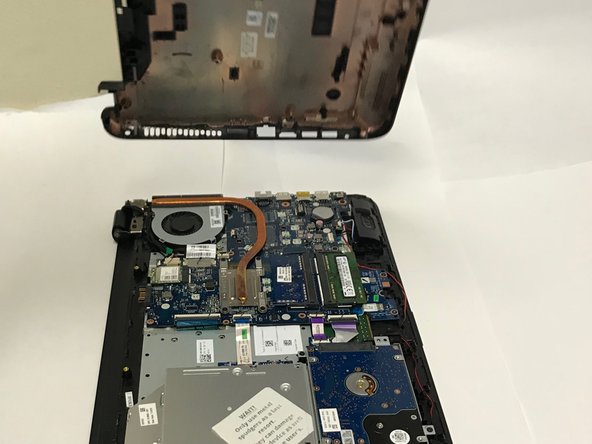
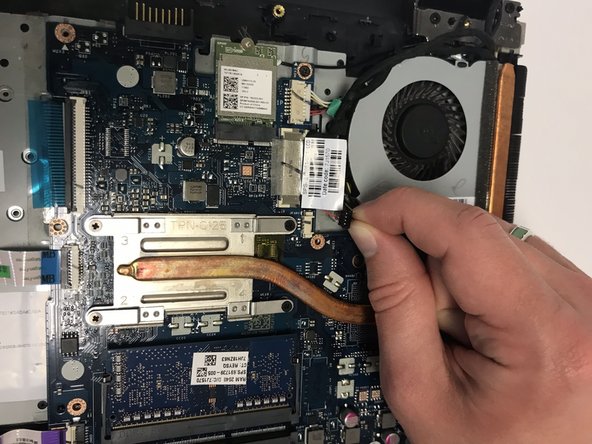
    • Locate the Fan as shown.

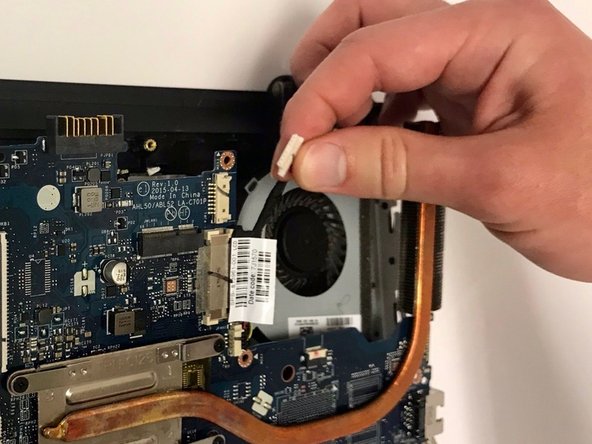
    • Pull out the black cable, with four wires attached from its port.

  9. HP 15-ac121dx Fan Replacement: stap 9, afbeelding 1 van 2 HP 15-ac121dx Fan Replacement: stap 9, afbeelding 2 van 2
    • Pull out the white cable wire from its port.

    • Unscrew the two black Phillips screws holding in the fan.

  10. HP 15-ac121dx Fan Replacement: stap 10, afbeelding 1 van 2 HP 15-ac121dx Fan Replacement: stap 10, afbeelding 2 van 2
    • Remove fan.

    • Unscrew the two screws holding in the fan.

Conclusie

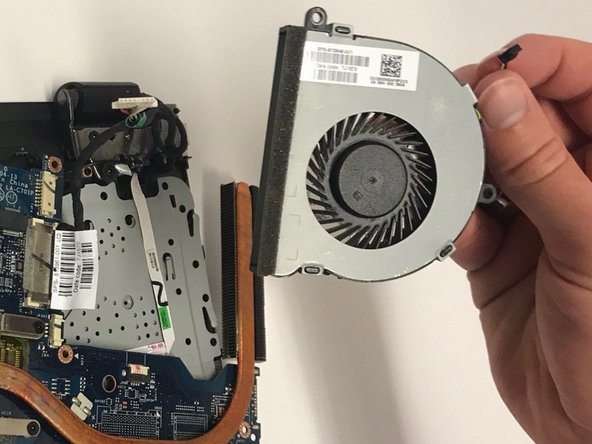
Replace fan. To reassemble your device, follow these instructions in reverse order.

Één andere persoon heeft deze handleiding voltooid.

Onose Aigbe

Lid sinds: 01/30/18

390 Reputatie

3 handleidingen geschreven

Team

Baylor, Team S1-G2, Johnson Spring 2018 Lid van Baylor, Team S1-G2, Johnson Spring 2018

BU-JOHNSON-S18S1G2

3 Leden

6 handleidingen geschreven

0 opmerkingen

Voeg opmerking toe

Weergavestatistieken:

Afgelopen 24 uren: 0

Afgelopen 7 dagen: 3

Afgelopen 30 dagen: 6

Altijd: 1,408