Inleiding
Does the case of your laptop have scratches, dents, or you just want to do a deep clean? Well, then this is the guide for you. This guide will direct you through the steps to removing the back panel of an HP15-AC121DX. Doing this will reveal the heart and soul of your computer allowing you to replace more than just the case, and ensure your electronics are dust-free.
Wat je nodig hebt
-
-
Remove all external devices from the computer.
-
Remove the charging cord from the computer.
-
-
-
-
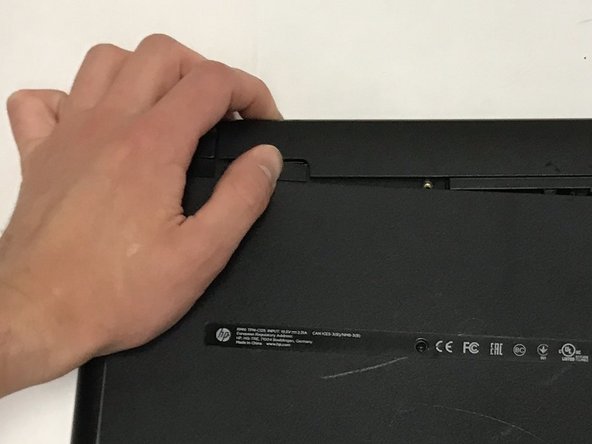
Place the laptop with the back panel facing up and the battery compartment facing away from you.
-
Using a spudger, carefully remove the rubber feet on both sides of the battery compartment.
-


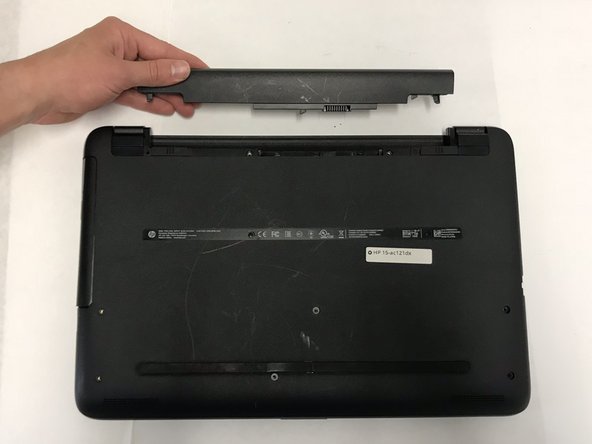


To reassemble your device, follow these instructions in reverse order.
To reassemble your device, follow these instructions in reverse order.
Annuleren: ik heb deze handleiding niet afgemaakt.
2 andere personen hebben deze handleiding voltooid.
Team

The Citadel Military College of South Carolina, Team S3-G9, Eggleston Fall 2019 Lid van The Citadel Military College of South Carolina, Team S3-G9, Eggleston Fall 2019
CMCSC-EGGLESTON-F19S3G9
3 Leden
4 handleidingen geschreven