Ga door naar hoofdinhoud

HP 15-R263DX Disassembly

Wat je nodig hebt

  1. HP 15-R263DX Disassembly, Battery: stap 1, afbeelding 1 van 2 HP 15-R263DX Disassembly, Battery: stap 1, afbeelding 2 van 2
    • Eject the battery from the computer by sliding the two clips on the bottom of the computer toward the center of the computer.

    • Slide the battery out as shown in the picture.

  2. HP 15-R263DX Disassembly, Optical Drive: stap 2, afbeelding 1 van 2 HP 15-R263DX Disassembly, Optical Drive: stap 2, afbeelding 2 van 2
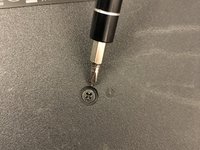
    • Using a Phillips #1 screwdriver, remove the small screw next to the disc engraving shown in the picture.

  3. HP 15-R263DX Disassembly: stap 3, afbeelding 1 van 1
    • Gently slide the optical drive out of the side of the computer.

  4. HP 15-R263DX Disassembly, HP 15-R263DX Disassembly: stap 4, afbeelding 1 van 2 HP 15-R263DX Disassembly, HP 15-R263DX Disassembly: stap 4, afbeelding 2 van 2
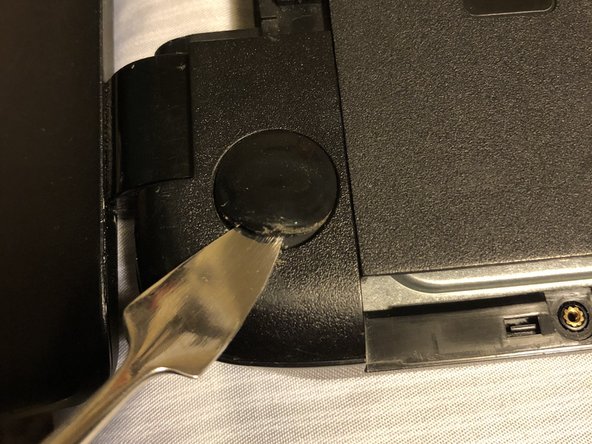
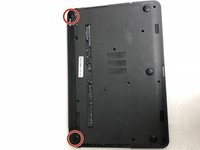
    • Locate the two corner grips on the hinge side of the computer.

    • Using a metal spudger, remove the two corner grips to reveal the screws.

  5. HP 15-R263DX Disassembly: stap 5, afbeelding 1 van 1
    • Remove the 11 small screws on the bottom of the computer that are shown in the picture.

  6. HP 15-R263DX Disassembly: stap 6, afbeelding 1 van 1
    • Remove the 2 small screws that are on the bottom side of the disc tray slot.

    • These screws are shorter and wider than the others.

  7. HP 15-R263DX Disassembly: stap 7, afbeelding 1 van 2 HP 15-R263DX Disassembly: stap 7, afbeelding 2 van 2
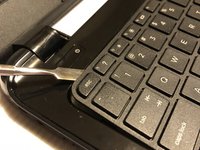
    • Once the keyboard is loose, do not immediately pull away from computer. It is attached by the ribbon connector.

    • Using a spudger, pry around the edges of the keyboard until all clips are disengaged and the keyboard is loose from the computer.

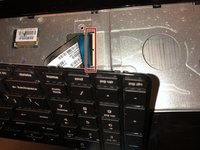
    • To disconnect the ribbon connector, flip up the black clip shown in the picture.

    • Gently pull the ribbon until disconnected.

  8. HP 15-R263DX Disassembly: stap 8, afbeelding 1 van 2 HP 15-R263DX Disassembly: stap 8, afbeelding 2 van 2
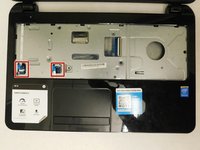
    • Disconnect the other two ribbon connectors underneath the keyboard by fliping up the black clips.

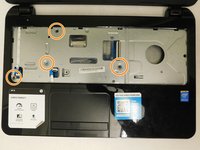
    • Remove the 4 small screws shown in the picture.

  9. HP 15-R263DX Disassembly: stap 9, afbeelding 1 van 1
    • Disengage the face plate clips by prying the case away from around the outer edge of the face plate with a metal wedge.

    • The face plate can then be lifted away from the computer.

Conclusie

To reassemble your device, follow these instructions in reverse order.

10 andere personen hebben deze handleiding voltooid.

Dilan Johnson

Lid sinds: 02/12/18

720 Reputatie

4 handleidingen geschreven

Team

0 opmerkingen

Voeg opmerking toe

Weergavestatistieken:

Afgelopen 24 uren: 1

Afgelopen 7 dagen: 8

Afgelopen 30 dagen: 33

Altijd: 6,318