Inleiding
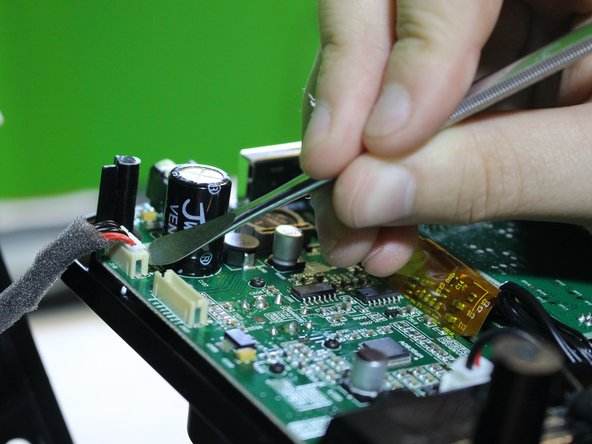
The replacement for your device's main speaker requires a little extra effort than the other components in the device, but is still easily manageable with a soldering kit. With the little amount of desoldering required for this project, a YouTube video undergoing basic safety precautions and soldering kit use is recommended.
Wat je nodig hebt
-
-
Remove (2) screws (14 mm) with a PH1 screwdriver on the device.
-
There is one screw on the back left, and another just below it on the bottom of the device.
-
-


To reassemble your device, follow these instructions in reverse order.
To reassemble your device, follow these instructions in reverse order.
Annuleren: ik heb deze handleiding niet afgemaakt.
3 andere personen hebben deze handleiding voltooid.
Team

USF Tampa, Team 6-3, Eyestone Spring 2016 Lid van USF Tampa, Team 6-3, Eyestone Spring 2016
USFT-EYESTONE-S16S6G3
4 Leden
8 handleidingen geschreven
2 opmerkingen
Fred, April 12,2017 Thanks SO MUCH for this repair series. I bought the Grace Mondo internet radio several years ago and loved everything except the sound. Whenever any low notes played and at louder volumes the speaker would bottom out and distort terribly. I immediately wanted to replace the speaker but only got as far as removing six screws. Thanks to your guide, I saw how to pry the face plate off and expose the speaker. I replaced it with: http://www.parts-express.com/hivi-b3n-3-..., and am extremely happy with the results. Finally bass notes and clear music at louder volume without distortion. THANKS AGAIN!
I used this guide to replace the speaker on my Mondo + unit. This guide and the recommended speaker in the previous comment got me up and running in no time. The Mondo and Mondo+ are extremely similar with only some slight differences on the internals. I did have to slightly modify the new speaker to make it fit in the enclosure. There were two plastic ribs on the front faceplate that were preventing it from fitting. Two small slots in the outer rim of the speaker flange solved this. The new speaker is louder, clearer and has a higher power rating so I should not have to replace it again.